“Are you sure you want to attempt a gold-drip sheet cake for graduation?” my friend asked, raising an eyebrow as I laid out the shimmering edible gold sheets and buttercream tools on the counter. Honestly, I was half-expecting a disaster. You know how it goes—big celebrations, last-minute baking, and that whisper of doubt that maybe this is one step too fancy for a simple sheet cake. But here’s the thing: the Perfect Gold-Drip Sheet Cake with Buttercream Rosettes for Graduation wasn’t born from a flawless plan. It came from a moment when I realized that the usual cupcakes or plain cakes just wouldn’t cut it for my niece’s big day.
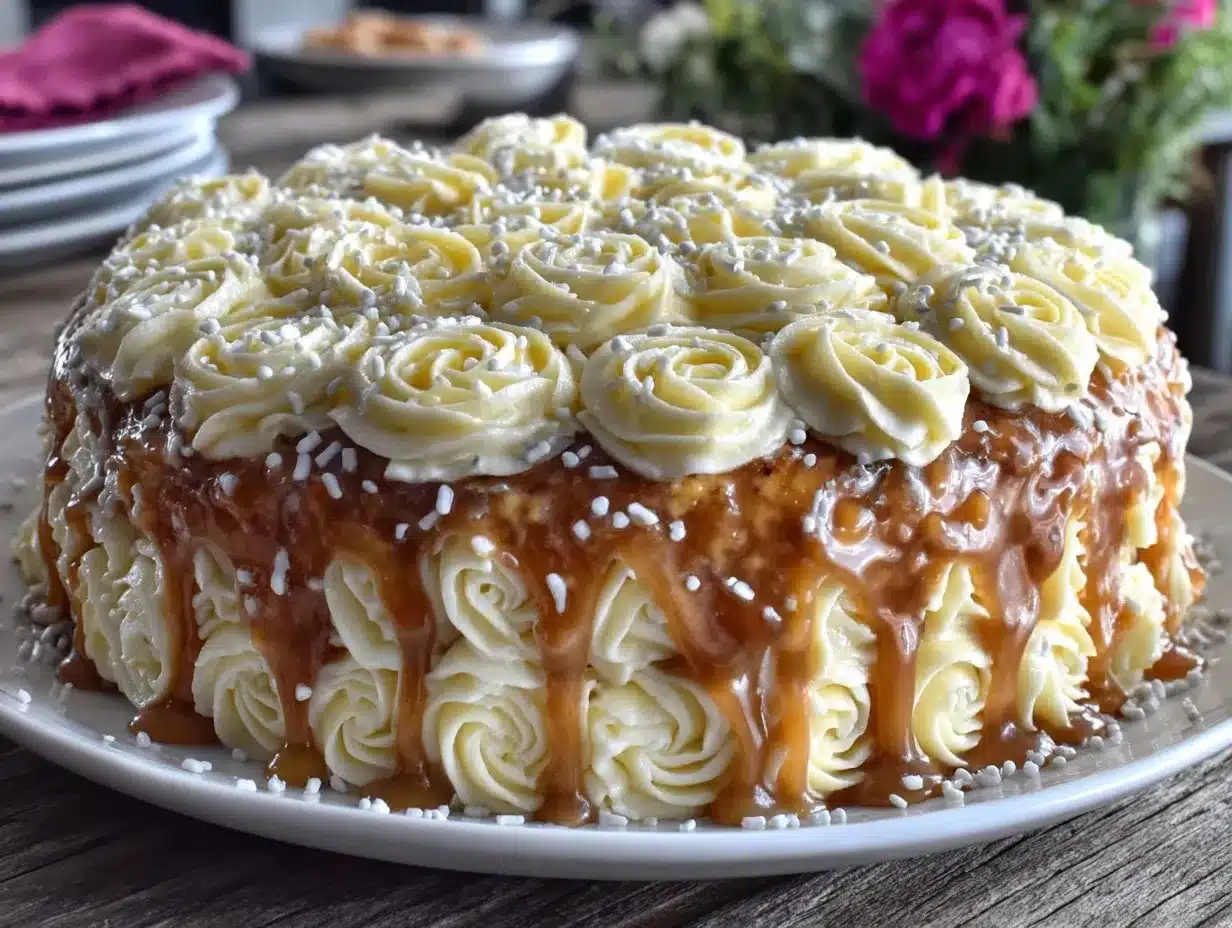
In the quiet of my kitchen, with the late afternoon light catching the subtle sparkle of the gold drip, I was surprised how the simple combination of buttercream rosettes and that glistening gold sauce transformed a humble sheet cake into something truly celebratory. The rich vanilla cake soaked up the buttery sweetness like a dream, and the rosettes—piped with enough care to feel special but not so much that I wanted to quit halfway—gave the whole thing a sophisticated yet joyful vibe. It became a ritual, the cake appearing multiple times that graduation week, each time with a little tweak, a little more confidence.
What stuck with me wasn’t just the cake’s look or taste, but how it quietly became the centerpiece of the day without stealing all the attention. It’s a recipe that feels like a celebration and comfort all rolled into one – perfect for anyone who wants to honor a milestone with style but without the stress. That’s why I’m sharing it here—because sometimes, the best recipes grow from a little risk and a lot of heart.
Why You’ll Love This Recipe
Having baked this gold-drip sheet cake with buttercream rosettes more times than I can count, I can say it hits all the right notes for a graduation celebration. Here’s why it’s become a go-to:
- Quick & Easy: The cake comes together in under 90 minutes, making it perfect for last-minute party plans or busy weekend afternoons.
- Simple Ingredients: You don’t need any fancy or obscure items; everything is likely already in your pantry or local grocery store.
- Perfect for Graduation: The gold drip adds that extra shine that feels festive without going overboard.
- Crowd-Pleaser: Whether you have kids, adults, or both, the classic vanilla flavor and creamy buttercream always get rave reviews.
- Unbelievably Delicious: The moist texture and smooth frosting create a comforting combo that’s both rich and light.
What sets this cake apart is the balance of elegance and ease. The gold drip isn’t just decorative; it adds a subtle caramelized sweetness that complements the vanilla’s warmth. The buttercream rosettes are piped in a way that looks fancy but is forgiving for those who aren’t professional bakers. Plus, unlike many layered cakes, this sheet cake makes serving a breeze, no slicing stress involved.
It’s the kind of recipe that feels like you put in effort but still lets you breathe. Whether you’re celebrating a graduation or just want to make an ordinary day a little more special, this cake brings that subtle magic. And if you’re curious about other crowd-pleasers with a special touch, I recently shared a rainbow pot of gold cupcakes recipe that pairs beautifully with this cake’s vibe.
What Ingredients You Will Need
This recipe uses straightforward, wholesome ingredients to create bold flavor and that signature gold drip drama without fuss. Most are pantry staples, with a few special touches for the celebration feel.
- For the Cake:
- All-purpose flour – 2 ½ cups (315 g), sifted for a light crumb
- Baking powder – 2 ½ teaspoons (10 g), to help it rise
- Baking soda – ½ teaspoon (2.5 g), balances acidity
- Salt – ¼ teaspoon (1.5 g)
- Unsalted butter – 1 cup (227 g), softened (I prefer Plugrá for its creaminess)
- Granulated sugar – 2 cups (400 g), for sweetness and structure
- Large eggs – 4, room temperature
- Pure vanilla extract – 2 teaspoons (10 ml), the real deal makes a difference
- Buttermilk – 1 cup (240 ml), adds tang and moisture (or use whole milk with 1 tablespoon lemon juice as a substitute)
- For the Buttercream Rosettes:
- Unsalted butter – 1 cup (227 g), softened
- Powdered sugar – 4 cups (480 g), sifted for smoothness
- Pure vanilla extract – 1 teaspoon (5 ml)
- Heavy cream or whole milk – 2-3 tablespoons (30-45 ml), for consistency
- Pinch of salt
- For the Gold Drip:
- White chocolate chips – 1 cup (175 g)
- Heavy cream – ½ cup (120 ml)
- Edible gold dust or gold luster dust – 1 teaspoon, mixed with a few drops of clear vanilla extract or lemon juice to form a paintable glaze
For a gluten-free twist, you can swap all-purpose flour with a 1:1 gluten-free flour blend. If you want to keep the buttercream dairy-free, try substituting the butter and cream with plant-based alternatives like vegan butter and coconut milk.
Equipment Needed
- A 9×13-inch (23×33 cm) rectangular sheet pan – this size works perfectly to get even baking.
- Electric mixer (stand or hand-held) – makes whipping the buttercream and batter smooth and easy.
- Mixing bowls – at least two medium-sized ones for cake batter and frosting.
- Measuring cups and spoons – precise measurements matter here.
- Rubber spatula – for folding batter and scraping bowls.
- Offset spatula or butter knife – to spread the buttercream evenly.
- Piping bags and a star tip (Wilton 1M or similar) – for creating those classic buttercream rosettes.
- Small saucepan – to warm the cream for the gold drip.
- Pastry brush or small paintbrush – to apply the edible gold dust glaze carefully.
If you don’t have a piping bag, a zip-top plastic bag with a corner snipped off works just fine. Also, I found that a silicone spatula holds up better with thick buttercream than wooden spoons, which can soak up moisture.
Preparation Method
- Preheat the oven and prepare the pan: Set your oven to 350°F (177°C). Grease and flour your 9×13-inch sheet pan or line it with parchment paper for easy removal. This step ensures the cake doesn’t stick and comes out clean.
- Mix dry ingredients: In a medium bowl, whisk together the flour, baking powder, baking soda, and salt. This helps distribute the leavening agents evenly, so your cake rises nicely.
- Cream butter and sugar: In a large mixing bowl, beat the softened butter and granulated sugar on medium speed for about 3-4 minutes until light and fluffy. You’ll notice the texture becoming lighter in color—that’s the air being incorporated, which is key for a tender crumb.
- Add eggs and vanilla: Crack in the eggs one at a time, beating well after each addition. Then stir in the vanilla extract. The batter might look slightly curdled at this point, but don’t worry—that’s normal.
- Alternate adding dry ingredients and buttermilk: Reduce mixer speed to low. Add one-third of the dry mixture, then half the buttermilk. Repeat, ending with the dry ingredients. Mix just until combined; overmixing can make the cake dense.
- Pour and bake: Transfer the batter evenly into your prepared pan. Smooth the top gently with a spatula. Bake for 35-40 minutes, or until a toothpick inserted in the center comes out clean. The cake should spring back lightly when touched.
- Cool completely: Let the cake cool in the pan for 20 minutes before transferring it to a wire rack. Cooling fully is important so the buttercream doesn’t melt on contact.
- Make the buttercream: While the cake cools, beat softened butter on medium speed until creamy. Gradually add sifted powdered sugar, a cup at a time, mixing well after each addition. Add vanilla, salt, and heavy cream, adjusting the cream to reach your desired frosting consistency—thick but spreadable.
- Pipe the rosettes: Fit a piping bag with a star tip and fill it with buttercream. Starting from the center of each rosette, pipe in a tight spiral outward. Cover the entire cake surface, leaving some space for the gold drip.
- Prepare the gold drip: Heat heavy cream in a small saucepan until just simmering. Pour over white chocolate chips in a heatproof bowl. Let sit for 1-2 minutes, then stir until smooth. Mix in edible gold dust with a tiny bit of clear vanilla or lemon juice to create a shiny glaze. Let the mixture cool but remain pourable.
- Apply the gold drip: Using the back of a spoon or a small ladle, gently pour the gold drip over the edges of the cake, letting it cascade down naturally. You can add more glaze on top if you want a fully covered, gleaming finish.
- Chill and serve: Refrigerate the cake for at least 30 minutes to set the drip and firm up the buttercream rosettes. Bring it back to room temperature before serving for the best texture and flavor.
Pro tip: If your buttercream feels too soft while piping, pop it in the fridge for 10 minutes to firm up. And don’t rush the drip—too hot will melt the buttercream, too cool won’t flow.
Cooking Tips & Techniques
Making this cake was a series of trial and error moments for me. Here are some tips I picked up along the way:
- Room temperature ingredients: Always use butter, eggs, and buttermilk at room temp. It helps everything blend smoothly, preventing lumps or curdling.
- Don’t overmix the batter: Seriously, mix just until the flour disappears. Overworking the batter can lead to a tough cake, and that’s not what we want here.
- Buttercream consistency: For those rosettes, the buttercream should be thick but still pipeable. If it’s too stiff, add a splash of cream; too soft, chill it briefly.
- Gold drip temperature: The drip glaze needs to be warm, not hot. Too hot and you’ll melt your buttercream; too cool and it won’t drip smoothly.
- Practice piping: If you’re nervous, try a few rosettes on parchment paper first to get comfortable with the pressure and motion.
- Timing the drip: Wait until the rosettes are set but not frozen. The drip will spread more naturally that way.
One mistake I made early on was rushing to frost a warm cake. The buttercream melted instantly, and the rosettes lost their shape. Lesson learned: patience is key. Also, I found that chilling the cake briefly before the drip helped the glaze hold its edges perfectly. If you want a fun savory side for your graduation celebration, you might enjoy pairing this with a hearty Irish lamb stew or a light fresh spring vegetable frittata.
Variations & Adaptations
One of the best parts of this recipe is how easy it is to tweak depending on your mood or dietary needs:
- Chocolate Version: Swap half the flour for unsweetened cocoa powder and add chocolate chips to the batter. Use a dark chocolate drip instead of white chocolate for the gold drip base.
- Fruit-Infused: Add a layer of fresh berries or fruit preserves between two sheet cakes. The gold drip pairs beautifully with raspberry or strawberry flavors.
- Vegan Adaptation: Use plant-based butter and milk substitutes, aquafaba or flax eggs instead of real eggs, and ensure your edible gold dust is vegan-friendly.
- Flavor Boost: Add a teaspoon of almond or lemon extract to the buttercream for a subtle twist.
- Seasonal Touch: During the holidays, swap the gold drip for a white chocolate peppermint glaze and decorate with crushed candy canes instead of rosettes.
Personally, I once swapped the buttercream for a cream cheese frosting when making this cake for a friend who prefers tangier sweets. It was a hit, and the gold drip still dazzled. Adjusting the recipe to fit your crowd is part of the fun—and why I keep coming back to this cake.
Serving & Storage Suggestions
This cake shines when served at room temperature, allowing the buttercream rosettes to be soft and the cake moist. I like to set it out about 30 minutes before guests arrive.
For presentation, a simple white or gold cake board complements the shimmering drip beautifully. Pair with light beverages like sparkling water with a lemon wedge or a fruity iced tea to balance the sweetness.
Store leftover cake covered loosely with plastic wrap in the refrigerator for up to 4 days. Before serving again, bring it back to room temp to revive that creamy texture.
If you want to freeze it, wrap the cake tightly in plastic and foil and freeze for up to 2 months. Thaw overnight in the fridge, then bring to room temperature before serving. The flavors tend to deepen after a day, so it’s actually tastier the next day.
Nutritional Information & Benefits
Here’s an estimate per serving (assuming 12 slices):
| Calories | 420 |
|---|---|
| Fat | 22g (Saturated Fat 13g) |
| Carbohydrates | 54g (Sugars 38g) |
| Protein | 5g |
| Fiber | 1g |
The cake’s main ingredients—like butter and eggs—provide essential fats and protein, while the buttermilk adds a bit of calcium and probiotics. This recipe is gluten-containing but can be modified for gluten-free needs. It’s definitely a treat, so enjoy it as a special celebration dessert!
Conclusion
The Perfect Gold-Drip Sheet Cake with Buttercream Rosettes for Graduation is more than just a pretty dessert—it’s a way to mark a milestone with a little sparkle and a lot of heart. Whether you’re a seasoned baker or someone who usually sticks to simpler sweets, this recipe invites you to try something a bit special without the stress. It’s customizable, approachable, and reliably delicious.
For me, this cake stands out because it brings people together — the compliments, the shared smiles, and those quiet moments when the celebration feels just right. I hope it finds a place at your graduation table and in your recipe collection.
If you try it, I’d love to hear how you made it your own or what moment you celebrated with it. Sharing those stories is what keeps the kitchen magic alive. Happy baking and congratulations to your graduate!
FAQs
- Can I make this cake ahead of time? Yes! You can bake the cake and frost it a day ahead. Just keep it covered in the fridge and bring to room temperature before serving.
- How do I store leftover cake? Store leftovers in an airtight container in the fridge for up to 4 days. For longer storage, freeze wrapped tightly for up to 2 months.
- Can I use a different type of frosting? Absolutely! Cream cheese frosting or a whipped ganache can work well, though the buttercream holds the rosettes best.
- Is edible gold dust safe to eat? Yes, edible gold dust used in this recipe is food-grade and safe in small amounts. Make sure to buy from reputable sources.
- Can I make this cake dairy-free? Yes, substitute dairy butter and cream with vegan alternatives and use plant-based milk. The texture might vary slightly but still delicious.
Pin This Recipe!
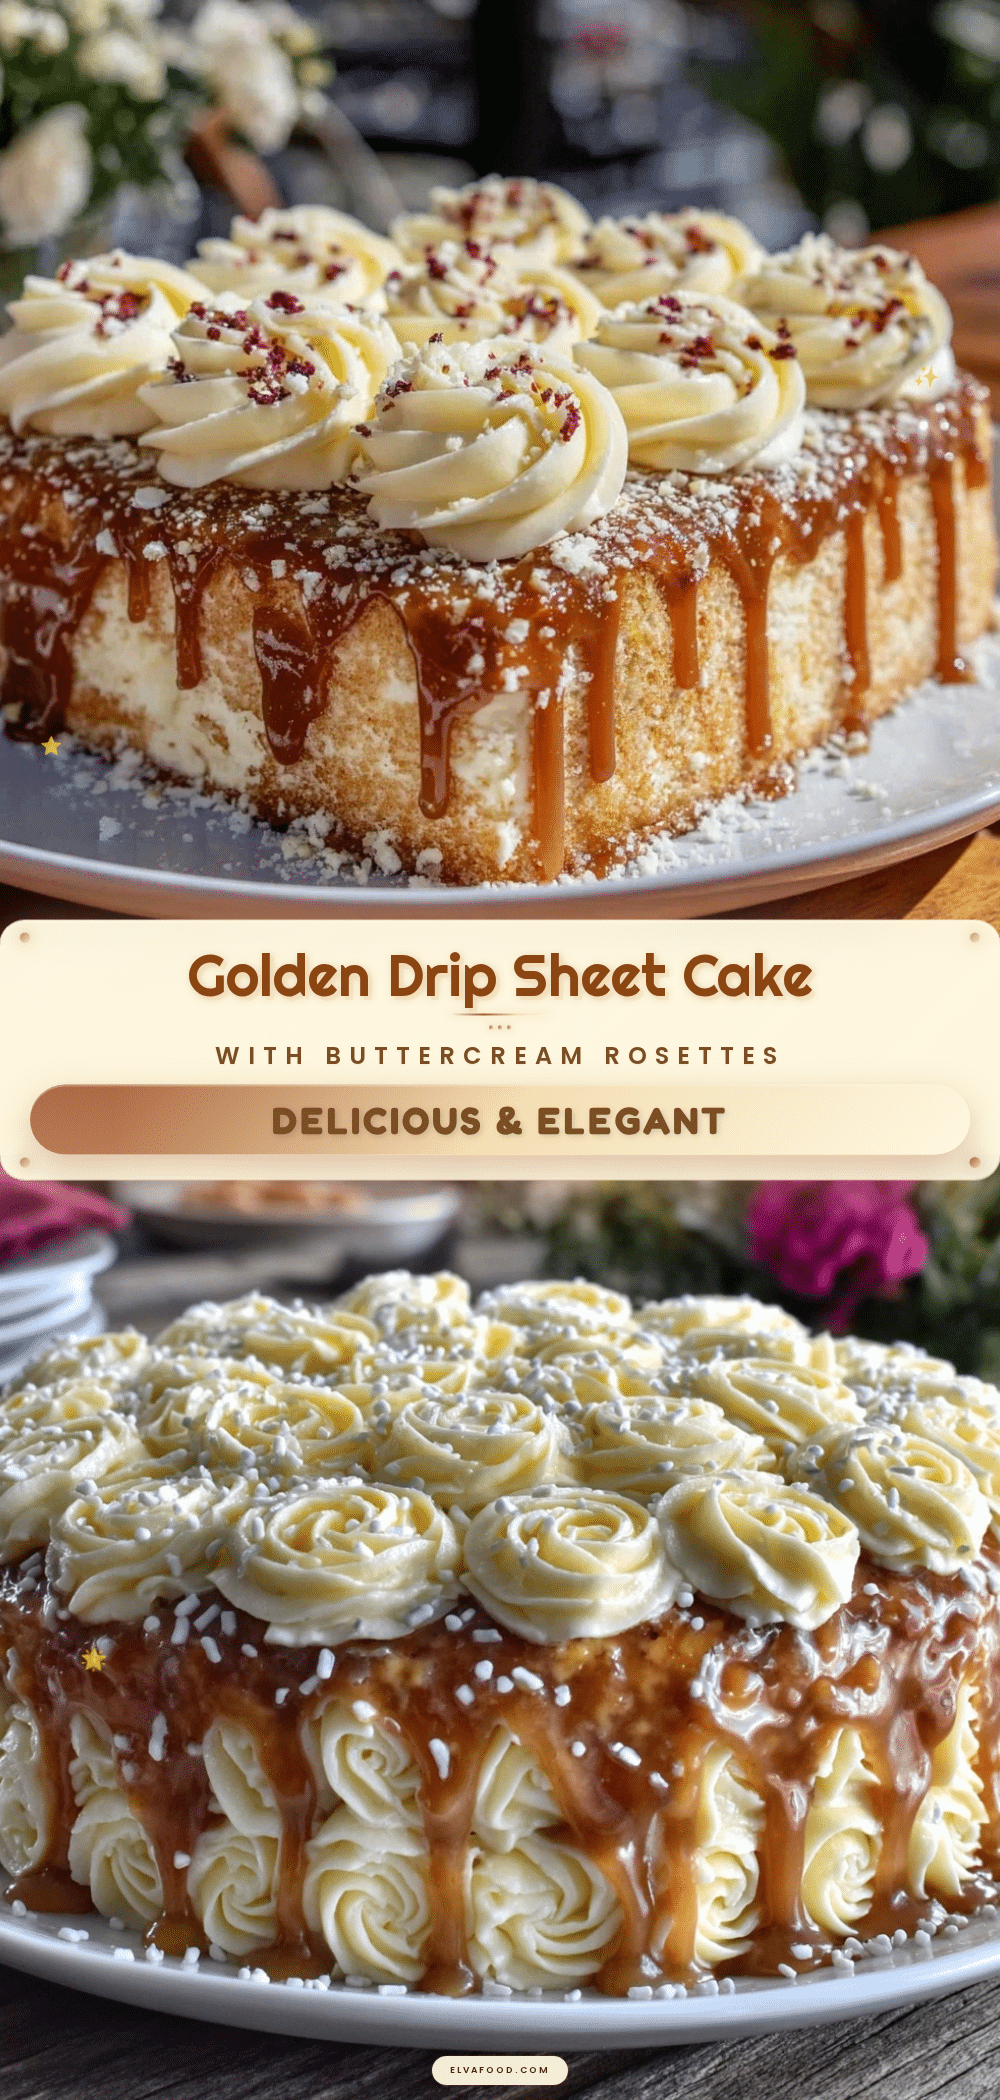
Perfect Gold-Drip Sheet Cake Recipe with Easy Buttercream Rosettes for Graduation Celebration
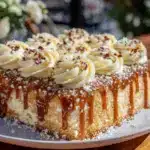
A celebratory vanilla sheet cake with a shimmering edible gold drip and easy buttercream rosettes, perfect for graduation parties. This recipe balances elegance and ease, making it approachable for bakers of all levels.
- Prep Time: 20 minutes
- Cook Time: 40 minutes
- Total Time: 1 hour
- Yield: 12 servings 1x
- Category: Dessert
- Cuisine: American
Ingredients
- 2 ½ cups (315 g) all-purpose flour, sifted
- 2 ½ teaspoons (10 g) baking powder
- ½ teaspoon (2.5 g) baking soda
- ¼ teaspoon (1.5 g) salt
- 1 cup (227 g) unsalted butter, softened
- 2 cups (400 g) granulated sugar
- 4 large eggs, room temperature
- 2 teaspoons (10 ml) pure vanilla extract
- 1 cup (240 ml) buttermilk (or whole milk with 1 tablespoon lemon juice as substitute)
- 1 cup (227 g) unsalted butter, softened (for buttercream)
- 4 cups (480 g) powdered sugar, sifted
- 1 teaspoon (5 ml) pure vanilla extract (for buttercream)
- 2–3 tablespoons (30–45 ml) heavy cream or whole milk (for buttercream)
- Pinch of salt (for buttercream)
- 1 cup (175 g) white chocolate chips (for gold drip)
- ½ cup (120 ml) heavy cream (for gold drip)
- 1 teaspoon edible gold dust or gold luster dust, mixed with a few drops of clear vanilla extract or lemon juice
Instructions
- Preheat oven to 350°F (177°C). Grease and flour a 9×13-inch sheet pan or line with parchment paper.
- In a medium bowl, whisk together flour, baking powder, baking soda, and salt.
- In a large bowl, beat softened butter and granulated sugar on medium speed for 3-4 minutes until light and fluffy.
- Add eggs one at a time, beating well after each addition, then stir in vanilla extract.
- Reduce mixer speed to low. Add one-third of dry ingredients, then half the buttermilk. Repeat, ending with dry ingredients. Mix just until combined.
- Pour batter evenly into prepared pan and smooth the top gently.
- Bake for 35-40 minutes or until a toothpick inserted in the center comes out clean. Cake should spring back lightly when touched.
- Cool cake in pan for 20 minutes, then transfer to wire rack to cool completely.
- For buttercream: Beat softened butter on medium speed until creamy. Gradually add powdered sugar, one cup at a time, mixing well after each addition.
- Add vanilla, salt, and heavy cream, adjusting cream to reach thick but spreadable consistency.
- Fit a piping bag with a star tip and fill with buttercream. Pipe rosettes in tight spirals covering the cake surface, leaving space for gold drip.
- For gold drip: Heat heavy cream in a small saucepan until just simmering. Pour over white chocolate chips in a heatproof bowl. Let sit 1-2 minutes, then stir until smooth.
- Mix in edible gold dust with a few drops of clear vanilla or lemon juice to create a shiny glaze. Let cool but remain pourable.
- Using back of a spoon or small ladle, gently pour gold drip over cake edges, letting it cascade naturally. Add more glaze on top if desired.
- Refrigerate cake for at least 30 minutes to set drip and firm buttercream rosettes.
- Bring cake to room temperature before serving.
Notes
Use room temperature ingredients for smooth blending. Do not overmix batter to avoid toughness. Buttercream should be thick but pipeable; chill if too soft. Gold drip glaze should be warm, not hot, to avoid melting buttercream. Practice piping rosettes on parchment paper if nervous. Chill cake briefly before applying drip for best results.
Nutrition
- Serving Size: 1 slice (1/12 of cak
- Calories: 420
- Sugar: 38
- Fat: 22
- Saturated Fat: 13
- Carbohydrates: 54
- Fiber: 1
- Protein: 5
Keywords: gold drip cake, sheet cake, buttercream rosettes, graduation cake, vanilla cake, celebration dessert, easy cake recipe