My three-year-old nephew was coming over for the afternoon, and I had approximately zero snacks that weren’t, well, beige. Crackers. Cheese sticks. The end of a bag of pretzels. I opened the fridge hoping for a miracle, and there they were—a bag of baby carrots, a lonely red bell pepper, some cherry tomatoes on their last leg, and half a cucumber. Not exactly a meal, but together they looked kind of… pretty. So I grabbed a small container, sliced everything into tiny, manageable pieces, arranged them in rows by color, and added a dollop of ranch dip in the middle. When he showed up, I called it a “rainbow snack box” and handed it over. He ate every single piece. No negotiation. No bargaining. Just crunching and smiling.
That’s how these Easy Rainbow Veggie Ranch Snack Boxes for Preschoolers were born. Not from a fancy cookbook or a meal-prep plan, but from a desperate scramble to turn fridge odds and ends into something a toddler would actually touch. And honestly, it worked so well that it became our go-to. The colors make it feel like a game, the ranch makes it feel like a treat, and the small portions make it manageable for little hands. It’s the kind of snack that feels like a win for everyone—no whining, no waste, just happy crunching.
I’ve made these snack boxes dozens of times since that first afternoon, tweaking the veggie combos and portion sizes until they felt just right. And now, I’m sharing the exact method with you. Because if there’s one thing I’ve learned from feeding little ones, it’s that sometimes the simplest ideas are the ones that stick.
Why You’ll Love This Recipe
- Quick & Easy : These snack boxes come together in under 10 minutes. No cooking, no baking, just chopping and arranging. Perfect for busy mornings, afternoon playdates, or last-minute lunchbox packing.
- Simple Ingredients : You likely already have most of these veggies in your fridge. No fancy grocery trips required—just fresh produce and your favorite ranch dressing or dip.
- Perfect for Picky Eaters : The rainbow presentation turns vegetables into something fun and inviting. Kids love sorting colors and eating their way through each row. It’s a game, not a chore.
- Crowd-Pleaser : These snack boxes are a hit with preschoolers, but honestly, older kids and adults love them too. Great for lunchboxes, school snacks, or even a healthy appetizer for a kids’ party.
- Unbelievably Customizable : Swap in whatever veggies your family likes or what’s in season. The template stays the same—just change the colors. It’s the kind of recipe that adapts to your fridge, not the other way around.
What makes this different from just a veggie tray? It’s the portion control, the color-coding, and the built-in dip that make it feel special. Each snack box is a complete, balanced snack that’s visually appealing and easy for small hands to manage. No plates, no sharing, no mess. Just a rainbow of crunch that makes eating vegetables feel like a treat.
And honestly, there’s something deeply satisfying about watching a preschooler happily munch through a row of red peppers and then move on to orange carrots without a single complaint. It’s the kind of snack that makes you feel like you’ve cracked some secret parenting code. Trust me—once you try these, you’ll wonder why you didn’t think of it sooner.
What Ingredients You Will Need
This recipe uses simple, fresh ingredients that are easy to find and even easier to prep. The beauty of these snack boxes is that you can mix and match based on what you have on hand, but here’s a solid starting lineup that delivers the full rainbow effect.
For the Rainbow Veggies
- Red Bell Pepper – 1 medium, seeded and cut into thin strips or small squares. Red peppers are naturally sweet and crunchy, making them a favorite with little ones. (Pro tip: choose peppers that feel firm and heavy for the best crunch.)
- Orange Carrots – 2 medium, peeled and cut into thin rounds or small matchsticks. Carrots add a lovely natural sweetness and a satisfying crunch. Baby carrots work great too—just slice them in half lengthwise for smaller pieces.
- Yellow Bell Pepper or Yellow Squash – 1 medium, seeded and cut into small strips or half-moons. Yellow adds a bright pop of color. If using squash, slice it thin so it stays tender.
- Cucumber – ½ English cucumber, sliced into thin rounds or quartered. English cucumbers have fewer seeds and a milder flavor, which kids tend to prefer. Regular cucumbers work too—just peel them if the skin is tough.
- Cherry Tomatoes – ½ cup, halved or quartered depending on size. These add a burst of juicy sweetness. For very young children, quarter them to prevent choking hazards.
- Purple Cabbage or Red Cabbage – ¼ small head, thinly shredded. Purple adds a gorgeous deep color and a mild crunch. You can also use purple carrots if you can find them.
For the Ranch Dip
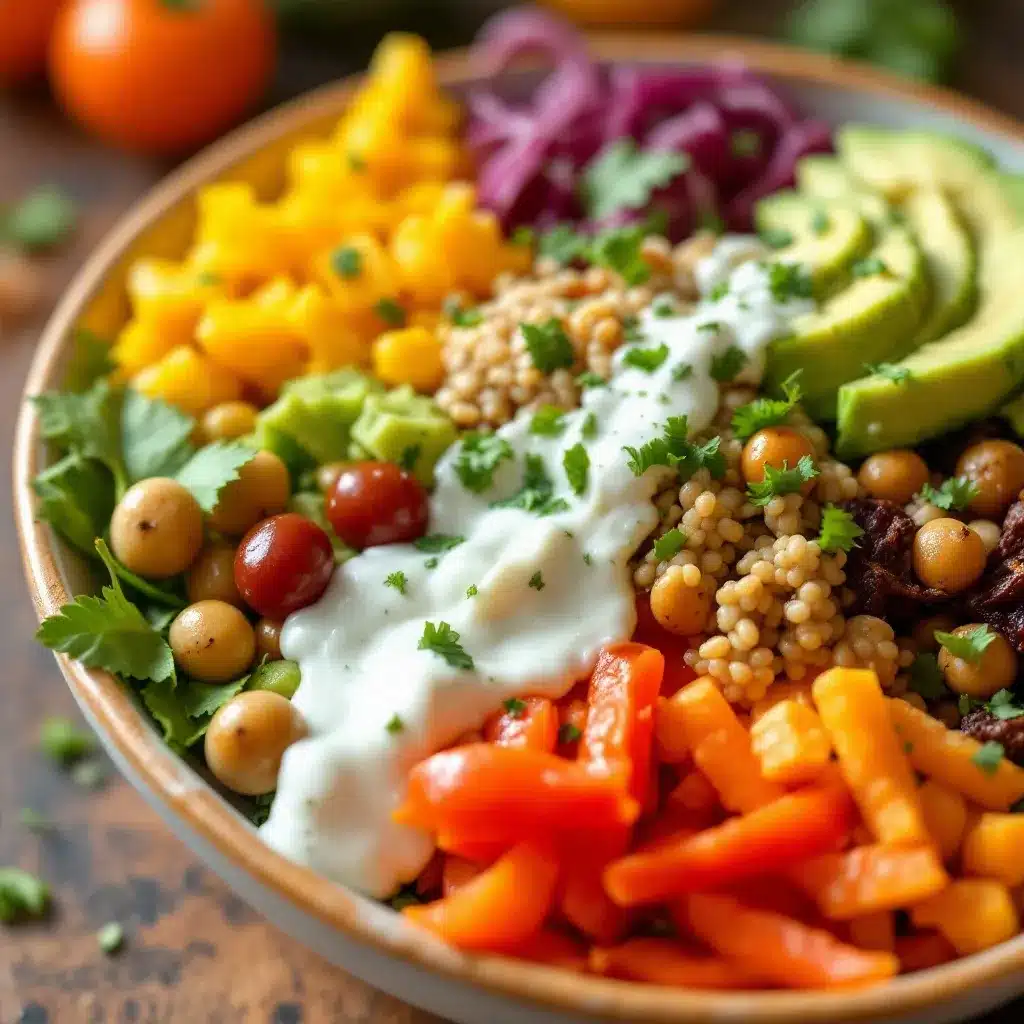
- Ranch Dressing or Dip – ¼ cup per snack box. Use your favorite store-bought brand (I like Hidden Valley for its classic flavor) or make your own with sour cream, buttermilk, and dried herbs. For a healthier twist, try Greek yogurt ranch—it’s tangy and thick.
- Optional Garnish – A sprinkle of dried dill or a pinch of black pepper on top of the dip for a little extra flavor.
Substitution Notes
If your child has a favorite veggie that’s not on this list, swap it in! Green beans, snap peas, broccoli florets, or even thinly sliced zucchini all work beautifully. For a dairy-free ranch, use a plant-based dressing or whisk together dairy-free yogurt with ranch seasoning. And if ranch isn’t your thing, try hummus, guacamole, or a simple yogurt dip. The rainbow concept is flexible—just keep the colors varied and the pieces small.
Equipment Needed
- Cutting Board – A large, sturdy board makes chopping multiple veggies quick and efficient. I prefer a wooden or plastic board that’s easy to clean.
- Sharp Chef’s Knife – A good knife makes all the difference when slicing peppers and carrots. A paring knife works for smaller items like cherry tomatoes.
- Vegetable Peeler – For peeling carrots and cucumbers if needed. A Y-shaped peeler is my favorite—it’s fast and comfortable to hold.
- Small Containers or Bento Boxes – Look for containers with divided sections to keep the veggies and dip separate. I love using Bentgo Kids or simple silicone muffin cups inside a lunchbox. If you don’t have divided containers, use small ramekins for the dip and arrange the veggies around them.
- Measuring Spoons and Cups – For portioning out the ranch dip. Eyeballing it works too, but measuring helps keep portions consistent.
If you don’t have a bento box, no worries—any small container with a lid will do. Just use a silicone cupcake liner or a small glass jar for the dip. The key is keeping the dip separate so the veggies stay crunchy.
Preparation Method
- Wash and prep all vegetables. Rinse the bell peppers, carrots, cucumber, cherry tomatoes, and cabbage under cool water. Pat them dry with a clean towel. Dry veggies stay crunchier longer, so don’t skip this step.
- Slice the red bell pepper. Cut off the top and bottom, remove the seeds and white pith, then slice the pepper into thin strips about 1–2 inches long. For smaller kids, cut the strips into small squares. (Sensory cue: you should hear a crisp snap when you cut through a fresh pepper.)
- Slice the orange carrots. Peel the carrots, then cut them into thin rounds (about ¼-inch thick) or small matchsticks. If using baby carrots, slice them in half lengthwise and then into bite-sized pieces. (Tip: uniform sizes help everything cook and look even.)
- Slice the yellow bell pepper or squash. If using yellow pepper, repeat the same process as the red pepper. If using yellow squash, slice it into thin half-moons or small sticks. Squash is softer, so handle it gently.
- Slice the cucumber. Cut the cucumber into thin rounds (about ¼-inch thick). For younger kids, quarter the rounds to make small triangles. Leave the skin on for extra fiber and color.
- Halve the cherry tomatoes. Cut each tomato in half. For very small children, quarter them to reduce choking risk. (Sensory cue: the tomatoes should be firm but yield slightly when pressed.)
- Shred the purple cabbage. Cut a small wedge of cabbage, then slice it into thin ribbons. You can also use a mandoline or a sharp knife for even shreds. The thinner the better—kids find it easier to chew.
- Portion the ranch dip. Spoon about ¼ cup of ranch dressing into a small container or the designated dip section of your bento box. If you’re using a larger container, a silicone muffin cup works perfectly to hold the dip in place.
- Arrange the veggies by color. Starting with red (bell pepper), then orange (carrots), yellow (pepper or squash), green (cucumber), and purple (cabbage), place each color group in a row or section around the dip. Create a rainbow pattern that’s visually appealing. (Tip: leave a little space between colors so they don’t bleed into each other.)
- Add the tomatoes. Place the halved cherry tomatoes in the center or on the side as a bonus color pop. They’re technically red, but they add a juicy contrast to the pepper strips.
- Seal and refrigerate. Cover the snack box with its lid and store it in the fridge until ready to serve. These boxes keep well for up to 24 hours, though the cucumber may soften slightly overnight. For best crunch, assemble them the morning of serving.
- Serve cold or at room temperature. Preschoolers often prefer room-temperature veggies, so let the box sit out for 5–10 minutes before serving if it’s straight from the fridge.
Cooking Tips & Techniques
I’ve learned a few tricks the hard way—like the time I packed cucumber slices too thick and they turned watery overnight. Here’s what works:
- Keep veggies dry. Moisture is the enemy of crunch. After washing, lay the veggies on a clean kitchen towel or paper towels and pat them dry. For cucumbers, you can even salt them lightly and let them sit for 5 minutes, then pat dry to draw out excess water.
- Cut uniform pieces. When everything is roughly the same size, it looks more polished and is easier for little hands to pick up. Aim for pieces that are about 1–2 inches long and ½-inch wide.
- Prep ahead of time. You can chop all the veggies the night before and store them in separate airtight containers in the fridge. Then in the morning, just assemble the boxes. It takes less than 5 minutes.
- Dip placement matters. Put the dip in the center or a corner of the box, not too close to the edges. This prevents the veggies from sliding into the dip and getting soggy. If you’re using a single-section container, a small silicone cup or paper cupcake liner works as a dip holder.
- Don’t overcrowd the box. Leave a little breathing room between the veggies. If they’re packed too tightly, they’ll release moisture and get limp. A little space keeps everything crisp.
- Mix up the colors. If your child is hesitant about a certain veggie, try pairing it with a familiar favorite. For example, put red pepper next to cucumber—the familiar green might make the red less intimidating.
Variations & Adaptations
- Seasonal Rainbow Swap : In summer, swap in fresh snap peas (green), yellow cherry tomatoes, and orange bell peppers. In fall, try roasted sweet potato cubes (cooled) for orange, and sliced apple for red. The rainbow concept works year-round—just adapt to what’s fresh.
- Dip Variations : Not a ranch fan? Try hummus (especially roasted red pepper hummus for extra color), guacamole, tzatziki, or a simple yogurt dip with dill and garlic powder. For a sweeter option, use a small amount of peanut butter or almond butter for dipping carrots and peppers.
- Protein Boost : Add small cubes of cheese (cheddar, mozzarella, or Colby Jack) for extra protein and calcium. Hard-boiled egg slices or turkey roll-ups also pair beautifully with the rainbow veggies.
- Allergen-Friendly : For dairy-free diets, use a plant-based ranch or hummus. For nut-free, avoid any nut-based dips and stick with seed-based options like sunflower seed butter. The veggies themselves are naturally free of common allergens.
- Bento Box Theme : Turn it into a full lunch by adding a small portion of crackers, a cheese stick, or a handful of berries. The rainbow veggies become the star, but the extras make it a complete meal.
Serving & Storage Suggestions
These snack boxes are best served cold or at room temperature. If you’re packing them for a lunchbox, add a small ice pack to keep the veggies crisp. The ranch dip should stay separate until serving to prevent sogginess.
For storage, assemble the boxes without the dip and store them in the fridge for up to 24 hours. Add the dip just before serving. If you’re prepping for the week, chop the veggies and store each type in a separate airtight container. Then assemble daily—it takes less than 2 minutes per box.
Flavors develop over time? Honestly, not really with fresh veggies—they’re best eaten within a day. But the ranch dip actually gets better after sitting in the fridge for a few hours as the herbs meld together. So make the dip ahead if you can.
For reheating—well, you don’t. These are served cold. But if you want to soften the veggies slightly for very young toddlers, you can blanch the carrots and peppers in boiling water for 30 seconds, then plunge them into ice water before assembling. That’s a great option for babies just starting solids.
Nutritional Information & Benefits
Each snack box (about 1 cup of mixed veggies with 2 tablespoons of ranch) contains approximately:
- Calories: 120–150
- Protein: 2–3g
- Carbohydrates: 12–15g
- Fiber: 3–4g
- Fat: 7–9g (mostly from the ranch)
- Vitamin A: 120% DV (from carrots and peppers)
- Vitamin C: 80% DV (from bell peppers)
The rainbow of veggies provides a wide range of vitamins, minerals, and antioxidants. Red peppers are packed with vitamin C, carrots are rich in beta-carotene for eye health, and purple cabbage contains anthocyanins that support brain function. Cucumber adds hydration, and cherry tomatoes provide lycopene, a powerful antioxidant. This snack is naturally gluten-free, dairy-free (if you use a plant-based ranch), and low in added sugar—making it a wholesome choice for growing kids.
Conclusion
These Easy Rainbow Veggie Ranch Snack Boxes for Preschoolers are proof that healthy snacks don’t have to be boring or complicated. With just a few simple ingredients and 10 minutes of prep, you can create something that’s visually exciting, nutritionally balanced, and genuinely fun for kids to eat. The rainbow layout turns vegetables into a game, and the ranch dip makes them feel like a treat. It’s a win-win for parents and little ones alike.
I love this recipe because it’s flexible enough to work with whatever you have in the fridge, and it never fails to surprise me how quickly the veggies disappear. Whether you’re packing a lunchbox, prepping for a playdate, or just looking for a way to add more color to your child’s day, these snack boxes deliver. So go ahead—raid your crisper drawer, slice up a rainbow, and watch your preschooler crunch their way through every color. And if you come up with a fun variation, I’d love to hear about it in the comments!
Frequently Asked Questions
Can I make these snack boxes ahead of time for the whole week?
Yes, but with a small caveat. You can chop all the veggies up to 3 days in advance and store each type in a separate airtight container. Assemble the snack boxes the night before or morning of serving for the freshest crunch. Cucumbers and tomatoes are the most moisture-sensitive, so add those just before serving if possible.
What if my child refuses to eat a certain color?
That’s totally normal! Try offering a small taste without pressure. Sometimes just seeing the color next to a familiar favorite helps. You can also let your child help arrange the veggies in the box—when kids feel involved, they’re more likely to try what they’ve made. And if they still skip a color, no worries—offer it again another time.
Can I use frozen vegetables for these snack boxes?
Frozen veggies tend to release water as they thaw, which can make the snack box soggy. I recommend using fresh vegetables for the best texture. However, you can use thawed frozen peas or corn in a pinch—just pat them very dry before adding them to the box.
How do I keep the veggies from getting soggy in the lunchbox?
Keep the dip completely separate until serving time. Use a divided container or a small silicone cup for the dip. Also, make sure the veggies are thoroughly dried after washing. A paper towel layer at the bottom of the container can help absorb any excess moisture during transport.
Can I make these snack boxes for older kids or adults?
Absolutely! Just increase the portion sizes and add more variety. For adults, try adding snap peas, jicama sticks, or roasted chickpeas. You can also swap the ranch for a more sophisticated dip like balsamic vinaigrette or cilantro-lime dressing. The rainbow concept works for any age.
Pin This Recipe!
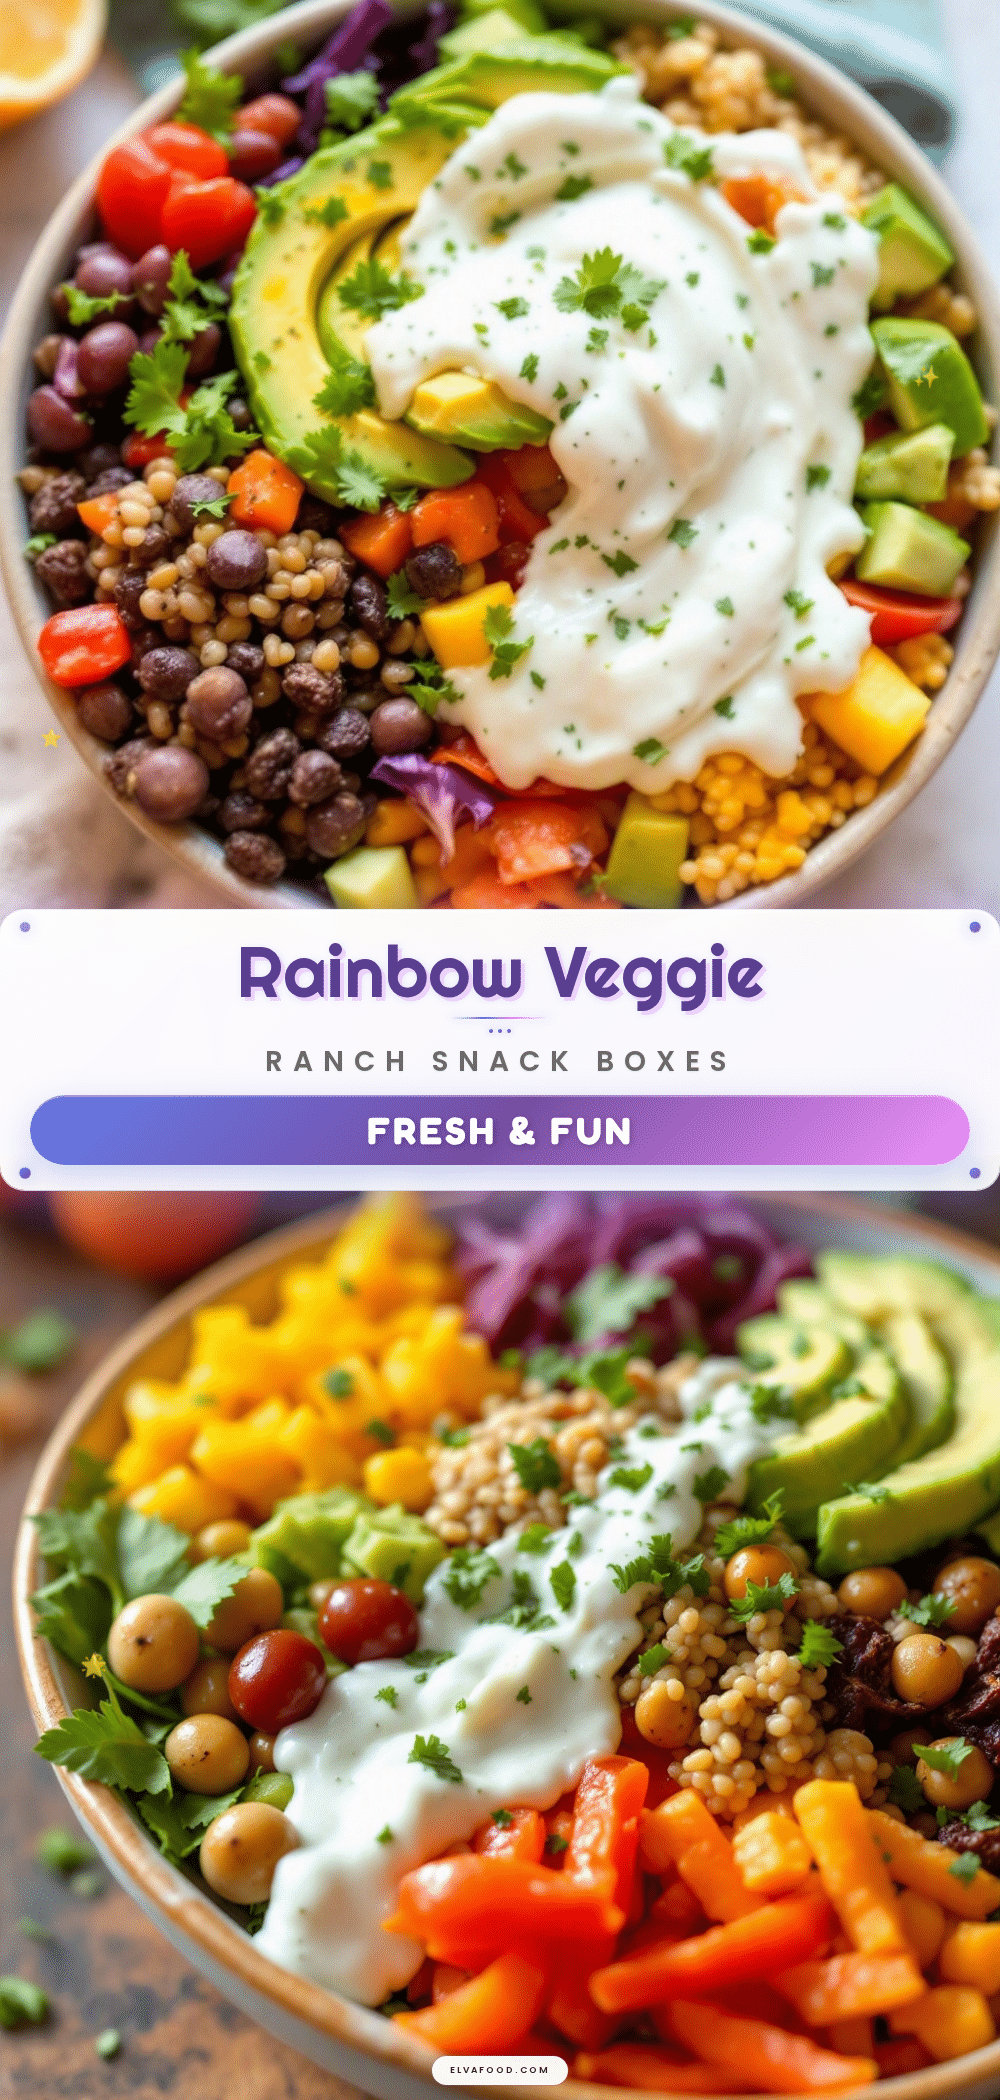
Easy Rainbow Veggie Ranch Snack Boxes for Kids
These Easy Rainbow Veggie Ranch Snack Boxes for Preschoolers are a fun, colorful, and healthy snack that kids love. With just a few simple ingredients and 10 minutes of prep, you can create a visually exciting and nutritious snack that turns vegetables into a game.
- Prep Time: 10 minutes
- Cook Time: 0 minutes
- Total Time: 10 minutes
- Yield: 4 servings 1x
- Category: Snack
- Cuisine: American
Ingredients
- 1 medium red bell pepper, seeded and cut into thin strips or small squares
- 2 medium orange carrots, peeled and cut into thin rounds or small matchsticks
- 1 medium yellow bell pepper or yellow squash, seeded and cut into small strips or half-moons
- ½ English cucumber, sliced into thin rounds or quartered
- ½ cup cherry tomatoes, halved or quartered
- ¼ small head purple cabbage or red cabbage, thinly shredded
- ¼ cup ranch dressing or dip per snack box
- Optional: dried dill or black pepper for garnish
Instructions
- Wash and prep all vegetables. Rinse the bell peppers, carrots, cucumber, cherry tomatoes, and cabbage under cool water. Pat them dry with a clean towel.
- Slice the red bell pepper. Cut off the top and bottom, remove the seeds and white pith, then slice the pepper into thin strips about 1–2 inches long. For smaller kids, cut the strips into small squares.
- Slice the orange carrots. Peel the carrots, then cut them into thin rounds (about ¼-inch thick) or small matchsticks. If using baby carrots, slice them in half lengthwise and then into bite-sized pieces.
- Slice the yellow bell pepper or squash. If using yellow pepper, repeat the same process as the red pepper. If using yellow squash, slice it into thin half-moons or small sticks.
- Slice the cucumber. Cut the cucumber into thin rounds (about ¼-inch thick). For younger kids, quarter the rounds to make small triangles.
- Halve the cherry tomatoes. Cut each tomato in half. For very small children, quarter them to reduce choking risk.
- Shred the purple cabbage. Cut a small wedge of cabbage, then slice it into thin ribbons.
- Portion the ranch dip. Spoon about ¼ cup of ranch dressing into a small container or the designated dip section of your bento box.
- Arrange the veggies by color. Starting with red (bell pepper), then orange (carrots), yellow (pepper or squash), green (cucumber), and purple (cabbage), place each color group in a row or section around the dip.
- Add the tomatoes. Place the halved cherry tomatoes in the center or on the side as a bonus color pop.
- Seal and refrigerate. Cover the snack box with its lid and store it in the fridge until ready to serve. These boxes keep well for up to 24 hours.
- Serve cold or at room temperature. Let the box sit out for 5–10 minutes before serving if it’s straight from the fridge.
Notes
Keep veggies dry for maximum crunch. Cut uniform pieces for easy handling. Prep veggies the night before for quick assembly. Keep dip separate until serving to prevent sogginess. For very young toddlers, blanch carrots and peppers in boiling water for 30 seconds, then plunge into ice water before assembling.
Nutrition
- Serving Size: 1 snack box (about 1
- Calories: 120150
- Sugar: 57
- Sodium: 200300
- Fat: 79
- Saturated Fat: 12
- Carbohydrates: 1215
- Fiber: 34
- Protein: 23
Keywords: rainbow veggie snack, kids snack, healthy snack, preschooler snack, veggie ranch snack box, easy snack, lunchbox idea


