The last biscuit got swiped from the platter before I could even offer seconds. My sister-in-law, who never asks for recipes, was already typing notes into her phone with strawberry juice on her fingers. That’s when I knew this classic strawberry shortcake with fluffy homemade biscuits had crossed over from “pretty good” to “make-it-again-or-else” territory.
I wasn’t trying to reinvent the wheel here. I just wanted a strawberry shortcake that didn’t let you down halfway through the bite. You know what I mean? The kind where the biscuit turns into a sad, soggy disk before you even get to the berries. Or worse — the shortcake is so dry you need a glass of milk just to get through it. No thank you.
This version started on a random Saturday morning when I had a basket of strawberries that were about two days past their prime. They were still beautiful — deep red, fragrant, practically begging to be used. I had buttermilk in the fridge and a hankering for something that felt like summer but didn’t require turning on the oven for hours. The result was a dessert that felt honest. Simple ingredients doing exactly what they’re supposed to do, with no fuss and no pretense.
Honestly, that first batch disappeared so fast I barely got a photo. The second batch, I guarded with my life. And now? This classic strawberry shortcake with fluffy homemade biscuits has become the unofficial start of summer at our house. It’s the dessert I bring to potlucks when I want to look like I tried without actually trying all that hard. It’s the one my husband requests for his birthday instead of cake. And it’s the recipe that taught me you don’t need fancy techniques or exotic ingredients to make something unforgettable. You just need good fruit, good butter, and a little patience.
Why You’ll Love This Recipe
Let me tell you why this recipe works so well — and why I think you’ll come back to it again and again.
- Quick & Easy : From start to finish, you’re looking at about 30 minutes of active time. The biscuits come together in one bowl, the strawberries macerate while you bake, and assembly takes two minutes flat. Perfect for those evenings when you want dessert but don’t want a kitchen disaster.
- Simple Ingredients : You probably have most of this in your kitchen right now. Flour, butter, sugar, baking powder, salt, cream, strawberries. That’s it. No weird extracts, no specialty flours, no trips to three different stores. This is pantry cooking at its finest.
- Perfect for Summer Gatherings : Whether it’s a backyard barbecue, a Fourth of July party, or just a Tuesday night that feels like it deserves something special, this dessert delivers. It’s impressive without being fussy, and everyone — I mean everyone — loves it.
- Crowd-Pleaser : I’ve served this to kids, grandparents, picky eaters, and dessert snobs. Not a single complaint. The combination of sweet, juicy strawberries, tender buttery biscuits, and softly whipped cream is basically foolproof.
- Unbelievably Delicious : The texture here is what gets people. The biscuits are crisp on the outside and pillow-soft on the inside. The strawberries break down just enough to create that gorgeous red syrup. And the cream? Light, barely sweet, the perfect counterpoint to all that fruit.
What makes this recipe different from the dozens of other strawberry shortcake recipes out there? It’s the biscuit. Most recipes use sponge cake or angel food cake or those sad little store-bought cups. Not here. We’re making proper, flaky, butter-layered biscuits that can actually hold up to the strawberries without disintegrating. The technique is simple — cold butter, minimal handling, a hot oven — but the result is a game-changer.
This isn’t just another version of strawberry shortcake. It’s the version. The one you’ll text your friends about. The one that makes you close your eyes after the first bite and forget what you were worried about. It’s comfort food at its most honest — a little bit sweet, a little bit tangy, and completely satisfying.
What Ingredients You Will Need
This recipe uses simple, honest ingredients to create something genuinely special. No shortcuts, no gimmicks — just good food that works together beautifully.
For the Strawberries
- 2 pounds fresh strawberries, hulled and sliced (about 6 cups) — Look for berries that are deep red all the way through. If they smell like strawberries, they’re perfect. Avoid anything that looks pale or has white shoulders near the stem.
- ¼ cup granulated sugar — This draws out the natural juices and creates that gorgeous syrup. You can adjust up or down depending on how sweet your berries are.
- 1 teaspoon lemon juice (optional) — A tiny squeeze brightens everything up. Don’t skip it if you have a lemon handy.
For the Fluffy Homemade Biscuits
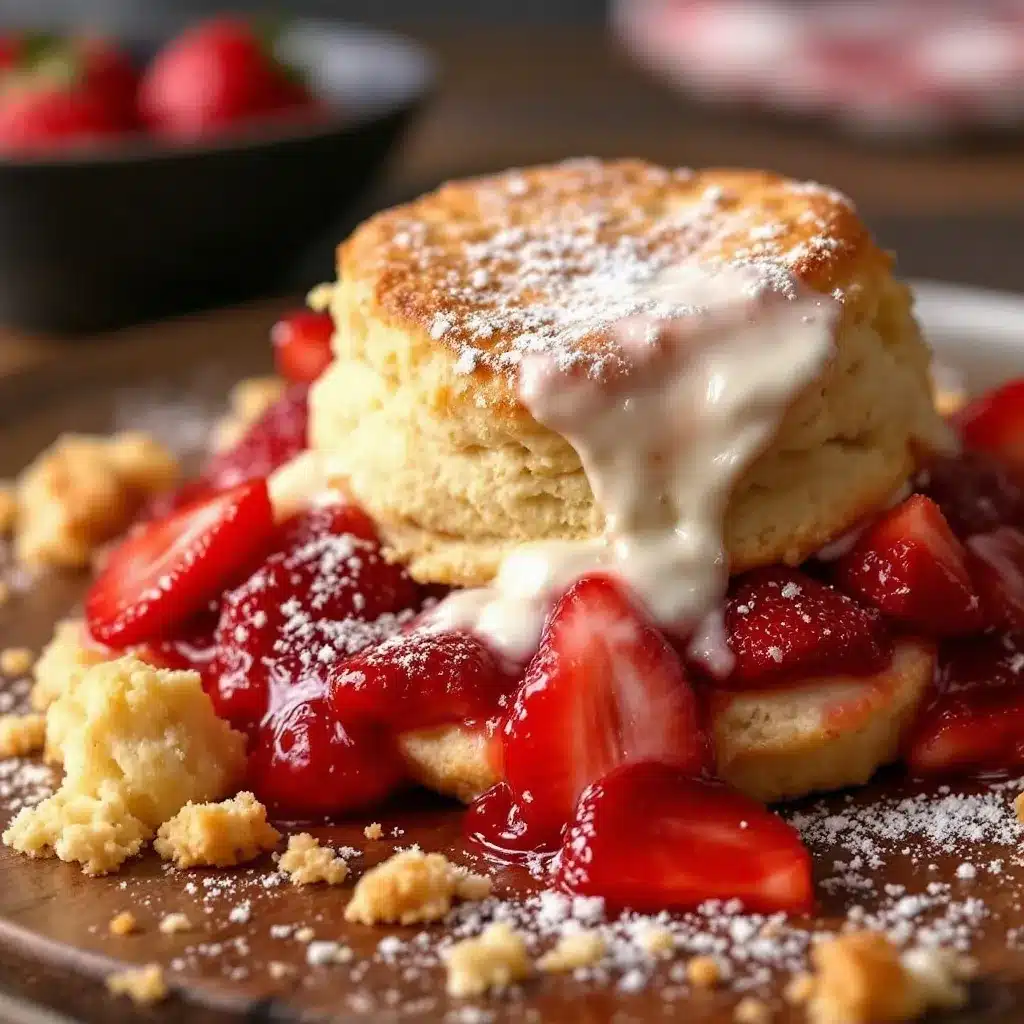
- 2 cups all-purpose flour (250g) — I use Gold Medal or King Arthur. Bleached or unbleached both work fine here.
- 3 tablespoons granulated sugar — Just enough to give the biscuits a hint of sweetness without making them taste like cookies.
- 1 tablespoon baking powder — Make sure it’s fresh. If your baking powder is more than six months old, it might not give you the rise you want.
- ½ teaspoon salt — Fine sea salt or table salt. This balances the sweetness.
- 6 tablespoons cold unsalted butter (85g), cut into small cubes — This is non-negotiable. The butter needs to be cold. Like, straight-from-the-fridge cold. I sometimes pop my cubed butter in the freezer for 10 minutes before I start.
- ¾ cup cold heavy cream (180ml), plus extra for brushing — Heavy cream gives you a richer, more tender biscuit than buttermilk. If you only have whole milk, it will work, but the texture won’t be quite as luxurious.
- 1 teaspoon vanilla extract — Pure vanilla, not imitation. It makes a difference.
- Turbinado or coarse sugar for sprinkling (optional but recommended) — That crunchy top is worth the extra step.
For the Whipped Cream
- 1½ cups cold heavy cream (360ml) — Cold cream whips up faster and holds its shape better. I stick my bowl and beaters in the freezer for 15 minutes before I start.
- 2 tablespoons powdered sugar — Dissolves more easily than granulated. You can use maple syrup or honey if you prefer.
- ½ teaspoon vanilla extract — Again, pure vanilla.
Ingredient Notes & Substitutions
If you’re dairy-free, you can substitute the butter with a good-quality vegan butter (I like Miyoko’s) and use full-fat coconut cream for the whipped cream. The texture will be slightly different — coconut cream is a little denser — but it’s still delicious.
For a gluten-free version, use a 1:1 gluten-free flour blend that contains xanthan gum. Cup4Cup works well here. The biscuits won’t be quite as flaky, but they’ll still be tender and tasty.
Frozen strawberries can work in a pinch, but thaw them first and drain off the excess liquid. You’ll lose some of that fresh texture, so I really recommend fresh berries when they’re in season. If you’re making this in winter and the berries look sad, consider roasting them with a little sugar instead — it concentrates the flavor beautifully.
Equipment Needed
You don’t need a fancy kitchen to make this recipe. Here’s what you’ll actually use:
- Baking sheet — A standard half-sheet pan works perfectly. Line it with parchment paper for easy cleanup.
- Large mixing bowl — For the biscuit dough. I prefer a wide, shallow bowl for cutting in butter.
- Pastry cutter or two forks — If you don’t have a pastry cutter, don’t worry. Two forks or even your fingertips (work quickly!) will do the job. I actually used my fingers for years before I bought a pastry cutter.
- 2½-inch round biscuit cutter — A sharp-edged cutter gives you the best rise. If you don’t have one, you can use a drinking glass or just cut the dough into squares with a knife. No judgment here.
- Pastry brush — For brushing cream on top of the biscuits before baking. A silicone brush is easiest to clean.
- Stand mixer or hand mixer — For whipping the cream. You can do it by hand with a whisk, but your arm will get a workout. I’ve done it both ways, and the mixer is worth the cleanup.
- Sharp knife and cutting board — For hulling and slicing the strawberries.
- Medium bowl — For macerating the strawberries.
One thing I’ve learned the hard way: don’t twist your biscuit cutter. Press straight down and lift straight up. Twisting seals the edges and prevents the biscuits from rising properly. I ruined my first three batches of biscuits before someone told me this. Now you know too.
If you bake a lot, consider investing in a good quality baking sheet — the kind with a heavy gauge that won’t warp in the oven. It makes a real difference in even browning. But honestly? My grandmother made these on a warped, beat-up sheet pan for fifty years, and nobody complained.
Preparation Method
Let’s make some strawberry shortcake. Trust me, this is easier than you think.
Step 1: Macerate the Strawberries
Start with the berries. Wash them gently, pat them dry, then hull and slice them into even pieces — about ¼-inch thick. I like to slice them rather than chop them because they hold their shape better. Put them in a medium bowl and sprinkle with the sugar and lemon juice. Stir gently to coat. Let them sit at room temperature for at least 20-30 minutes, stirring once or twice. The sugar draws out the natural juices, creating that beautiful red syrup that makes shortcake so special. If you can wait an hour, even better. The berries will be softer and the syrup will be thicker.
Step 2: Preheat and Prep
While the berries are doing their thing, preheat your oven to 425°F (220°C). Position a rack in the upper third of the oven. Line a baking sheet with parchment paper. This is important — the parchment helps the biscuits brown evenly and makes cleanup a breeze.
Step 3: Make the Biscuit Dough
In a large bowl, whisk together the flour, sugar, baking powder, and salt. Add the cold butter cubes. Using a pastry cutter or two forks, cut the butter into the flour until the mixture looks like coarse meal with some pea-sized butter pieces remaining. You want visible bits of butter — those create steam pockets in the oven, which give you flaky layers. If you overwork the dough, you’ll get tough biscuits. So stop when you still see some butter chunks. It’s okay. It’s supposed to look that way.
Make a well in the center and pour in the cold heavy cream and vanilla extract. Stir with a fork just until the dough comes together. It will look shaggy and a little dry in spots. That’s perfect. If it’s too dry to hold together, add another tablespoon of cream. If it’s too sticky, add a little more flour. But honestly? Err on the side of too little mixing. Overmixing is the enemy of tender biscuits.
Step 4: Shape and Cut the Biscuits
Turn the dough out onto a lightly floured surface. Gently bring it together with your hands, patting it into a rectangle about ¾-inch thick. Don’t knead it like bread dough — you’re not developing gluten here. Just press it together gently. Fold it over once or twice if you want extra layers, then pat it back out to ¾-inch thickness.
Dip your biscuit cutter in flour, then press straight down without twisting. Cut the biscuits as close together as possible to minimize scraps. You should get about 6 biscuits from one batch. Gather the scraps, press them together gently, and cut one or two more. Place the biscuits on the prepared baking sheet, about 1 inch apart. They won’t spread much, so they can be fairly close.
Brush the tops with a little extra heavy cream and sprinkle with turbinado sugar if you’re using it. That crunchy top is one of my favorite parts.
Step 5: Bake the Biscuits
Bake for 12-15 minutes, until the biscuits are golden brown and fragrant. The bottoms should be lightly browned too. Remove from the oven and let them cool on the baking sheet for 5 minutes, then transfer to a wire rack. They’re best served warm, but they’re also delicious at room temperature.
Step 6: Make the Whipped Cream
While the biscuits are cooling, make the whipped cream. In a chilled bowl, combine the cold heavy cream, powdered sugar, and vanilla extract. Beat with a hand mixer or stand mixer on medium-high speed until soft peaks form — about 2-3 minutes. You want the cream to hold its shape but still be soft and billowy. If you overbeat it, you’ll end up with butter. Trust me, I’ve done it. Stop when it looks like soft, luscious clouds.
Step 7: Assemble the Shortcakes
Split each biscuit in half horizontally. Place the bottom half on a plate. Spoon a generous amount of macerated strawberries and their syrup over the bottom half. Add a big dollop of whipped cream. Top with the other half of the biscuit. Add another spoonful of strawberries and another dollop of cream on top. Garnish with a whole strawberry if you’re feeling fancy.
Serve immediately. This is not a make-ahead dessert — the biscuits will get soggy if they sit too long. But that’s okay. The whole point is to eat them warm, with cream dripping down your chin, while the berries are still glossy and the biscuit is still slightly crisp.
Cooking Tips & Techniques
I’ve made this recipe about thirty times now, and I’ve learned a few things along the way. Here are the tips that actually matter.
Keep everything cold. This is the number one rule for flaky biscuits. Cold butter creates steam pockets. Warm butter melts into the flour and gives you dense, flat biscuits. I keep my butter in the freezer for 15 minutes before I start. I use cold cream straight from the fridge. If your kitchen is warm, chill your flour too. It makes a difference.
Don’t overwork the dough. I cannot stress this enough. Mix until the dough just comes together. Stop. Pat it gently into shape. Cut the biscuits. Get them in the oven. The less you handle the dough, the more tender the biscuits will be. Overworking develops gluten, which makes biscuits tough and chewy. We want tender and flaky.
Use a sharp cutter. A dull cutter or a glass with a thick rim will press the edges of the dough together, preventing them from rising. Press straight down and lift straight up. No twisting. I learned this the hard way after making hockey pucks for a week.
Let the berries macerate properly. Twenty minutes is the minimum. An hour is better. The sugar needs time to draw out the juices. If you rush this step, your strawberries will be crunchy and the syrup won’t develop. Taste the berries after they’ve sat — the liquid should be syrupy and the berries should be soft but not mushy.
Whip the cream to soft peaks. Not stiff peaks. Soft peaks hold their shape but still look billowy and luscious. Stiff peaks are fine for piping, but they’re less luxurious on shortcake. And whatever you do, don’t overwhip. Once that cream turns yellow and grainy, there’s no going back.
Serve immediately. This is a dessert that waits for no one. Assemble the shortcakes right before serving. If you’re making them for a crowd, set up a shortcake bar and let everyone assemble their own. It’s more fun that way anyway.
Variations & Adaptations
This classic strawberry shortcake with fluffy homemade biscuits is perfect as written, but it’s also endlessly adaptable. Here are some variations I’ve tried and loved.
Mixed Berry Shortcake. Swap half the strawberries for raspberries, blueberries, or blackberries. The combination of berries creates a more complex flavor. I did this for a Fourth of July party and it was a hit. Just be gentle with the raspberries — they fall apart easily.
Peach & Cream Shortcake. In summer, swap the strawberries for ripe peaches. Slice them, toss with sugar and a splash of bourbon or vanilla, and let them macerate. The peaches get soft and syrupy, and the combination with the buttery biscuit is heavenly. If you want to try another stone fruit dessert, check out my mini lemon blueberry cheesecakes — they’re perfect for summer parties too.
Chocolate-Dipped Strawberry Shortcake. Melt some dark chocolate and drizzle it over the assembled shortcakes. The bitterness of the chocolate balances the sweetness of the strawberries. I tried this on a whim one night and it was dangerously good.
Vegan Version. Use cold vegan butter (I like Miyoko’s) and full-fat coconut cream for the biscuits. For the whipped cream, chill a can of full-fat coconut milk overnight, scoop out the solid cream, and whip it with a little powdered sugar. The texture is different — denser and more coconutty — but it’s still delicious. For the strawberries, no changes needed — they’re already vegan.
Gluten-Free Version. Use a 1:1 gluten-free flour blend. I’ve had good results with Cup4Cup and King Arthur’s measure-for-measure blend. The biscuits won’t be quite as flaky, but they’ll still be tender and buttery. Add an extra tablespoon of cream if the dough seems dry.
Herb-Infused Shortcake. Add 1 tablespoon of finely chopped fresh basil or mint to the biscuit dough. The herbal notes pair beautifully with strawberries. I was skeptical the first time I tried this, but now it’s one of my favorite variations.
Serving & Storage Suggestions
This dessert is best served immediately after assembly. The warm biscuit, the cold cream, the juicy berries — it’s a moment. Don’t let it sit around.
Serving Temperature. Serve the biscuits warm or at room temperature. The strawberries should be at room temperature too — cold berries don’t release their juices as well. The cream should be cold. The contrast in temperatures is part of the magic.
Presentation. I like to serve these on individual plates with a generous spoonful of macerated strawberries and a dollop of cream. A sprig of mint on top adds a pop of color. If you’re serving a crowd, set up a shortcake bar with the biscuits, berries, and cream in separate bowls and let everyone build their own.
What to Serve With It. This shortcake is perfect on its own, but it pairs beautifully with a cup of coffee or a glass of cold milk. For a grown-up version, serve it with a glass of sparkling wine or a light, fruity rosé. If you’re feeling extra indulgent, a scoop of vanilla ice cream on the side never hurts.
Storage. Store the biscuits and strawberries separately. The biscuits will keep in an airtight container at room temperature for up to 2 days. The macerated strawberries will keep in the fridge for up to 3 days — the syrup gets even better over time. The whipped cream should be used immediately, but leftovers will keep in the fridge for a day. Just re-whip it before serving if it deflates.
Reheating. To reheat the biscuits, pop them in a 350°F oven for 5 minutes. Don’t microwave them — they’ll get tough. If you’re reheating the whole shortcake, you’re better off just eating it cold. It won’t be the same, but it’ll still be good.
Nutritional Information & Benefits
Let’s be honest — this is a dessert, not a health food. But that doesn’t mean it’s without merit.
| Nutrient | Per Serving (1 shortcake) |
|---|---|
| Calories | ~420 |
| Total Fat | 28g |
| Saturated Fat | 17g |
| Carbohydrates | 38g |
| Sugar | 18g |
| Fiber | 3g |
| Protein | 5g |
| Vitamin C | 70% DV |
Strawberries are packed with vitamin C, fiber, and antioxidants. One serving of this shortcake provides more than half your daily vitamin C needs. The cream provides calcium and vitamin D. The butter? Well, it makes life worth living.
Dietary Considerations. This recipe contains gluten and dairy. For gluten-free and vegan options, see the variations section above. This recipe is naturally vegetarian and can be made nut-free if you use nut-free milk alternatives.
My Take. I believe in balance. This strawberry shortcake is a treat — something to enjoy on a summer evening with people you love. It’s not an everyday dessert, and it shouldn’t be. But when you do have it, savor every bite. That’s what food is for, right?
Conclusion
This classic strawberry shortcake with fluffy homemade biscuits is the kind of dessert that doesn’t need to try hard. It’s simple, honest, and absolutely delicious. The biscuits are buttery and tender. The strawberries are sweet and juicy. The cream is light and luxurious. Together, they’re something special.
What I love most about this recipe is how forgiving it is. You don’t need to be a pastry chef to pull it off. You don’t need specialty equipment or exotic ingredients. You just need good strawberries, cold butter, and a little bit of patience. The rest takes care of itself.
I hope you make this recipe. I hope you share it with people you love. And I hope it becomes a tradition in your kitchen the way it has in mine. If you try it, I’d love to hear how it turned out. Leave a comment below, tag me in your photos, or send me a message. Honestly, hearing that someone made this recipe and loved it makes my whole day.
Now go find some good strawberries. Summer’s waiting.
Frequently Asked Questions
Can I use frozen strawberries for this recipe?
You can, but fresh is better. Frozen strawberries release a lot of liquid when they thaw, which can make the shortcake soggy. If you’re using frozen, thaw them first, drain off the excess liquid, and toss them with the sugar. The texture won’t be quite as good, but the flavor will still be there.
Why did my biscuits turn out flat and hard?
Two most likely reasons: your butter wasn’t cold enough, or you overworked the dough. Cold butter creates steam pockets that make biscuits rise. Overworking develops gluten, which makes them tough. Next time, chill your butter longer and mix the dough less. And make sure your baking powder is fresh — old baking powder won’t give you the rise you need.
Can I make the biscuits ahead of time?
Yes! You can make the biscuit dough up to 24 hours in advance. Shape the biscuits, place them on a parchment-lined baking sheet, cover tightly with plastic wrap, and refrigerate. Bake them straight from the fridge — just add a couple of minutes to the baking time. You can also freeze unbaked biscuits on a baking sheet, then transfer them to a freezer bag. Bake from frozen, adding 3-5 minutes to the baking time.
What’s the best way to hull strawberries?
Use a small paring knife or a strawberry huller. Insert the tip of the knife at an angle around the green stem, cutting in a cone shape. Lift out the stem and the white core underneath. If you don’t have a huller, you can just cut off the top of the strawberry with a knife. It’s not as pretty, but it works.
Can I use this biscuit recipe for other things?
Absolutely. These biscuits are amazing on their own with butter and jam. They’re also great for strawberry shortcake bars — just press the dough into a square pan, bake, and cut into squares. If you’re looking for another easy dessert that uses similar techniques, try my easy strawberry shortcake bars — they’re perfect for feeding a crowd with minimal fuss.
Pin This Recipe!
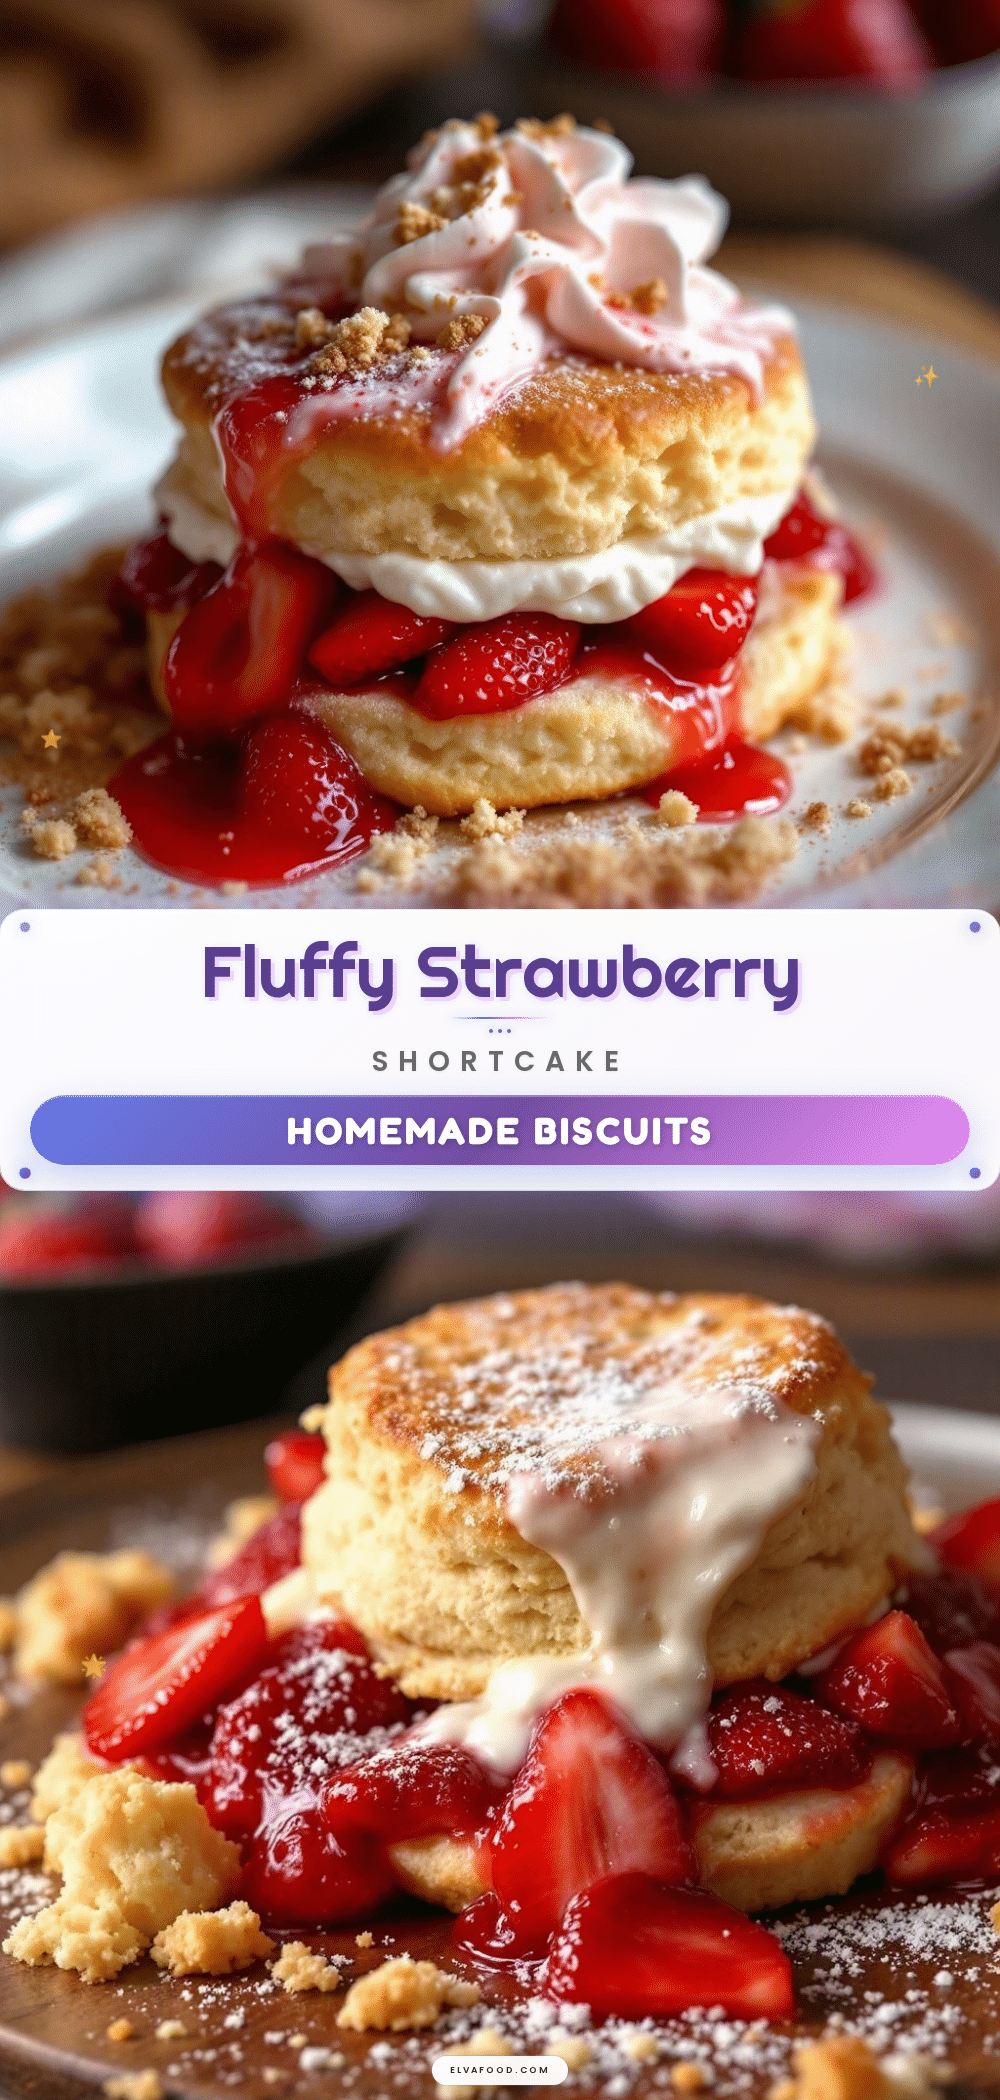
Classic Strawberry Shortcake with Fluffy Homemade Biscuits – Best Easy Dessert
This classic strawberry shortcake features fluffy homemade biscuits, sweet macerated strawberries, and lightly sweetened whipped cream. It’s a simple, honest dessert that’s perfect for summer gatherings and guaranteed to impress.
- Prep Time: 30 minutes
- Cook Time: 15 minutes
- Total Time: 45 minutes
- Yield: 6 servings 1x
- Category: Dessert
- Cuisine: American
Ingredients
- 2 pounds fresh strawberries, hulled and sliced (about 6 cups)
- ¼ cup granulated sugar
- 1 teaspoon lemon juice (optional)
- 2 cups all-purpose flour (250g)
- 3 tablespoons granulated sugar
- 1 tablespoon baking powder
- ½ teaspoon salt
- 6 tablespoons cold unsalted butter (85g), cut into small cubes
- ¾ cup cold heavy cream (180ml), plus extra for brushing
- 1 teaspoon vanilla extract
- Turbinado or coarse sugar for sprinkling (optional)
- 1½ cups cold heavy cream (360ml)
- 2 tablespoons powdered sugar
- ½ teaspoon vanilla extract
Instructions
- Macerate the strawberries: Wash, hull, and slice strawberries into ¼-inch thick pieces. Place in a medium bowl and sprinkle with ¼ cup granulated sugar and lemon juice. Stir gently to coat. Let sit at room temperature for 20-30 minutes, stirring once or twice.
- Preheat oven to 425°F (220°C). Position a rack in the upper third of the oven. Line a baking sheet with parchment paper.
- Make the biscuit dough: In a large bowl, whisk together flour, 3 tablespoons sugar, baking powder, and salt. Add cold butter cubes. Using a pastry cutter or two forks, cut butter into flour until mixture resembles coarse meal with some pea-sized butter pieces remaining.
- Make a well in the center and pour in ¾ cup cold heavy cream and 1 teaspoon vanilla extract. Stir with a fork just until dough comes together. It will look shaggy and slightly dry.
- Turn dough out onto a lightly floured surface. Gently bring together with hands, patting into a rectangle about ¾-inch thick. Do not knead. Fold over once or twice if desired, then pat back to ¾-inch thickness.
- Dip a 2½-inch round biscuit cutter in flour, then press straight down without twisting. Cut biscuits as close together as possible. Place on prepared baking sheet about 1 inch apart. Gather scraps, press together, and cut additional biscuits.
- Brush tops with extra heavy cream and sprinkle with turbinado sugar if using.
- Bake for 12-15 minutes until golden brown and fragrant. Let cool on baking sheet for 5 minutes, then transfer to a wire rack.
- Make the whipped cream: In a chilled bowl, combine 1½ cups cold heavy cream, 2 tablespoons powdered sugar, and ½ teaspoon vanilla extract. Beat with a hand mixer or stand mixer on medium-high speed until soft peaks form, about 2-3 minutes.
- Assemble the shortcakes: Split each biscuit in half horizontally. Place bottom half on a plate. Spoon macerated strawberries and syrup over bottom half. Add a dollop of whipped cream. Top with other half of biscuit. Add more strawberries and cream on top. Garnish with a whole strawberry if desired. Serve immediately.
Notes
Keep all ingredients cold for flaky biscuits. Do not overwork the dough. Use a sharp biscuit cutter and press straight down without twisting. Serve immediately after assembly for best texture. Biscuits can be made ahead and stored in an airtight container at room temperature for up to 2 days. Macerated strawberries keep in the fridge for up to 3 days.
Nutrition
- Serving Size: 1 shortcake
- Calories: 420
- Sugar: 18
- Sodium: 0.5
- Fat: 28
- Saturated Fat: 17
- Carbohydrates: 38
- Fiber: 3
- Protein: 5
Keywords: strawberry shortcake, homemade biscuits, easy dessert, summer dessert, strawberry recipe, biscuit recipe, whipped cream


