I burned my tongue on instant ramen for the better part of a decade before it occurred to me that I could actually improve the stuff instead of just tolerating it. Not in a fancy, look-at-me-I-added-an-egg way, but in a genuine, this-now-tastes-like-a-real-bowl-of-noodles kind of way. The kind where you stop halfway through, look at the bowl, and think, wait, did I actually make this?
The first time I tried upgrading instant ramen, I threw in whatever was wilting in my fridge drawer and a leftover hard-boiled egg. It was terrible. The broth turned cloudy, the veggies were either mush or raw, and the egg just floated there like a sad, forgotten meatball. But that failure taught me something important: you can’t just dump stuff in and hope for the best. You need a little strategy, a little timing, and a few specific ingredients that actually work together.
This Easy 15-Minute Ramen Upgrade Bowl is the result of all those trial-and-error nights. It’s the version I make when I’m tired, hungry, and need something that feels like a real meal without pretending to be a gourmet project. It’s quick, it’s satisfying, and honestly, it’s ruined plain instant ramen for me forever.
Why You’ll Love This Recipe
I’ve tested this ramen upgrade more times than I care to admit, and I can tell you with confidence that it nails the balance between speed and flavor. No complicated techniques, no obscure ingredients, just a better bowl of noodles in the same amount of time it takes to make the plain stuff.
- Quick & Easy: From start to finish, this comes together in exactly 15 minutes. That’s not a marketing claim, that’s me timing it in my own kitchen while my cat yells at me for dinner.
- Simple Ingredients: You likely already have most of these in your pantry or fridge. No special trips to an Asian grocery store required, though you can definitely go that route if you want.
- Perfect for Busy Nights: This is my go-to when I’ve had a long day and can’t be bothered to chop vegetables for 20 minutes. It’s also great for students, late-night cravings, or anyone who needs a warm, comforting meal without the effort.
- Crowd-Pleaser: I’ve served this to friends who usually turn their noses up at instant ramen, and they’ve all asked for the recipe. It’s that good.
- Unbelievably Delicious: The combination of a rich, savory broth with soft noodles, tender protein, and fresh toppings creates a bowl that feels like it came from a restaurant, not a 99-cent packet.
What makes this recipe different from the hundreds of other ramen upgrade tutorials out there? It’s the technique. I’ve figured out the exact order of operations to keep the broth flavorful without diluting it, the perfect way to cook an egg so it’s jammy and gorgeous, and the ideal ratio of toppings to noodles. This isn’t just another version, it’s the one you’ll actually make again and again.
This bowl is the kind of meal that makes you forget you’re eating instant ramen. It’s comfort food reimagined, faster, more satisfying, and with the same soul-soothing warmth that only a bowl of noodles can provide. Perfect for those nights when you need a hug in a bowl but don’t have time to wait for one.
What Ingredients You Will Need
This recipe uses simple, mostly pantry-staple ingredients to transform a humble packet of ramen into something genuinely delicious. The magic is in the combination and the timing, not in fancy or hard-to-find items.
- Instant ramen noodles (1 packet): Use any brand you like. I prefer Shin Ramyun or Nongshim for their thicker, chewier noodles, but classic Maruchan or Top Ramen work great too. Save the seasoning packet, you’ll use part of it.
- Low-sodium soy sauce (1 tablespoon): Adds depth and saltiness without overwhelming the broth. I use Kikkoman, but any brand works. If you’re gluten-free, use tamari or coconut aminos.
- Sesame oil (1 teaspoon): This is non-negotiable in my book. It adds that nutty, toasty flavor that makes ramen taste authentic. Toast the sesame seeds yourself if you have them, but the oil is the star.
- Garlic (2 cloves, minced): Fresh garlic is best here. It adds a pungent, aromatic kick that powdered garlic just can’t replicate. You can use jarred minced garlic in a pinch, but fresh is worth the extra 30 seconds.
- Fresh ginger (1 teaspoon, grated): Adds warmth and a subtle zing. I grate it on a microplane for maximum flavor without the fibrous bits. If you don’t have fresh, use 1/4 teaspoon of ground ginger, but it’s not quite the same.
- Egg (1 large): For a jammy soft-boiled egg or a gently poached egg that enriches the broth. I’ll explain both methods in the preparation section.
- Green onions (2, sliced): For freshness and a mild oniony bite. Slice them on a bias for a prettier presentation.
- Protein of choice (optional but recommended): Leftover shredded chicken, sliced pork, tofu, or even a handful of cooked shrimp work beautifully. I often use leftover crispy sesame chicken for an extra flavor boost.
- Vegetables (optional): A handful of fresh spinach, bok choy, or sliced mushrooms. Add them in the last minute of cooking so they wilt without becoming soggy.
- Chili oil or sriracha (to taste): For heat lovers. I add a drizzle of homemade chili oil for a smoky kick.
- Toasted sesame seeds (1 teaspoon): For garnish and a little crunch.
For the broth, you’ll also need about 2 cups of water. If you have chicken or vegetable broth on hand, you can use that instead for an even richer flavor, but water works perfectly fine.
Equipment Needed
You don’t need any fancy equipment for this recipe, which is part of its beauty. Here’s what you’ll need:
- Small pot (2-3 quart): For cooking the noodles and the egg. A saucepan works perfectly.
- Small bowl: For mixing the seasoning sauce.
- Sharp knife and cutting board: For mincing garlic, grating ginger, and slicing green onions.
- Microplane or fine grater: For grating the ginger. A regular grater works, but a microplane gives you a finer, more flavorful result.
- Tongs or chopsticks: For handling the noodles and egg. I prefer chopsticks for the precision, but tongs work just fine.
- Slotted spoon: For removing the soft-boiled egg from the hot water.
- Bowl for serving: A deep bowl is best for holding all the broth and toppings.
If you don’t have a microplane, you can finely mince the ginger with a knife. It takes a little longer, but the result is still delicious. I’ve also used a garlic press for the ginger in a pinch, and it worked surprisingly well.
Preparation Method
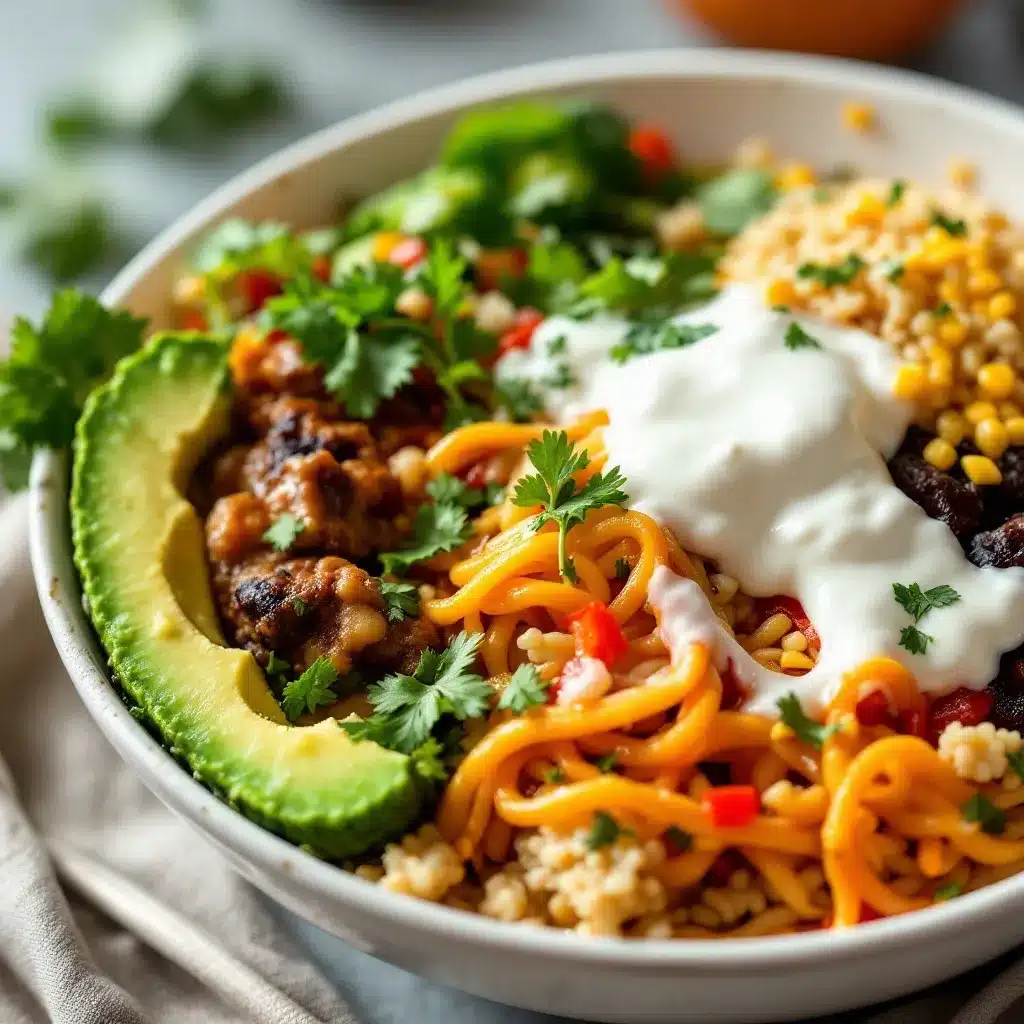
- Start the egg (5 minutes): Bring a small pot of water to a rolling boil. Gently lower the egg into the water using a slotted spoon. Set a timer for exactly 6 minutes and 30 seconds for a jammy yolk. While the egg cooks, prepare an ice bath in a small bowl. When the timer goes off, transfer the egg to the ice bath and let it cool for at least 2 minutes. This stops the cooking process and makes it easier to peel.
- Prepare the seasoning sauce (2 minutes): While the egg cooks, combine the soy sauce, sesame oil, minced garlic, and grated ginger in a small bowl. Stir to combine. This mixture will be the backbone of your upgraded broth. Set it aside.
- Cook the noodles (3 minutes): In the same pot you used for the egg, bring 2 cups of water to a boil. Add the ramen noodles (discard or save the seasoning packet for another use). Cook according to package directions, usually about 3 minutes, but start checking at 2 minutes 30 seconds for a firmer noodle. You want them tender but still with a little bite.
- Add the seasonings (1 minute): Once the noodles are cooked, reduce the heat to low. Stir in your prepared seasoning sauce and half of the ramen seasoning packet. Taste the broth and add more seasoning if needed. Remember, you can always add more, but you can’t take it away.
- Add your protein and vegetables (1-2 minutes): If you’re using leftover protein like shredded chicken or sliced pork, add it to the pot now to warm through. If you’re using quick-cooking vegetables like spinach or bok choy, add them in the last 30 seconds of cooking so they wilt without turning to mush.
- Assemble the bowl (1 minute): Pour the noodles, broth, and vegetables into your serving bowl. Peel the soft-boiled egg under cold running water, slice it in half lengthwise, and place it on top of the noodles. The yolk should be jammy and slightly runny.
- Garnish and serve (1 minute): Top with sliced green onions, toasted sesame seeds, and a drizzle of chili oil or sriracha if you like heat. Serve immediately while the broth is hot and the noodles are perfectly tender.
A few notes from my many trials: Don’t overcook the noodles. They’ll continue to soften in the hot broth, so it’s better to err on the side of slightly undercooked. Also, don’t skip the ice bath for the egg. I’ve made the mistake of not cooling it properly, and the yolk was completely hard-boiled instead of jammy. It was still good, but not the same.
Cooking Tips & Techniques
I’ve made this ramen upgrade bowl more times than I can count, and I’ve learned a few things along the way. Here are my best tips for getting it right every time.
Timing is everything. The biggest mistake people make is trying to do everything at once. Start the egg first because it needs to cool. Then prepare the sauce while the egg is boiling. Cook the noodles last so they’re fresh and hot when you serve. This flow saves time and prevents any component from getting cold or overcooked.
Don’t use the whole seasoning packet. This was a hard lesson for me. The seasoning packet is incredibly salty, and when you add soy sauce and other seasonings, it can quickly become overpowering. Start with half, taste, and add more if needed. Your future self will thank you for not having a sodium headache.
Toast your sesame seeds. If you have whole sesame seeds, toast them in a dry pan over medium heat for about 2 minutes until they’re fragrant and lightly golden. This takes almost no time and adds a nutty depth that makes a real difference.
Grate the ginger, don’t chop it. Grated ginger melts into the broth, releasing its flavor evenly. Chopped ginger leaves fibrous bits that can be unpleasant to bite into. A microplane is the best tool for this, but a fine grater works too.
Use leftover protein strategically. This is where the easy lo mein noodles recipe on my site comes in handy. Leftover chicken from that dish works beautifully in this ramen bowl. It’s already seasoned and tender, so it just needs a quick warm-up in the broth.
Make it your own. I’ve tried this with a splash of rice vinegar for acidity, a drizzle of hoisin sauce for sweetness, and even a pinch of five-spice powder for warmth. Each variation was delicious in its own way. Don’t be afraid to experiment based on what you have in your pantry.
Variations & Adaptations
This recipe is incredibly flexible, and I’ve tried several variations that are worth sharing. Here are a few of my favorites.
Vegetarian Version: Omit the egg and protein. Add extra vegetables like mushrooms, bok choy, and snap peas. Use vegetable broth instead of water for a richer base. Top with crispy fried tofu or edamame for protein.
Spicy Kimchi Ramen: Add 1/4 cup of chopped kimchi and 1 tablespoon of kimchi juice to the broth along with the seasoning sauce. The kimchi adds a tangy, spicy, fermented depth that’s absolutely addictive. Top with extra kimchi and a drizzle of gochujang for more heat.
Peanut Butter Ramen: This sounds weird, but trust me. Add 1 tablespoon of creamy peanut butter to the seasoning sauce. It melts into the broth, creating a rich, nutty, slightly sweet base that’s reminiscent of satay. Top with crushed peanuts, cilantro, and a squeeze of lime.
Miso Mushroom Ramen: Sauté 1 cup of sliced mushrooms (shiitake are best) in a little sesame oil before adding the water. Stir in 1 tablespoon of white miso paste at the end (don’t boil it, or it will lose its flavor). This version is deeply savory and earthy.
Cold Ramen Salad: For a refreshing summer version, cook the noodles, rinse them under cold water, and toss with the seasoning sauce, shredded chicken, sliced cucumbers, and a handful of fresh herbs. Serve cold or at room temperature.
I’ve personally tried the peanut butter version after seeing it on a food blog, and I was skeptical until the first bite. It’s now one of my go-to variations when I want something different. Don’t knock it until you’ve tried it.
Serving & Storage Suggestions
This ramen bowl is best served immediately, while the noodles are still tender and the broth is piping hot. The jammy egg and fresh toppings are at their peak right after assembly.
Serving temperature: Serve hot, straight from the pot. The broth should be steaming, and the egg yolk should be warm and slightly runny. If you’re making this for a group, prepare all the components ahead of time and assemble just before serving.
Presentation: Use a deep bowl for serving. Arrange the noodles in the center, place the egg halves on top, and scatter the green onions and sesame seeds over everything. Drizzle chili oil in a decorative pattern for a restaurant-worthy look.
Complementary dishes: This ramen bowl is a meal in itself, but if you’re serving it as part of a larger spread, it pairs beautifully with crispy arancini risotto balls for a fun contrast in textures. A simple cucumber salad with rice vinegar and sesame seeds is also a refreshing side.
Storage: This dish does not store well once assembled. The noodles will absorb the broth and become mushy, and the egg will lose its jammy texture. If you have leftovers, store the components separately: noodles and broth in one container, the egg in another, and toppings in a third. Reheat the noodles and broth in a pot, adding a splash of water if needed. Add the egg and toppings just before serving.
Reheating: The best way to reheat the noodles and broth is in a pot over medium heat. Add a little water to loosen the broth, and stir gently until heated through. Avoid the microwave if possible, as it can make the noodles rubbery and unevenly hot.
Flavor development: The broth actually tastes better after sitting for a few hours, as the flavors meld together. If you’re meal-prepping, you can make the broth base (without the noodles) ahead of time and store it in the fridge for up to 3 days. Cook fresh noodles when you’re ready to serve.
Nutritional Information & Benefits
This upgraded ramen bowl is significantly more nutritious than plain instant ramen, thanks to the added protein, vegetables, and healthy fats. Here’s an approximate breakdown per serving (using one egg and no additional protein):
| Nutrient | Amount |
|---|---|
| Calories | 420-480 |
| Protein | 18-22g |
| Fat | 18-22g |
| Carbohydrates | 45-55g |
| Fiber | 3-5g |
| Sodium | 900-1200mg (varies by seasoning packet) |
Health benefits: The egg provides high-quality protein and essential vitamins like B12 and D. Garlic and ginger are known for their anti-inflammatory and immune-boosting properties. Sesame oil is rich in healthy fats and antioxidants. Adding vegetables like spinach or bok choy increases the fiber and vitamin content significantly.
Dietary considerations: This recipe can be made gluten-free by using rice noodles and tamari instead of soy sauce. It’s naturally dairy-free. For a lower-sodium version, use only half the seasoning packet and add more soy sauce sparingly. The sodium content is the main concern with instant ramen, so be mindful of your overall intake if you’re watching your salt consumption.
Potential allergens: Contains wheat (noodles), soy (soy sauce), sesame (sesame oil and seeds), and eggs. Check your ramen packet for additional allergens.
From a personal wellness perspective, I love that this recipe lets me enjoy the comfort of instant ramen without the guilt. The added protein and vegetables make it a balanced meal that keeps me full and satisfied, not just a quick carb fix.
Conclusion
This Easy 15-Minute Ramen Upgrade Bowl is proof that you don’t need a lot of time or fancy ingredients to eat well. It’s the kind of recipe that makes you feel like you’ve hacked the system, turning a 99-cent packet into a meal that tastes like it took twice the effort.
I encourage you to make this recipe your own. Use whatever vegetables are wilting in your fridge, swap in your favorite protein, or experiment with different seasonings. The base technique is solid, but the possibilities are endless. That’s the beauty of a good upgrade recipe, it’s a starting point, not a rulebook.
Honestly, this bowl has become my weeknight hero. It’s saved me from countless takeout orders and turned my relationship with instant ramen from a guilty pleasure into something I’m genuinely proud to eat. I hope it does the same for you.
I’d love to hear how your ramen upgrade turns out! Drop a comment below and let me know what toppings you used, or share your own variation. And if you’re looking for more quick and satisfying meals, check out the recipes section on my site for more inspiration. Happy cooking!
Frequently Asked Questions
Can I use a different type of noodle?
Absolutely. While instant ramen noodles are the star of this recipe, you can substitute them with fresh ramen noodles, udon noodles, soba noodles, or even rice noodles. Just adjust the cooking time according to the package directions. Fresh noodles usually cook faster than dried ones.
How do I make the egg perfectly jammy?
The key is timing and an ice bath. Boil the egg for exactly 6 minutes and 30 seconds for a jammy yolk with a slightly set white. Immediately transfer it to an ice bath to stop the cooking process. If you prefer a softer yolk, cook for 6 minutes. For a firmer yolk, go for 7 minutes. The ice bath is essential, don’t skip it.
Can I make this recipe vegan?
Yes! Omit the egg and use a plant-based protein like tofu, tempeh, or edamame. Use vegetable broth instead of water for a richer base. For the egg-like richness, you can add a tablespoon of nutritional yeast or a splash of unsweetened soy milk to the broth. Top with roasted seaweed for a umami boost.
How can I reduce the sodium content?
Use only half of the seasoning packet from the ramen, and opt for low-sodium soy sauce. You can also rinse the cooked noodles under cold water before adding them to the broth to remove some of the surface salt. Using homemade or low-sodium vegetable broth as the base instead of water also helps control the salt level.
Can I meal prep this ramen bowl?
You can prep the components, but not the assembled bowl. Make the broth base (seasoning sauce plus water or broth) and store it in the fridge for up to 3 days. Cook the egg and store it in its shell in the fridge. When you’re ready to eat, cook fresh noodles, reheat the broth, and assemble. The noodles should always be cooked fresh for the best texture.
Pin This Recipe!
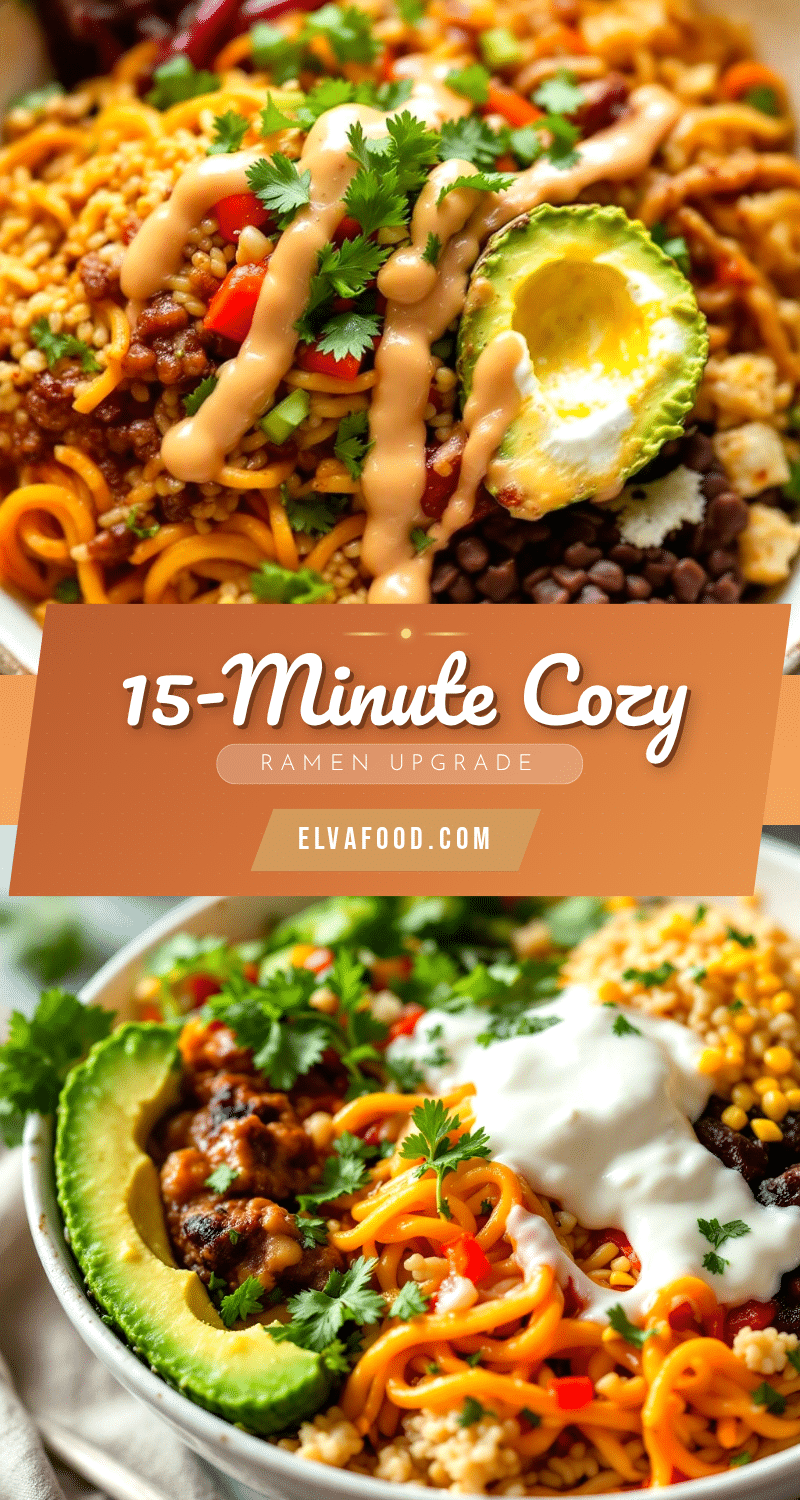
Easy 15-Minute Ramen Upgrade Bowl Recipe

Transform a humble packet of instant ramen into a rich, satisfying bowl of noodles with a jammy egg, fresh vegetables, and a savory broth. This quick and easy recipe is perfect for busy nights when you need a comforting meal in just 15 minutes.
- Prep Time: 5 minutes
- Cook Time: 10 minutes
- Total Time: 15 minutes
- Yield: 1 serving 1x
- Category: Main Course
- Cuisine: Asian Fusion
Ingredients
- 1 packet instant ramen noodles (e.g., Shin Ramyun, Nongshim, Maruchan, or Top Ramen)
- 1 tablespoon low-sodium soy sauce
- 1 teaspoon sesame oil
- 2 cloves garlic, minced
- 1 teaspoon fresh ginger, grated
- 1 large egg
- 2 green onions, sliced
- Optional protein: leftover shredded chicken, sliced pork, tofu, or cooked shrimp
- Optional vegetables: handful of fresh spinach, bok choy, or sliced mushrooms
- Chili oil or sriracha to taste
- 1 teaspoon toasted sesame seeds
- 2 cups water (or chicken/vegetable broth)
Instructions
- Start the egg: Bring a small pot of water to a rolling boil. Gently lower the egg into the water using a slotted spoon. Set a timer for exactly 6 minutes and 30 seconds for a jammy yolk. While the egg cooks, prepare an ice bath in a small bowl. When the timer goes off, transfer the egg to the ice bath and let it cool for at least 2 minutes.
- Prepare the seasoning sauce: While the egg cooks, combine the soy sauce, sesame oil, minced garlic, and grated ginger in a small bowl. Stir to combine and set aside.
- Cook the noodles: In the same pot used for the egg, bring 2 cups of water to a boil. Add the ramen noodles (discard or save the seasoning packet for another use). Cook according to package directions, usually about 3 minutes, but start checking at 2 minutes 30 seconds for a firmer noodle.
- Add the seasonings: Once the noodles are cooked, reduce the heat to low. Stir in the prepared seasoning sauce and half of the ramen seasoning packet. Taste the broth and add more seasoning if needed.
- Add protein and vegetables: If using leftover protein, add it to the pot now to warm through. If using quick-cooking vegetables like spinach or bok choy, add them in the last 30 seconds of cooking.
- Assemble the bowl: Pour the noodles, broth, and vegetables into a serving bowl. Peel the soft-boiled egg under cold running water, slice it in half lengthwise, and place it on top of the noodles.
- Garnish and serve: Top with sliced green onions, toasted sesame seeds, and a drizzle of chili oil or sriracha if desired. Serve immediately.
Notes
Don’t overcook the noodles; they’ll continue to soften in the hot broth. The ice bath for the egg is essential for a jammy yolk. Start with half the seasoning packet to control sodium. Grate the ginger instead of chopping for better flavor distribution.
Nutrition
- Serving Size: 1 bowl
- Calories: 420480
- Sugar: 24
- Sodium: 9001200
- Fat: 1822
- Saturated Fat: 46
- Carbohydrates: 4555
- Fiber: 35
- Protein: 1822
Keywords: ramen upgrade, instant ramen, quick dinner, 15-minute meal, easy ramen, noodle bowl, comfort food


