The first cough hit just as I was pouring my second cup of coffee. I froze, hand hovering over the mug, hoping against hope it was just a random throat tickle. It wasn’t. Two days later, I was surrounded by crumpled tissues, a half-empty box of throat lozenges, and the distinct feeling that I’d been hit by a truck. My kids were coughing too, and the whole house felt like a germ-filled bubble I couldn’t pop. I needed something—anything—that wasn’t another dose of overpriced, artificially flavored syrup from the drugstore. That’s when I remembered a jar of deep purple syrup my neighbor had pressed into my hands last winter. “For the cold season,” she’d said simply. I’d been skeptical, but desperate times. I spooned a bit into hot tea, and honestly, it tasted like comfort. A little tart, a little sweet, and somehow reassuring. That jar ran out fast, and I knew I had to figure out how to make it myself. This homemade elderberry syrup recipe for cold season became my kitchen project that week, born from a place of sniffles, steam, and a stubborn refusal to surrender to the winter bugs.
Why You’ll Love This Recipe
After testing this recipe through three different cold seasons (and a few questionable batches that ended up too watery or too thick), I can tell you exactly why this one sticks. It’s not just another wellness trend—it’s a genuinely good-tasting syrup that you actually want to take.
- Quick & Easy: Comes together in under 45 minutes, most of which is just simmering time. You’re not chained to the stove.
- Simple Ingredients: Dried elderberries, honey, and a few spices you probably have in your pantry. No weird extracts or hard-to-find herbs.
- Perfect for Cold Season: Great for daily immune support during winter months or when everyone around you is coughing.
- Crowd-Pleaser: Even my picky five-year-old takes it without a fight. The honey and cinnamon do the heavy lifting.
- Unbelievably Delicious: It’s rich, slightly tart, and warm-spiced. Honestly, I sometimes add it to sparkling water just because I like the taste.
What makes this recipe different from the rest? It’s the balance. I played with the ratios for weeks until the elderberries released just enough of their deep flavor without becoming bitter. The ginger gives it a gentle kick without burning your throat, and the honey preserves it naturally. This isn’t just another version—it’s your best version. It’s the kind of syrup that makes you feel like you’re actually taking care of yourself, not just masking symptoms. Perfect for spooning into tea, drizzling over pancakes, or taking straight off the spoon when you feel that first tickle.
What Ingredients You Will Need
This recipe uses simple, wholesome ingredients that work together to create a syrup that’s both effective and delicious. Most of these are pantry staples or easy to find at any grocery store or online.
- Dried elderberries – 1 cup (about 140 grams). These are the star of the show. Look for deep purple, almost black berries. I recommend the brand Starwest Botanicals for consistent quality. Do not use fresh elderberries raw—they need to be cooked to be safe.
- Water – 4 cups (960 ml). Filtered water is best if you have it, but tap water works fine.
- Fresh ginger root – 1 large piece (about 2 inches), sliced into thin rounds. No need to peel it. This adds warmth and helps with congestion.
- Cinnamon sticks – 2 whole sticks. They add a sweet, woody depth. If you only have ground cinnamon, use 1 teaspoon, but whole sticks are better for straining.
- Whole cloves – 1 teaspoon. A little goes a long way. They add that classic holiday-spice note.
- Raw honey – 1 cup (340 grams). Use local raw honey if possible for added immune benefits. Do not give honey to children under one year old. For a vegan option, use maple syrup or agave nectar.
- Lemon juice – 2 tablespoons (30 ml), freshly squeezed. This helps preserve the syrup and adds brightness.
I remember my first batch I used ground ginger instead of fresh, and it turned out cloudy and a bit gritty. Fresh ginger makes a huge difference in clarity and flavor. Also, don’t skip the lemon juice—it’s not just for taste; it helps the honey incorporate better and extends the shelf life.
Equipment Needed
You don’t need fancy equipment for this recipe, which is part of its charm. Here’s what you’ll need:
- Medium saucepan – A 3-quart pot works perfectly. Stainless steel or enameled is best. Avoid aluminum, which can react with the berries.
- Fine-mesh strainer – Essential for catching all the tiny elderberry seeds and spice pieces. A nut milk bag or cheesecloth also works if you don’t have a fine strainer.
- Mason jars or glass bottles – For storing the finished syrup. I use 16-ounce swing-top bottles because they look pretty in the fridge, but any clean glass jar with a tight lid works.
- Wooden spoon – For stirring. Metal spoons can get too hot and might scratch your pot.
- Funnel – Makes pouring the hot syrup into jars much less messy. I learned this the hard way after spilling half a batch on my counter.
If you don’t have a fine-mesh strainer, you can let the mixture settle for a few minutes after simmering, then carefully pour the liquid through a colander lined with a clean kitchen towel. It’s a bit messier, but it works in a pinch.
Preparation Method
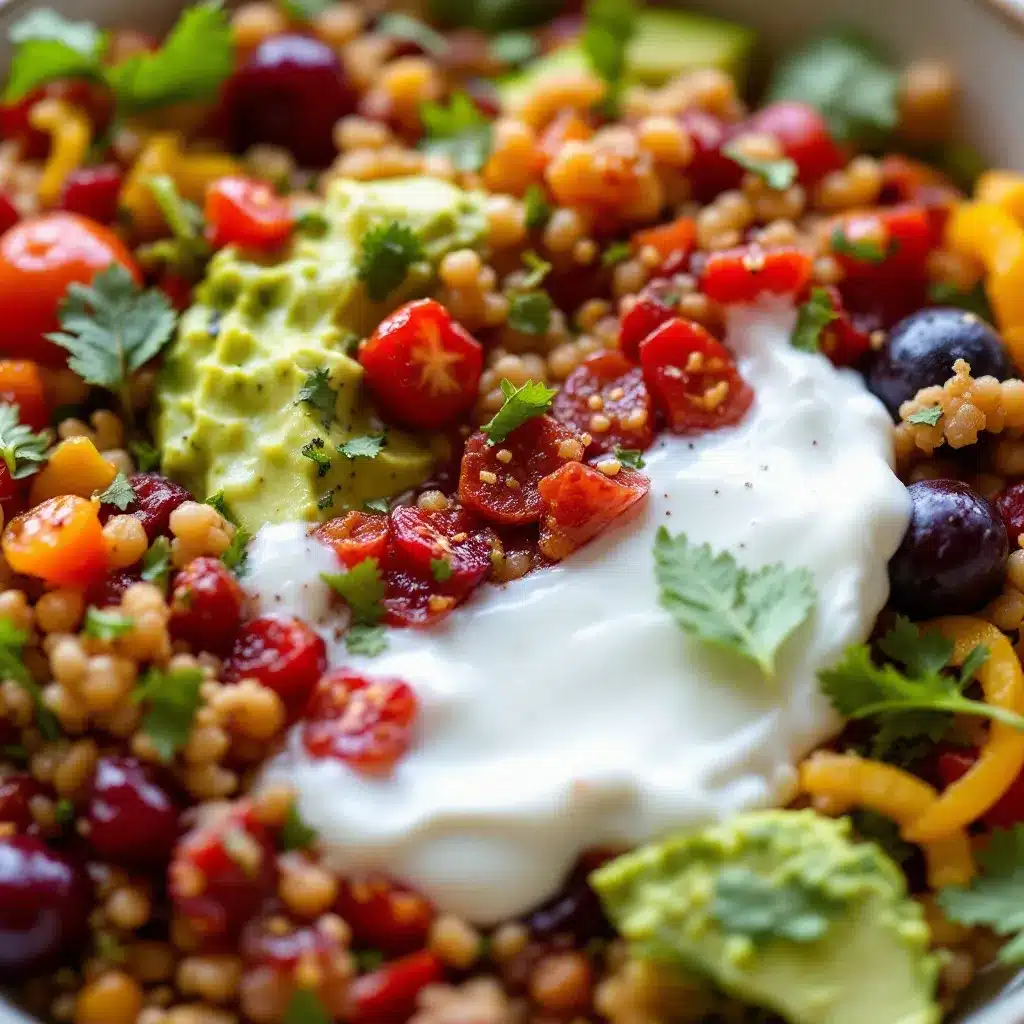
This is where the magic happens. Follow these steps, and you’ll have a beautiful, deep purple syrup that feels like a hug in a bottle.
- Combine berries and water – Place the dried elderberries and 4 cups of water in your medium saucepan. Don’t add the other ingredients yet. Bring to a boil over medium-high heat.
- Reduce and simmer – Once boiling, reduce the heat to low. Add the sliced ginger, cinnamon sticks, and whole cloves. Cover the pot and let it simmer gently for 30-35 minutes. The liquid will reduce by about half and turn a deep, almost black purple. Your kitchen will smell incredible—like a cozy autumn day.
- Mash the berries – After simmering, use the back of your wooden spoon to gently mash the berries against the side of the pot. This releases more of their goodness. Don’t go crazy—just a few good presses.
- Strain the mixture – Place your fine-mesh strainer over a large bowl or measuring cup. Carefully pour the mixture through the strainer. Let it sit for a few minutes to drain completely. Press gently on the solids with a spoon to extract every last drop, but don’t force it too hard or you’ll get cloudy syrup.
- Cool slightly – Let the strained liquid cool for about 10-15 minutes. It should be warm but not hot. This is important—if you add honey to a boiling hot liquid, you destroy its beneficial enzymes.
- Add honey and lemon – Stir in the raw honey and fresh lemon juice. Whisk gently until the honey is completely dissolved. Taste it. It should be sweet-tart with a warm spice finish. If it’s too strong, add a little more honey.
- Bottle and store – Using your funnel, pour the syrup into clean glass jars or bottles. Leave about half an inch of headspace. Seal tightly and let cool completely on the counter before refrigerating.
A quick warning: don’t skip the cooling step before adding honey. I ruined my first batch by being impatient, and the syrup ended up thin and less flavorful. Patience pays off here.
Cooking Tips & Techniques
I’ve made this homemade elderberry syrup recipe for cold season at least a dozen times, and I’ve picked up a few tricks along the way. Here’s what I wish someone had told me.
Don’t over-simmer. Thirty-five minutes is the sweet spot. Any longer, and the elderberries start releasing bitter tannins that make the syrup taste harsh. Set a timer, seriously.
Use a potato masher for the berries. If you have one, it works better than a wooden spoon for mashing. It covers more surface area and gets more juice out without making a mess.
Strain twice for clarity. If you want a restaurant-quality syrup, strain it once through the fine-mesh strainer, then again through a coffee filter or cheesecloth. This removes the tiniest particles that can make the syrup look cloudy. I only do this when I’m giving jars as gifts.
Watch the honey temperature. Raw honey should never be heated above 95°F (35°C) to preserve its beneficial properties. If you’re unsure, use a kitchen thermometer. I lost a whole batch of Manuka honey this way—expensive mistake.
Scale up or down easily. This recipe doubles beautifully. I often make a double batch at the start of cold season and freeze half in ice cube trays. Pop out a cube and thaw it when needed.
One more thing: if your syrup crystallizes in the fridge, don’t panic. Just set the jar in a bowl of warm water for a few minutes and shake it gently. It’ll go back to liquid.
Variations & Adaptations
This recipe is forgiving, so feel free to play around. Here are some variations I’ve tried and loved.
- Spicy Immune Booster: Add 1 tablespoon of fresh turmeric (sliced) along with the ginger. It gives the syrup a beautiful golden undertone and an extra anti-inflammatory kick. My husband calls it “liquid sunshine.”
- Herbal Blend: Toss in a few sprigs of fresh rosemary or a handful of dried echinacea root during the simmering stage. Strain it out with the berries. This makes the syrup even more potent for fighting off bugs.
- Low-Sugar Version: Replace half the honey with monk fruit sweetener or stevia. The texture will be slightly thinner, but it still works well. I made this for my diabetic aunt, and she loved it.
- Winter Citrus Twist: Add the peel of one orange (no pith) and one lemon during simmering. The citrus oils infuse beautifully and brighten the flavor. This is my go-to for holiday gift jars.
- Kid-Friendly Version: Reduce the ginger by half and skip the cloves entirely. Add an extra cinnamon stick instead. Kids tend to prefer the milder, sweeter version. My daughter calls it “purple syrup magic.”
I once tried a version with star anise instead of cloves, and it came out tasting like black licorice. Not my favorite, but if you love licorice, go for it!
Serving & Storage Suggestions
This syrup is incredibly versatile. Here’s how to use and store it properly.
How to take it: For daily immune support, adults can take 1 tablespoon (15 ml) per day. During active cold season or if you feel symptoms coming on, increase to 1 tablespoon three times a day. For children over one year, give 1 teaspoon (5 ml) daily. You can take it straight off the spoon, mix it into warm tea, stir it into oatmeal, or drizzle it over yogurt. I sometimes add a splash to sparkling water with ice for a refreshing immune-boosting drink.
Storage: Store the syrup in a sealed glass jar in the refrigerator. It will keep for up to 3 months. The honey acts as a natural preservative, but the fresh lemon juice also helps. If you see any mold or off smells, discard it immediately. I’ve never had that happen, but better safe than sorry.
Freezing: This syrup freezes beautifully. Pour it into ice cube trays, freeze until solid, then pop the cubes into a freezer bag. They’ll keep for up to 6 months. Thaw a cube in the fridge overnight or in a cup of hot tea. I keep a stash in my freezer year-round.
Flavor development: The flavors actually deepen after a few days in the fridge. The spices mellow and the honey integrates more fully. So don’t worry if it tastes a bit strong on day one—it’ll be perfect by day three.
If you’re looking for other cozy recipes to pair with this syrup, try my hearty Irish lamb stew for a cold night, or the Italian wedding soup for something light and warming. Both are perfect companions during cold season.
Nutritional Information & Benefits
While I’m not a doctor or nutritionist, I can share what I’ve learned about the benefits of elderberries. Here’s the estimated nutritional breakdown per 1-tablespoon serving (15 ml):
| Nutrient | Amount |
|---|---|
| Calories | 45 |
| Total Carbohydrates | 12g |
| Sugars | 11g (from honey) |
| Vitamin C | 2mg (from lemon juice) |
| Antioxidants | High (from elderberries) |
Elderberries are packed with antioxidants called anthocyanins, which give them their deep purple color and help support the immune system. They’ve been used for centuries in traditional medicine to reduce cold symptoms and shorten their duration. The ginger and cinnamon add anti-inflammatory properties, while raw honey provides natural antibacterial benefits. This syrup is naturally gluten-free, dairy-free, and vegan if you use maple syrup instead of honey. It does contain honey, so it’s not suitable for infants under one year. If you have allergies to any of the ingredients, please check with your healthcare provider before consuming.
I personally love that this syrup lets me feel proactive about my health without relying on synthetic supplements. It’s a small, delicious ritual that makes me feel taken care of.
Frequently Asked Questions
Can I use fresh elderberries instead of dried?
Yes, but fresh elderberries must be cooked thoroughly before consumption. Use 2 cups of fresh elderberries for every 1 cup of dried. Simmer them for an extra 10 minutes to ensure they’re fully cooked. Never eat raw elderberries—they can cause stomach upset.
How long does homemade elderberry syrup last?
Stored in a sealed glass jar in the refrigerator, this syrup will keep for up to 3 months. The honey and lemon juice act as natural preservatives. If you freeze it in ice cube trays, it will last up to 6 months.
Can I give this syrup to my kids?
Yes, for children over one year old. Give 1 teaspoon (5 ml) daily for maintenance. For kids under one year, skip the honey and use maple syrup instead. Always check with your pediatrician before introducing new supplements to young children.
Can I make this syrup without honey?
Absolutely. Replace the honey with an equal amount of maple syrup, agave nectar, or brown rice syrup. The texture will be slightly thinner, and the flavor will change, but it will still work beautifully. For a sugar-free version, use monk fruit sweetener.
What if my syrup is too thick or too thin?
If it’s too thick, stir in a tablespoon of warm water at a time until it reaches your desired consistency. If it’s too thin, simmer it gently (without the honey) for an extra 10-15 minutes to reduce it further, then let it cool before adding the honey. I’ve done both, and it always works out.
Conclusion
This homemade elderberry syrup recipe for cold season has become a staple in my kitchen, and I honestly can’t imagine winter without it. It’s simple, effective, and tastes like something you’d actually want to take. Whether you’re trying to ward off the office cold or just want a comforting ritual to get through the darker months, this syrup delivers. I love that I can customize it to my family’s tastes, and I love even more that it makes me feel like I’m doing something good for us. So grab some dried elderberries, put on your favorite cozy sweater, and give it a try. You might just find yourself making it year after year, like I do.
If you make this recipe, I’d love to hear how it turned out. Leave a comment below or tag me in your photos. And if you’re in the mood for more cozy recipes, check out the slow cooker carnitas for a warm, comforting meal, or the creamy homemade horchata for a sweet treat. Stay healthy, friends!
Pin This Recipe!
Homemade Elderberry Syrup Recipe for Cold Season
A simple, delicious homemade elderberry syrup made with dried elderberries, honey, and warm spices. Perfect for immune support during cold season, this syrup is easy to make and tastes great in tea or straight off the spoon.
- Prep Time: 10 minutes
- Cook Time: 35 minutes
- Total Time: 45 minutes
- Yield: About 2 cups (32 servings of 1 tablespoon each) 1x
- Category: Condiment
- Cuisine: American
Ingredients
- 1 cup (140 g) dried elderberries
- 4 cups (960 ml) water, preferably filtered
- 1 large piece fresh ginger root (about 2 inches), sliced into thin rounds
- 2 whole cinnamon sticks
- 1 teaspoon whole cloves
- 1 cup (340 g) raw honey (or maple syrup for vegan option)
- 2 tablespoons (30 ml) fresh lemon juice
Instructions
- Combine dried elderberries and water in a medium saucepan. Bring to a boil over medium-high heat.
- Reduce heat to low. Add sliced ginger, cinnamon sticks, and whole cloves. Cover and simmer gently for 30-35 minutes until liquid reduces by about half and turns deep purple.
- Use the back of a wooden spoon to gently mash the berries against the side of the pot to release more flavor.
- Strain the mixture through a fine-mesh strainer into a large bowl or measuring cup. Let drain completely, pressing gently on solids with a spoon.
- Let the strained liquid cool for 10-15 minutes until warm but not hot.
- Stir in raw honey and fresh lemon juice until honey is completely dissolved.
- Pour syrup into clean glass jars or bottles using a funnel, leaving about 1/2 inch headspace. Seal tightly and let cool completely before refrigerating.
Notes
Do not add honey to boiling hot liquid as it destroys beneficial enzymes. Let the strained liquid cool to warm before adding honey. For children under one year, replace honey with maple syrup. If syrup crystallizes in the fridge, set jar in warm water for a few minutes and shake gently. Store in refrigerator for up to 3 months or freeze in ice cube trays for up to 6 months.
Nutrition
- Serving Size: 1 tablespoon (15 ml)
- Calories: 45
- Sugar: 11
- Carbohydrates: 12
Keywords: elderberry syrup, homemade elderberry syrup, immune support, cold season remedy, elderberry recipe, natural cold remedy, elderberry honey syrup


