My husband took a bite of these pumpkin cinnamon rolls, stopped chewing, and just looked at me. Not a word. Then he took another bite, and another, and when he finally spoke, he said, “I don’t think I can go back to regular cinnamon rolls.” And honestly? I kind of agreed with him.
It was one of those quiet Sunday mornings where the house smelled like yeast and brown sugar—you know, the kind of smell that makes everyone wander into the kitchen without being called. I had been testing this recipe for weeks, trying to get that balance right. Too much pumpkin and the dough gets heavy. Not enough spice and what’s the point? But that morning, watching him reach for a third roll before the glaze had even set, I knew I had finally cracked it.
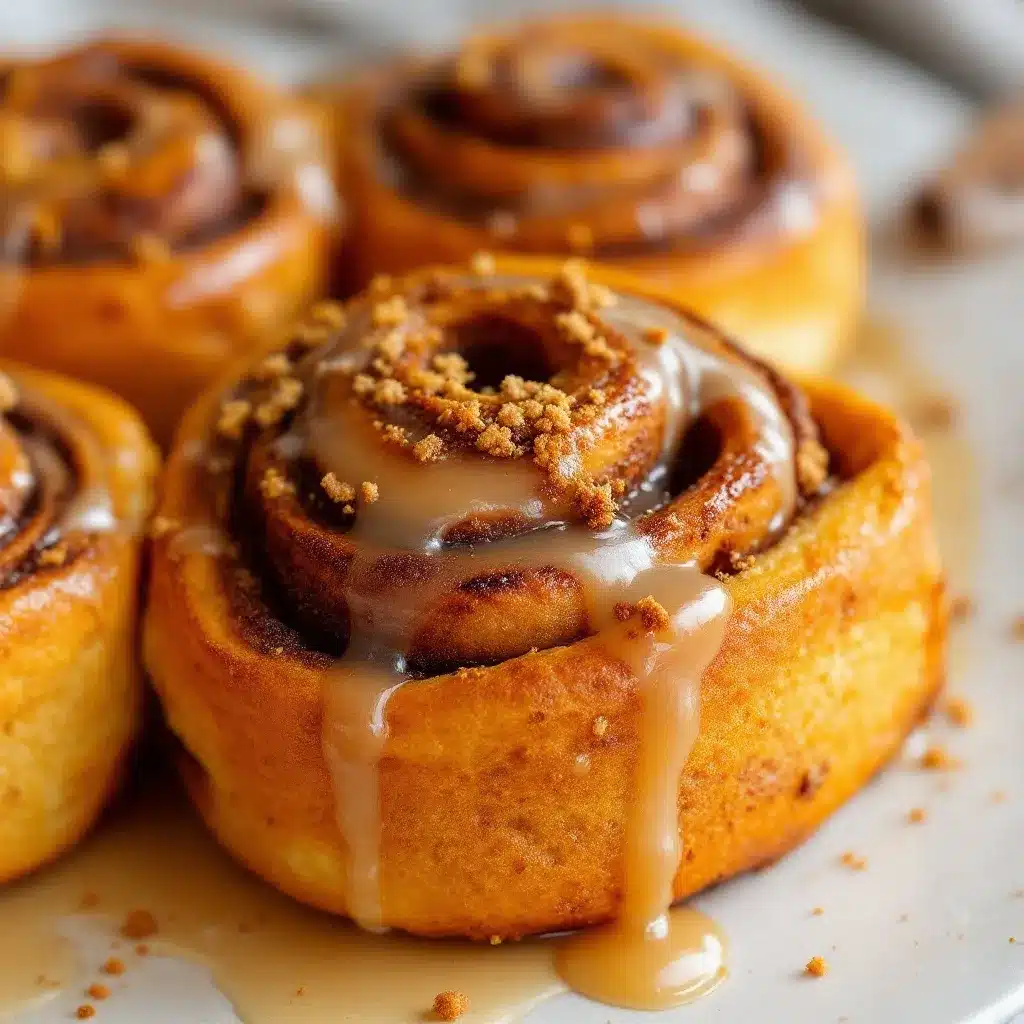
These overnight pumpkin cinnamon rolls with maple glaze are everything I want in a fall breakfast. They’re soft, they’re pillowy, and that pumpkin flavor? It’s there, but it’s subtle—more of a warm backdrop than a bold statement. The maple glaze drips down into every swirl, and let me tell you, that first bite is something else. It’s the kind of breakfast that makes you want to sit down and stay awhile. No rushing. Just coffee, cinnamon rolls, and maybe a second helping of that glaze.
What I love most about this recipe (besides the taste, obviously) is that you do all the work the night before. Wake up, let them rise, bake, glaze, and done. No early morning dough wrestling. No flour-covered countertops at 7 AM. Just warm, homemade cinnamon rolls that taste like you spent hours on them—when really, the refrigerator did most of the heavy lifting.
Why You’ll Love This Recipe
Let me tell you why these pumpkin cinnamon rolls have become a non-negotiable part of my fall baking rotation. I’ve tested this recipe more times than I care to admit, and every single batch has taught me something new. Here’s what makes these rolls special:
- Overnight convenience : Mix the dough, shape the rolls, and let them do their thing in the fridge overnight. Morning you will be very grateful to night-before you.
- Perfect pumpkin balance : Not too much, not too little. The pumpkin adds moisture and a gentle earthiness without overpowering the classic cinnamon roll experience.
- Maple glaze magic : Real maple syrup in the glaze makes all the difference. It’s not just sweet—it’s complex, almost woodsy, and it pairs beautifully with the warm spices.
- Soft, fluffy texture : The pumpkin keeps these rolls incredibly tender. They stay soft for days, which is rare for homemade cinnamon rolls.
- No special equipment needed : A stand mixer helps, but you can absolutely knead this dough by hand. I’ve done it both ways.
- Crowd-pleaser guaranteed : I brought these to a brunch gathering last month, and three people asked for the recipe before the platter was empty. They’re that good.
These rolls aren’t just another pumpkin recipe. They’re the result of trial and error—too much pumpkin, not enough flour, over-proofed dough, under-baked centers. I made all the mistakes so you don’t have to. And now? This is the version I’ll make every single fall from here on out.
What Ingredients You Will Need
This recipe uses simple, wholesome ingredients to deliver bold flavor and satisfying texture without the fuss. Most of these are pantry staples, which makes these rolls perfect for spontaneous fall baking.
For the Dough:
- Whole milk, warmed to 110°F (43°C) — not too hot, or you’ll kill the yeast. I use whole milk for richness, but 2% works fine too.
- Active dry yeast (one packet, about 2 ¼ teaspoons) — I prefer Fleischmann’s for consistent results, but any brand works.
- Granulated sugar — just a little to feed the yeast and add sweetness.
- Pumpkin purée (¾ cup) — make sure it’s 100% pumpkin, not pumpkin pie filling. Libby’s is my go-to because it’s thick and not watery.
- Unsalted butter, melted and slightly cooled — salted butter works too, just reduce the added salt slightly.
- Large egg, room temperature — cold eggs can shock the dough and slow down rising.
- All-purpose flour (about 3 ½ to 4 cups) — I use Gold Medal or King Arthur. The exact amount varies depending on humidity and how much moisture your pumpkin has.
- Salt — just a teaspoon to balance the sweetness and strengthen the dough.
- Pumpkin pie spice (1 ½ teaspoons) — store-bought is fine, or make your own with cinnamon, nutmeg, ginger, and cloves.
For the Filling:
- Unsalted butter, softened to room temperature (4 tablespoons) — cold butter won’t spread evenly.
- Brown sugar, packed (¾ cup) — light or dark both work. Dark brown sugar gives a deeper, almost molasses flavor.
- Ground cinnamon (2 tablespoons) — I use Saigon cinnamon when I want a stronger kick. It’s more expensive, but worth it for special batches.
- Ground nutmeg (½ teaspoon) — freshly grated if you have it, but pre-ground is fine.
- Pinch of salt — sounds weird in a sweet filling, but it makes the flavors pop.
For the Maple Glaze:
- Powdered sugar (1 ½ cups), sifted if you want it extra smooth
- Pure maple syrup (3 tablespoons) — please don’t use pancake syrup here. Real maple syrup makes the glaze taste like actual maple, not artificial sugar.
- Whole milk or heavy cream (2-3 tablespoons) — heavy cream makes a richer, thicker glaze. Milk keeps it lighter.
- Vanilla extract (½ teaspoon) — pure, not imitation, if you can swing it.
- Pinch of salt — trust me on this one.
Equipment Needed
You don’t need a professional bakery setup for these rolls, but a few key tools make the process smoother:
- Stand mixer with dough hook — this is my preferred method because it does the kneading work for you. If you don’t have one, a large bowl and some elbow grease work just fine.
- 9×13-inch baking dish — glass, ceramic, or metal all work. I use a glass Pyrex dish because I can see the browning on the bottom.
- Rolling pin — a standard one works. No rolling pin? A clean wine bottle works in a pinch (I’ve done it).
- Sharp knife or bench scraper — for cutting the rolls cleanly. Dental floss (unflavored) also works beautifully for cutting cinnamon rolls without squishing them.
- Instant-read thermometer — helpful for checking milk temperature and internal doneness. Not required, but it removes the guesswork.
- Plastic wrap — for covering the rolls during their overnight stay in the fridge.
- Cooling rack — lets air circulate so the bottoms don’t get soggy.
If you’re new to baking with yeast, don’t let the equipment list intimidate you. I’ve made these rolls with nothing but a mixing bowl, a wooden spoon, and a lot of patience. The stand mixer just makes it faster.
Preparation Method
Step 1: Activate the Yeast
Warm your milk to about 110°F (43°C). If you don’t have a thermometer, it should feel like warm bath water—not hot, not cold. Sprinkle the yeast and a pinch of sugar over the milk, give it a stir, and let it sit for 5-10 minutes until it gets foamy. If it doesn’t foam, your yeast might be dead. Start over with fresh yeast—trust me, I’ve learned this the hard way.
Step 2: Make the Dough
In the bowl of your stand mixer (or a large mixing bowl), combine the pumpkin purée, melted butter, egg, and the remaining sugar. Add the yeast mixture and stir until combined. In a separate bowl, whisk together 3 ½ cups of flour, the salt, and pumpkin pie spice. Gradually add the dry ingredients to the wet, mixing on low speed until a shaggy dough forms.
Step 3: Knead the Dough
Switch to the dough hook and knead on medium-low speed for about 6-8 minutes. The dough should be soft and slightly tacky but not sticky. If it’s too sticky, add flour one tablespoon at a time. If it’s too dry, add a splash of warm milk. You’ll know it’s ready when you can stretch a small piece of dough thin enough to see light through it without it tearing—that’s the windowpane test.
Step 4: First Rise
Shape the dough into a ball and place it in a lightly greased bowl, turning once to coat. Cover with plastic wrap and let it rise in a warm, draft-free spot for about 1-1 ½ hours, until doubled in size. I usually put mine in the microwave (off, obviously) with the door closed. It’s warm and cozy in there.
Step 5: Prepare the Filling
While the dough rises, mix the brown sugar, cinnamon, nutmeg, and salt together in a small bowl. Make sure the butter for the filling is soft—like, leave-it-out-for-an-hour soft. Cold butter will tear the dough.
Step 6: Roll and Fill
Punch down the risen dough and turn it out onto a lightly floured surface. Roll it into a 12×16-inch rectangle. Don’t stress about perfect edges—mine never are. Spread the softened butter evenly over the dough, leaving a ½-inch border on one long side. Sprinkle the cinnamon-sugar mixture over the butter and press it down gently so it sticks.
Step 7: Roll and Cut
Starting from the long side opposite the bare border, roll the dough tightly into a log. Pinch the seam to seal. Using a sharp knife or unflavored dental floss, cut the log into 12 equal rolls, about 1 ½ inches thick each. Place them in a greased 9×13-inch baking dish, cut-side up.
Step 8: Overnight Refrigeration
Cover the dish tightly with plastic wrap and refrigerate for at least 8 hours, or up to 18 hours. The cold slows down the yeast, allowing the flavors to develop slowly. This is where the magic happens.
Step 9: Morning Rise
In the morning, take the rolls out of the fridge and let them sit at room temperature for about 45 minutes to 1 hour. They’ll puff up and fill the dish. Don’t skip this step—cold dough won’t bake evenly.
Step 10: Bake
Preheat your oven to 350°F (175°C). Bake the rolls for 25-30 minutes, until golden brown on top and the center rolls are cooked through. If the tops are browning too fast, tent loosely with foil for the last 10 minutes. Let them cool in the pan for about 10 minutes before glazing.
Step 11: Make the Glaze
While the rolls cool, whisk together the powdered sugar, maple syrup, vanilla, and enough milk or cream to reach a pourable consistency. Drizzle over the warm rolls. Don’t hold back—these rolls can handle a generous amount of glaze.
Cooking Tips & Techniques
I’ve made plenty of mistakes with cinnamon rolls over the years, and here’s what I’ve learned:
Don’t over-flour the dough. It’s tempting to keep adding flour when the dough feels sticky, but too much flour makes dense, heavy rolls. The dough should be soft and slightly tacky—like a baby’s cheek, not like glue.
Temperature matters more than you think. If your milk is too hot, it kills the yeast. Too cold, and the yeast won’t activate. That 110°F sweet spot is real. I use my instant-read thermometer every single time.
Roll the dough evenly. Uneven rolling means some rolls will be undercooked while others are overdone. Take an extra minute to make sure your rectangle is uniform in thickness.
Cut cleanly. A dull knife squishes the rolls and ruins their shape. Use a sharp knife or dental floss. Slide the floss under the log, cross the ends over the top, and pull. Perfect cuts every time.
Don’t over-proof. If the rolls rise too long, they’ll collapse in the oven. They should look puffy but still hold their shape when you poke them gently.
Let them cool slightly before glazing. If the rolls are too hot, the glaze will melt into a puddle. Too cold, and the glaze won’t spread. About 10 minutes of cooling is the sweet spot.
Variations & Adaptations
One of the best things about this recipe is how adaptable it is. Here are some variations I’ve tried and loved:
Dairy-free version: Substitute the milk with oat milk or almond milk, use vegan butter, and swap the heavy cream in the glaze for coconut cream. The texture will be slightly less tender, but still delicious. I made this version for a friend with dairy allergies, and she asked for the recipe immediately.
Gluten-free option: Use a 1:1 gluten-free baking flour blend. The dough will be stickier and harder to roll, so keep your work surface well-floured. I’ve tested this with King Arthur’s Measure for Measure blend, and the results were surprisingly good—not quite as fluffy, but the flavor was spot on.
Extra-spicy filling: Add a pinch of cloves, cardamom, or even a tiny amount of black pepper to the filling. The pepper adds a subtle warmth that most people can’t identify but love. I tried this on a whim one Thanksgiving morning, and it’s been my secret trick ever since.
Nutty crunch: Sprinkle ½ cup of chopped pecans or walnuts over the filling before rolling. The nuts toast slightly during baking and add a wonderful texture contrast. I do this when I’m serving these rolls for a holiday brunch—it feels a little more special.
Apple-pumpkin fusion: Spread a thin layer of apple butter under the cinnamon-sugar filling. The apple and pumpkin flavors complement each other beautifully. This was an accidental discovery when I ran out of butter and used apple butter as a substitute—turned out to be a happy accident.
Serving & Storage Suggestions
These rolls are best served warm, straight from the oven, with that maple glaze still slightly runny. I like to serve them on a large platter so everyone can grab their own. A hot cup of coffee or a glass of cold milk is the perfect companion—the bitterness of the coffee balances the sweetness of the glaze.
If you’re serving these for a brunch spread, they pair wonderfully with scrambled eggs and fresh fruit. The richness of the rolls balances the lightness of the eggs. I’ve also served them alongside a fresh spring vegetable frittata for a complete brunch that feels both indulgent and balanced.
Storage: Leftover rolls keep well in an airtight container at room temperature for up to 3 days. The glaze will soften into the rolls, making them even more tender. If you want to keep the glaze distinct, store the rolls and glaze separately and glaze just before serving.
Freezing: You can freeze the unbaked rolls after shaping them. Place them in a freezer-safe dish, cover tightly, and freeze for up to 3 months. When you’re ready to bake, thaw them in the refrigerator overnight, then let them rise at room temperature for about an hour before baking. I’ve done this multiple times, and the results are just as good as fresh.
Reheating: Microwave individual rolls for about 20 seconds, or warm them in a 300°F oven for 5-7 minutes. The oven method keeps the texture closer to fresh-baked.
Flavor development: Honestly, these rolls taste even better on day two. The flavors meld together, and the texture becomes incredibly soft. If you can resist eating them all on day one, you’re in for a treat.
Nutritional Information & Benefits
Let’s be real—these are cinnamon rolls, not health food. But there are a few nutritional bright spots worth mentioning:
Estimated nutrition per roll (with glaze): Approximately 320 calories, 12g fat, 48g carbohydrates, 6g protein, 2g fiber, 22g sugar. These numbers vary based on exact ingredients and portion sizes.
Pumpkin benefits: Pumpkin is rich in vitamin A (from beta-carotene), which supports eye health and immune function. It also adds moisture to the dough, allowing you to use slightly less butter than traditional cinnamon roll recipes.
Cinnamon perks: Cinnamon has anti-inflammatory properties and may help regulate blood sugar levels. Not that a cinnamon roll is a diabetes management tool, but hey—every little bit helps.
Dietary considerations: These rolls contain dairy, eggs, and gluten. For dairy-free and gluten-free adaptations, see the variations section above. They are nut-free as written (unless you add the pecan variation).
My personal take? These rolls are a treat, and that’s okay. Food is about joy, connection, and sometimes, pure indulgence. I don’t worry about the nutritional profile when I’m making these for a holiday morning or a special brunch. Life is too short to count calories in cinnamon rolls.
Conclusion
These easy overnight pumpkin cinnamon rolls with maple glaze have become my go-to fall breakfast, and I think they’ll become yours too. They’re everything I want in a morning treat—soft, spiced, sweet, and made with love the night before. The overnight method means you get to enjoy the morning without rushing, and that alone is worth the small effort of mixing the dough the evening prior.
What I love most about this recipe is how forgiving it is. If your rolls aren’t perfectly uniform, if the glaze pools in the corners, if you sneak a bite before they’re fully cooled—none of that matters. What matters is the smell filling your kitchen, the warmth of the first bite, and the way these rolls bring people together around the table.
I’d love to hear how yours turn out! Leave a comment below and let me know if you tried any variations or if these became a new tradition in your home. And if you’re looking for more cozy breakfast ideas, check out our full recipe collection for more inspiration. Happy baking, friends.
Frequently Asked Questions
Can I make these rolls without a stand mixer?
Absolutely. Mix the dough with a wooden spoon until it comes together, then turn it out onto a floured surface and knead by hand for about 8-10 minutes. It takes a little more effort, but the results are just as good. I actually prefer hand-kneading sometimes—it gives me a better feel for the dough’s texture.
Why did my rolls come out dense and heavy?
This usually happens for one of three reasons: too much flour was added during kneading, the dough didn’t rise long enough, or the yeast was dead. Make sure your milk is at the right temperature (110°F) and that your yeast is fresh. Also, resist the urge to add extra flour—the dough should be soft and slightly tacky.
Can I skip the overnight refrigeration and bake them same-day?
Yes, you can. After shaping the rolls, let them rise at room temperature for about 1-1 ½ hours until doubled, then bake. The overnight refrigeration is mostly for convenience and slightly better flavor development, but same-day rolls are still delicious. I’ve done both, and honestly, the overnight version is just a little more forgiving with timing.
How do I know when the rolls are fully baked?
Look for a golden brown top and edges. The internal temperature should reach about 190°F if you’re using a thermometer. You can also gently pull apart two center rolls—if the dough in the middle looks raw, they need more time. The center rolls are always the last to cook through, so check those first.
Can I use canned pumpkin pie filling instead of pumpkin purée?
I wouldn’t recommend it. Pumpkin pie filling is pre-sweetened and spiced, which throws off the sugar and spice balance in the dough. Stick with 100% pumpkin purée for the best results. If you only have pumpkin pie filling, reduce the sugar in the dough by about half and skip the pumpkin pie spice—but honestly, the texture won’t be quite right.
Pin This Recipe!
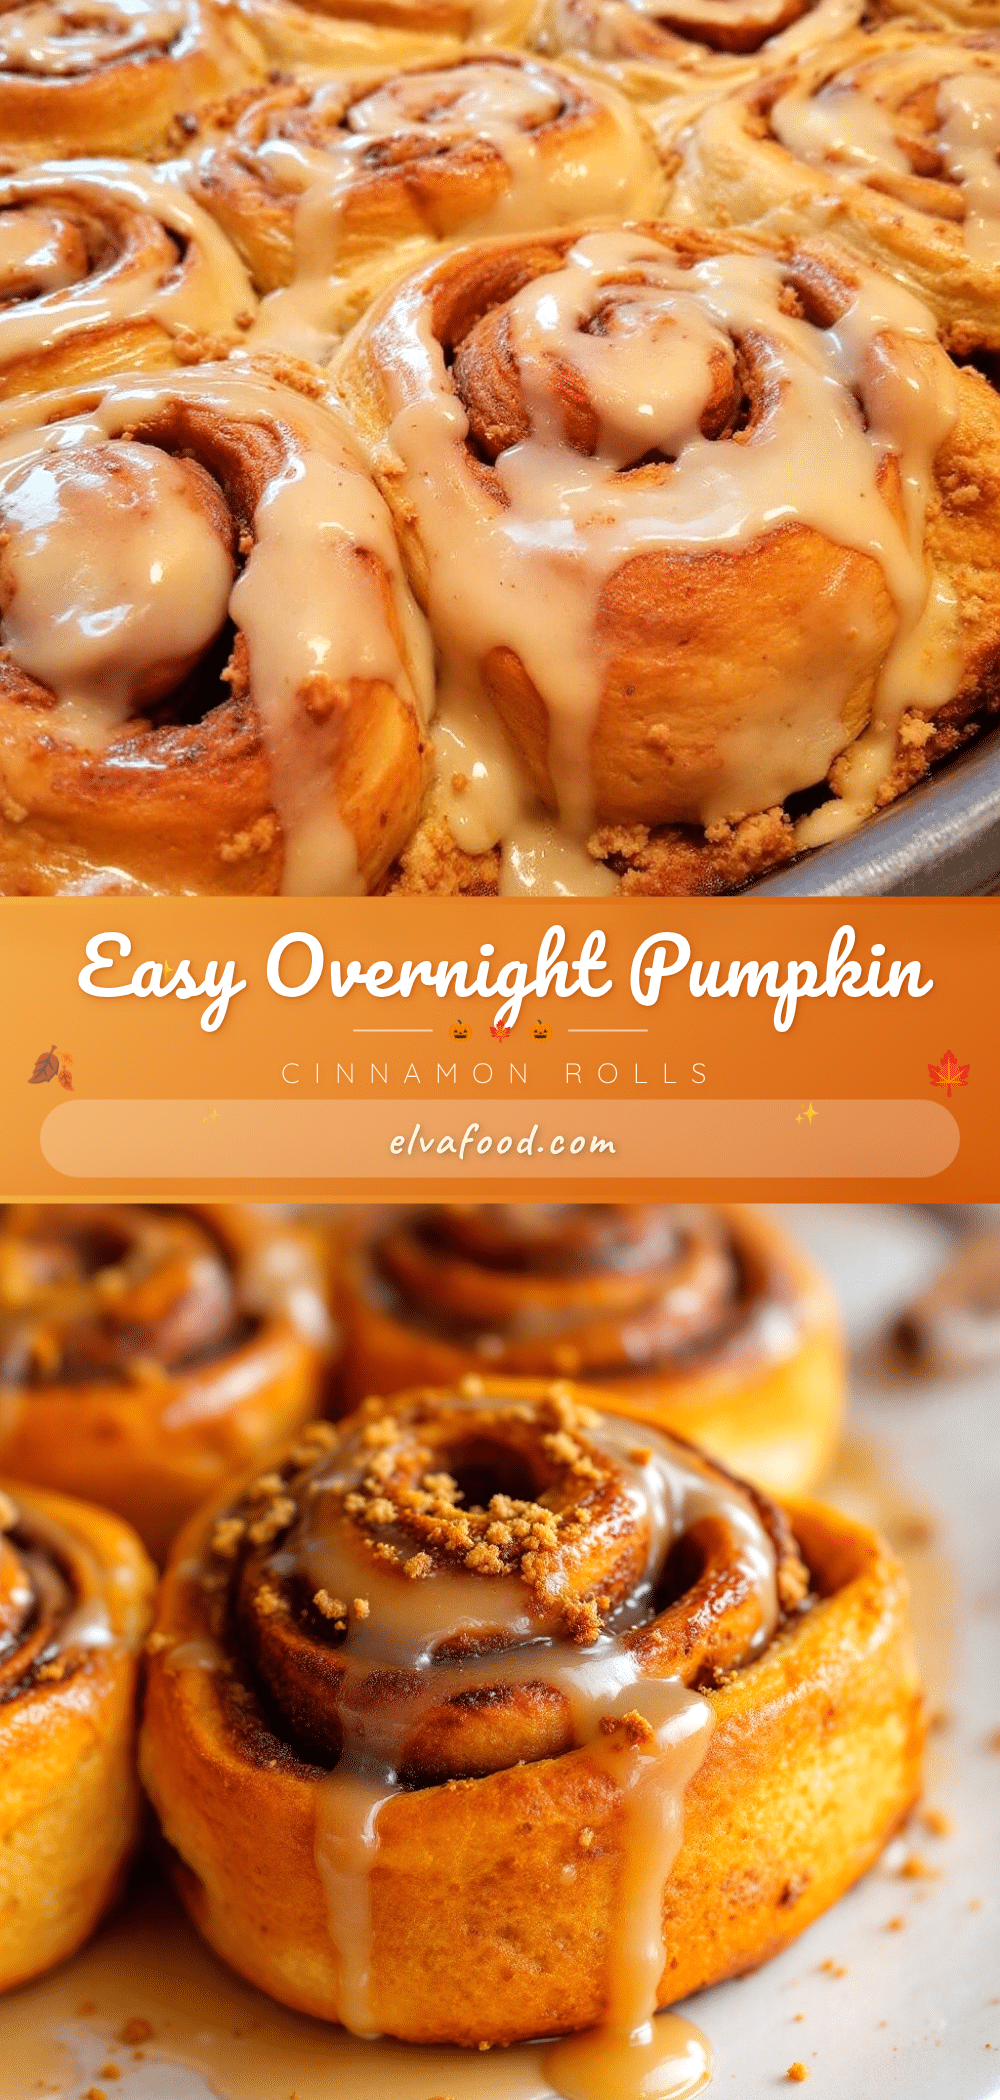
Easy Overnight Pumpkin Cinnamon Rolls with Maple Glaze
These overnight pumpkin cinnamon rolls are soft, pillowy, and subtly spiced, topped with a rich maple glaze. Perfect for a stress-free fall breakfast, the dough is prepared the night before and baked fresh in the morning.
- Prep Time: 30 minutes
- Cook Time: 30 minutes
- Total Time: 8 hours 30 minutes (includes overnight refrigeration)
- Yield: 12 servings 1x
- Category: Breakfast
- Cuisine: American
Ingredients
- 1 cup whole milk, warmed to 110°F (43°C)
- 2 ¼ teaspoons active dry yeast (1 packet)
- ¼ cup granulated sugar
- ¾ cup pumpkin purée (100% pumpkin, not pie filling)
- ¼ cup unsalted butter, melted and slightly cooled
- 1 large egg, room temperature
- 3 ½ to 4 cups all-purpose flour
- 1 teaspoon salt
- 1 ½ teaspoons pumpkin pie spice
- 4 tablespoons unsalted butter, softened (for filling)
- ¾ cup brown sugar, packed (for filling)
- 2 tablespoons ground cinnamon (for filling)
- ½ teaspoon ground nutmeg (for filling)
- Pinch of salt (for filling)
- 1 ½ cups powdered sugar (for glaze)
- 3 tablespoons pure maple syrup (for glaze)
- 2–3 tablespoons whole milk or heavy cream (for glaze)
- ½ teaspoon vanilla extract (for glaze)
- Pinch of salt (for glaze)
Instructions
- Warm milk to 110°F (43°C). Sprinkle yeast and a pinch of sugar over milk; let sit 5-10 minutes until foamy.
- In a stand mixer bowl, combine pumpkin purée, melted butter, egg, and remaining sugar. Add yeast mixture and stir.
- In a separate bowl, whisk together 3 ½ cups flour, salt, and pumpkin pie spice. Gradually add to wet ingredients, mixing on low until a shaggy dough forms.
- Switch to dough hook and knead on medium-low for 6-8 minutes until dough is soft and slightly tacky. Add flour or milk as needed.
- Shape dough into a ball, place in a greased bowl, cover with plastic wrap, and let rise in a warm spot for 1-1 ½ hours until doubled.
- While dough rises, mix brown sugar, cinnamon, nutmeg, and salt for filling in a small bowl.
- Punch down dough and roll into a 12×16-inch rectangle on a lightly floured surface.
- Spread softened butter over dough, leaving a ½-inch border on one long side. Sprinkle cinnamon-sugar mixture over butter and press gently.
- Roll dough tightly from the long side opposite the border, pinch seam to seal. Cut into 12 equal rolls (about 1 ½ inches thick).
- Place rolls in a greased 9×13-inch baking dish, cut-side up. Cover tightly with plastic wrap and refrigerate for at least 8 hours (up to 18 hours).
- In the morning, remove rolls from fridge and let sit at room temperature for 45 minutes to 1 hour to puff up.
- Preheat oven to 350°F (175°C). Bake rolls for 25-30 minutes until golden brown. Tent with foil if browning too fast.
- Let rolls cool in pan for 10 minutes.
- Whisk together powdered sugar, maple syrup, vanilla, and enough milk or cream to make a pourable glaze. Drizzle over warm rolls.
Notes
For best results, use 100% pumpkin purée (not pumpkin pie filling). The dough should be soft and slightly tacky; avoid over-flouring. Let rolls cool about 10 minutes before glazing to prevent glaze from melting. Rolls can be frozen unbaked for up to 3 months.
Nutrition
- Serving Size: 1 roll
- Calories: 320
- Sugar: 22
- Sodium: 200
- Fat: 12
- Saturated Fat: 7
- Carbohydrates: 48
- Fiber: 2
- Protein: 6
Keywords: pumpkin cinnamon rolls, overnight cinnamon rolls, maple glaze, fall breakfast, pumpkin recipes


