You see, I used to think canning meant spending an entire weekend chained to a boiling water bath, making enough sauce to feed a small army. And honestly, that scared me off for years. But this recipe? It’s different. It’s small-batch, meaning you can handle it on a Tuesday afternoon with a glass of wine and a podcast playing in the background. No massive pots, no all-day commitment, no feeling like you need a commercial kitchen. Just a few pounds of ripe tomatoes, some pantry staples, and about two hours of your time.
I remember the first time I opened a jar in January. The smell of roasted garlic and basil hit me, and for a moment, it was summer again. That’s the magic of this easy small-batch canned roasted tomato sauce — it captures a season in a jar, ready to save your dinner on a cold, rainy night. And once you taste it, you’ll never go back to the store-bought stuff.
Why You’ll Love This Recipe
Let me tell you why this recipe earns a permanent spot in my kitchen rotation. First off, it’s quick and easy — we’re talking about two hours from start to finish, including processing time. That’s nothing compared to traditional canning marathons. You don’t need a pressure canner either, just a regular water bath canner and a few basic tools.
- Simple Ingredients: No fancy grocery trips needed. You likely already have olive oil, garlic, and salt in your kitchen. The tomatoes are the star, and they don’t need to be perfect — ugly, ripe, and even slightly bruised ones work beautifully.
- Perfect for Gifts: Homemade canned sauce makes the best holiday presents. I’ve given jars to neighbors, teachers, and family, and they always ask for more. It’s thoughtful, practical, and shows you care.
- Crowd-Pleaser: This sauce has converted even the most skeptical jar-buyers. The roasting concentrates the tomato flavor in a way that store-bought sauce just can’t match. Kids and adults alike devour it.
- Unbelievably Delicious: The texture is silky, the flavor is deep and slightly sweet from the roasting, and it’s perfectly balanced with garlic and herbs. It’s the kind of sauce that makes you close your eyes after the first bite.
What makes this recipe different from the rest? It’s the roasting technique. Instead of simmering raw tomatoes, you roast them first with garlic and onions. This caramelizes the natural sugars and deepens the flavor without needing sugar or tomato paste. Plus, the small-batch approach means you can experiment with different herb combinations without committing to a massive batch. It’s comfort food reimagined — healthier, faster, but with the same soul-soothing satisfaction. Perfect for impressing dinner guests without stress, or turning a simple pasta night into something memorable.
What Ingredients You Will Need
This recipe uses simple, wholesome ingredients to deliver bold flavor and satisfying texture without the fuss. Most of these are pantry staples that you probably already have on hand.
- 5 pounds ripe Roma or San Marzano tomatoes — These meaty tomatoes have fewer seeds and less water, making a thicker sauce. If you can’t find them, any ripe tomato works, but you may need to simmer longer to thicken.
- 4 cloves garlic, smashed — Smashing releases more flavor than slicing. I recommend using fresh garlic, not the pre-minced stuff from a jar.
- 1 medium yellow onion, quartered — Adds natural sweetness and depth. Red onion works too, but the color will be slightly different.
- 3 tablespoons extra virgin olive oil — Use a good quality oil here since it’s a key flavor component. I prefer California Olive Ranch for its balanced flavor.
- 2 teaspoons kosher salt — Plus more to taste. Diamond Crystal is my go-to because it’s less salty per teaspoon, giving you more control.
- 1 teaspoon dried oregano — Or 1 tablespoon fresh. Oregano holds up well to roasting and adds that classic Italian flavor.
- 1 teaspoon dried basil — Or 1 tablespoon fresh. I add fresh basil at the end for a brighter flavor, but dried works perfectly for storage.
- 1/4 teaspoon red pepper flakes (optional) — Adds a gentle warmth without making it spicy. Leave it out if you prefer a mild sauce.
- 2 tablespoons lemon juice or bottled lemon juice — This is crucial for safe canning. It raises the acidity level to prevent botulism. Don’t skip it, and don’t use fresh lemon juice for canning as the acidity varies.
- 1/2 teaspoon black pepper — Freshly ground is best.
Ingredient Selection Tips: Look for tomatoes that are heavy for their size and give slightly when squeezed. If they’re rock hard, they need more time to ripen. For the best flavor, use in-season tomatoes from a farmers market or your garden. In winter, you can substitute with canned whole San Marzano tomatoes, but the roasting step is still worth doing for the caramelized flavor.
Equipment Needed
You don’t need a lot of fancy gear for this recipe. Here’s what you’ll need:
- Large baking sheet or roasting pan — Rimmed is best to catch any juices. I use a half-sheet pan, which fits 5 pounds of tomatoes perfectly.
- Parchment paper — Makes cleanup a breeze and prevents the tomatoes from sticking.
- Food mill or immersion blender — A food mill removes skins and seeds in one step. If you don’t have one, peel the tomatoes before roasting and use an immersion blender directly in the pot.
- Large heavy-bottomed pot — For simmering the sauce. A Dutch oven works beautifully.
- Water bath canner or large stockpot — Big enough to hold your jars with at least 1 inch of water above them.
- 4 to 5 half-pint (8 oz) canning jars — With new lids and bands. I prefer Ball or Kerr brand jars.
- Canning tools — Jar lifter, wide-mouth funnel, and a magnetic lid lifter make the process much safer and easier.
- Clean kitchen towels — For resting hot jars.
Budget-Friendly Options: You can skip the food mill and use a potato masher for a chunkier sauce, or peel the tomatoes by hand. A stockpot works fine as a water bath canner — just place a small wire rack or clean kitchen towel at the bottom to prevent jars from touching the direct heat.
Preparation Method
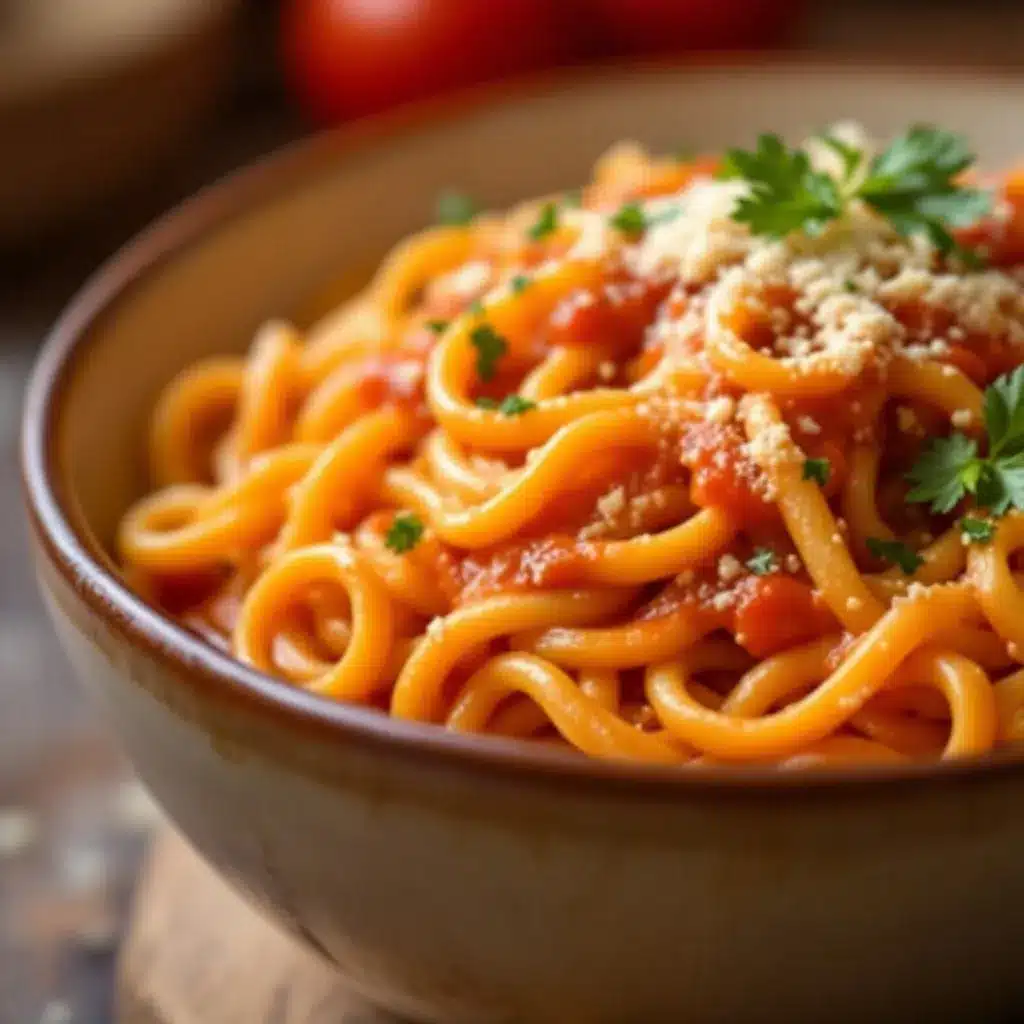
Let’s walk through this step by step. I’ll share the exact process I use every time, including the little tricks I’ve learned through trial and error.
- Preheat your oven to 400°F (200°C). Wash your tomatoes and cut out the core. Cut larger tomatoes in half, leave smaller ones whole. You want them roughly the same size for even roasting.
- Line your baking sheet with parchment paper. Arrange the tomatoes cut-side up in a single layer. Tuck the garlic cloves and onion quarters between the tomatoes. Drizzle everything with olive oil, then sprinkle with salt, oregano, and black pepper.
- Roast for 45-60 minutes, until the tomatoes are soft and starting to caramelize. The edges should look slightly browned and the kitchen should smell incredible. Halfway through, give the pan a gentle shake to redistribute the juices.
- Let the roasted vegetables cool slightly — about 10 minutes. This makes them safer to handle and easier to process. Transfer everything from the baking sheet into your food mill or blender. Work in batches if needed.
- Process through the food mill to remove skins and seeds. If you’re using an immersion blender, peel the tomatoes first (the skins slip right off after roasting), then blend until smooth right in the pot.
- Pour the puree into your large pot. Add the dried basil, red pepper flakes (if using), and the lemon juice. Stir well. Bring to a gentle simmer over medium heat, then reduce to low.
- Simmer for 20-30 minutes, stirring occasionally, until the sauce thickens to your liking. It should coat the back of a spoon. Taste and adjust salt and pepper. Remember: the flavor will concentrate slightly during canning, so don’t over-salt.
- While the sauce simmers, prepare your canning equipment. Wash your jars, lids, and bands in hot soapy water. Place the jars in your canner, cover with water, and bring to a boil. Keep them hot until ready to fill.
- Fill your hot jars using the wide-mouth funnel, leaving 1/2 inch headspace. Run a clean spatula or chopstick around the inside of each jar to release any air bubbles. Wipe the rims clean with a damp towel.
- Center a lid on each jar and screw on the band until fingertip-tight. Don’t overtighten — air needs to escape during processing.
- Process in a boiling water bath for 35 minutes (adjust for altitude: add 5 minutes for 1,000-3,000 feet, 10 minutes for 3,001-6,000 feet, 15 minutes for 6,001-8,000 feet). Start the timer when the water returns to a full boil.
- Remove jars with a jar lifter and place them on a clean kitchen towel. Don’t tighten the bands. Let them cool undisturbed for 12-24 hours. You should hear the satisfying “pop” as each jar seals.
Troubleshooting Tip: If a jar doesn’t seal (the lid doesn’t curve downward and you can press the center), just refrigerate it and use within a week. No need to panic — it happens sometimes, especially if the rim wasn’t perfectly clean.
Cooking Tips & Techniques
After making this recipe dozens of times, I’ve learned a few things the hard way. Let me save you some trouble.
Don’t skip the roasting step. I know it’s tempting to just dump everything in a pot and simmer, but roasting transforms the flavor. The caramelization adds a depth that you simply can’t achieve any other way. Plus, it concentrates the tomato flavor, so you need less time to thicken the sauce.
Watch your headspace. The 1/2 inch headspace is non-negotiable for safe canning. Too little, and the sauce might bubble out during processing, breaking the seal. Too much, and the jars might not seal properly. I use a chopstick marked at 1/2 inch as my gauge.
Timing is everything. Start your water bath heating while the sauce simmers. This way, everything is hot and ready to go when you’re filling jars. Cold jars in hot water can crack, and hot sauce in cold jars can also cause breakage.
My biggest failure? The first time I made this, I forgot to add the lemon juice. I realized it halfway through processing. I quickly pulled the jars, added the lemon juice, and reprocessed them. The sauce was still delicious, but the texture was slightly off. Now I always measure my lemon juice before I start and set it next to the stove as a reminder.
Multitasking strategy: While the tomatoes roast, wash your jars and get the water bath ready. While the sauce simmers, prep your workspace. This way, you’re never standing around waiting, and the whole process feels smooth and efficient.
Variations & Adaptations
This recipe is incredibly flexible. Here are some of my favorite variations:
- Smoky Chipotle Version: Add 1-2 chipotle peppers in adobo sauce to the roasting pan. The smoky heat pairs beautifully with the roasted tomatoes. Use this for enchiladas or tacos.
- Herb Garden Blend: Swap the dried herbs for fresh ones. Add a handful of fresh basil, a sprig of rosemary, and some thyme to the roasting pan. Remove the woody stems before processing. This creates a more complex, garden-fresh flavor.
- Roasted Red Pepper Addition: Toss 2 red bell peppers into the roasting pan with the tomatoes. They add natural sweetness and a gorgeous color. This version is perfect for pasta or as a pizza sauce.
- Garlic Lover’s Dream: Double the garlic. Roast 8 cloves instead of 4. The roasted garlic becomes sweet and mellow, adding incredible depth without being sharp.
- No-Canning Option: If you’re not into canning, skip the processing step. Store the sauce in the refrigerator for up to a week, or freeze it in freezer-safe containers for up to 6 months. I often freeze half and can the other half.
Dietary Adaptations: This recipe is naturally vegan, gluten-free, and dairy-free. For a low-sodium version, reduce the salt to 1 teaspoon and add more herbs for flavor. If you’re avoiding nightshades, this isn’t the recipe for you, but you might enjoy my creamy cacio e pepe pasta instead.
I once made a batch with fresh basil from my garden and gave jars to my neighbors for Christmas. One neighbor told me it was the best sauce she’d ever had, and she used it to make a homemade Italian wedding soup that her family still talks about. That’s the beauty of homemade sauce — it becomes part of someone else’s memories.
Serving & Storage Suggestions
This sauce is incredibly versatile. Here’s how to make the most of it:
Serving Temperature: Serve hot over your favorite pasta. I love it with spaghetti or pappardelle, but it’s also fantastic on crispy arancini rice balls for a truly indulgent meal. For a lighter option, spoon it over grilled chicken or fish.
Presentation Ideas: For a beautiful presentation, serve the sauce in a warmed bowl, garnished with fresh basil leaves and a drizzle of good olive oil. If you’re giving jars as gifts, tie a sprig of dried rosemary around the neck with kitchen twine and attach a handwritten tag with serving suggestions.
Storage Instructions: Properly canned jars can be stored in a cool, dark place for up to 18 months. I keep mine in the basement pantry, away from direct sunlight. Once opened, refrigerate and use within 5-7 days. The flavor actually improves after a few weeks as the herbs meld.
Reheating Methods: For best results, reheat the sauce gently in a saucepan over medium-low heat. If it’s too thick, add a splash of pasta water or broth. You can also microwave it in 30-second bursts, stirring between each. Avoid boiling it, as this can make the texture grainy.
Flavor Development: I’ve noticed that the sauce tastes even better after a month or two in the jar. The flavors marry and deepen, creating a more complex sauce. So don’t be afraid to make a batch now and save it for a cozy winter dinner.
Nutritional Information & Benefits
Here’s a rough estimate per 1/2 cup serving (about 4 ounces):
- Calories: 60
- Total Fat: 3.5g
- Saturated Fat: 0.5g
- Sodium: 380mg
- Total Carbohydrates: 7g
- Dietary Fiber: 2g
- Sugars: 4g
- Protein: 1.5g
- Vitamin C: 20% DV
- Vitamin A: 15% DV
- Potassium: 8% DV
Health Benefits: Tomatoes are packed with lycopene, a powerful antioxidant that’s even more bioavailable when cooked. Roasting with olive oil helps your body absorb the lycopene more effectively. Garlic supports immune health, and onions provide prebiotic fiber for gut health. This sauce is naturally low in calories and fat, making it a heart-healthy addition to any meal.
Dietary Considerations: This recipe is vegan, gluten-free, dairy-free, and nut-free. It’s also Whole30 and paleo-friendly. The only potential allergen is the lemon juice (citrus), but that’s rare. If you’re on a low-acid diet, consult your doctor before consuming canned tomato products.
Personal Wellness Perspective: I love knowing exactly what’s in my food. No preservatives, no hidden sugars, no artificial flavors. Just real ingredients that nourish my body and soul. Making my own sauce feels like an act of self-care, a way to slow down and connect with the food I eat.
Conclusion
This easy small-batch canned roasted tomato sauce is more than just a recipe — it’s a way to capture summer and enjoy it all year long. The roasting technique brings out a depth of flavor that store-bought sauce can only dream of, and the small-batch approach makes it manageable even for beginner canners.
I encourage you to make this recipe your own. Experiment with different herbs, adjust the garlic to your taste, or add a splash of balsamic vinegar for extra depth. The beauty of homemade sauce is that it’s yours — a reflection of your preferences and your kitchen.
Honestly, this sauce has become a staple in my home. It’s the base for quick weeknight dinners, the star of holiday meals, and the gift that keeps on giving. I love knowing that with just a few hours of work, I can have jars of summer ready to brighten the darkest winter days.
Have you tried making your own canned tomato sauce? I’d love to hear about your experience! Drop a comment below and share your favorite way to use this sauce. And if you enjoyed this recipe, don’t forget to pin it for later and share it with your friends. Happy canning!
Frequently Asked Questions
Can I use this recipe for canning if I live at a high altitude?
Yes, but you need to adjust the processing time. For altitudes between 1,001 and 3,000 feet, process for 40 minutes. For 3,001 to 6,000 feet, process for 45 minutes. For 6,001 to 8,000 feet, process for 50 minutes. Always consult your local extension office for specific recommendations.
Do I really need to add lemon juice?
Yes, absolutely. The lemon juice is crucial for safe canning because it ensures the sauce has enough acidity to prevent the growth of botulism bacteria. Bottled lemon juice is recommended because its acidity level is consistent. Never skip this step.
Can I double this recipe?
Absolutely! Just make sure your roasting pan can fit all the tomatoes in a single layer. You may need to use two baking sheets or roast in batches. The processing time remains the same for half-pint jars, but you’ll need more jars and a larger canner.
How do I know if my jars sealed properly?
After the jars cool for 12-24 hours, check the lids. They should be curved downward and not move when you press the center. You can also remove the band and gently lift the jar by the lid — if it holds, it’s sealed. If it pops off, refrigerate and use within a week.
Can I use this sauce for pizza?
Definitely! This sauce is perfect for pizza. Just spread it on your dough without cooking it first. The roasting process has already cooked the sauce, so it just needs to heat through in the oven. It’s especially delicious on a homemade pizza night.
Pin This Recipe!
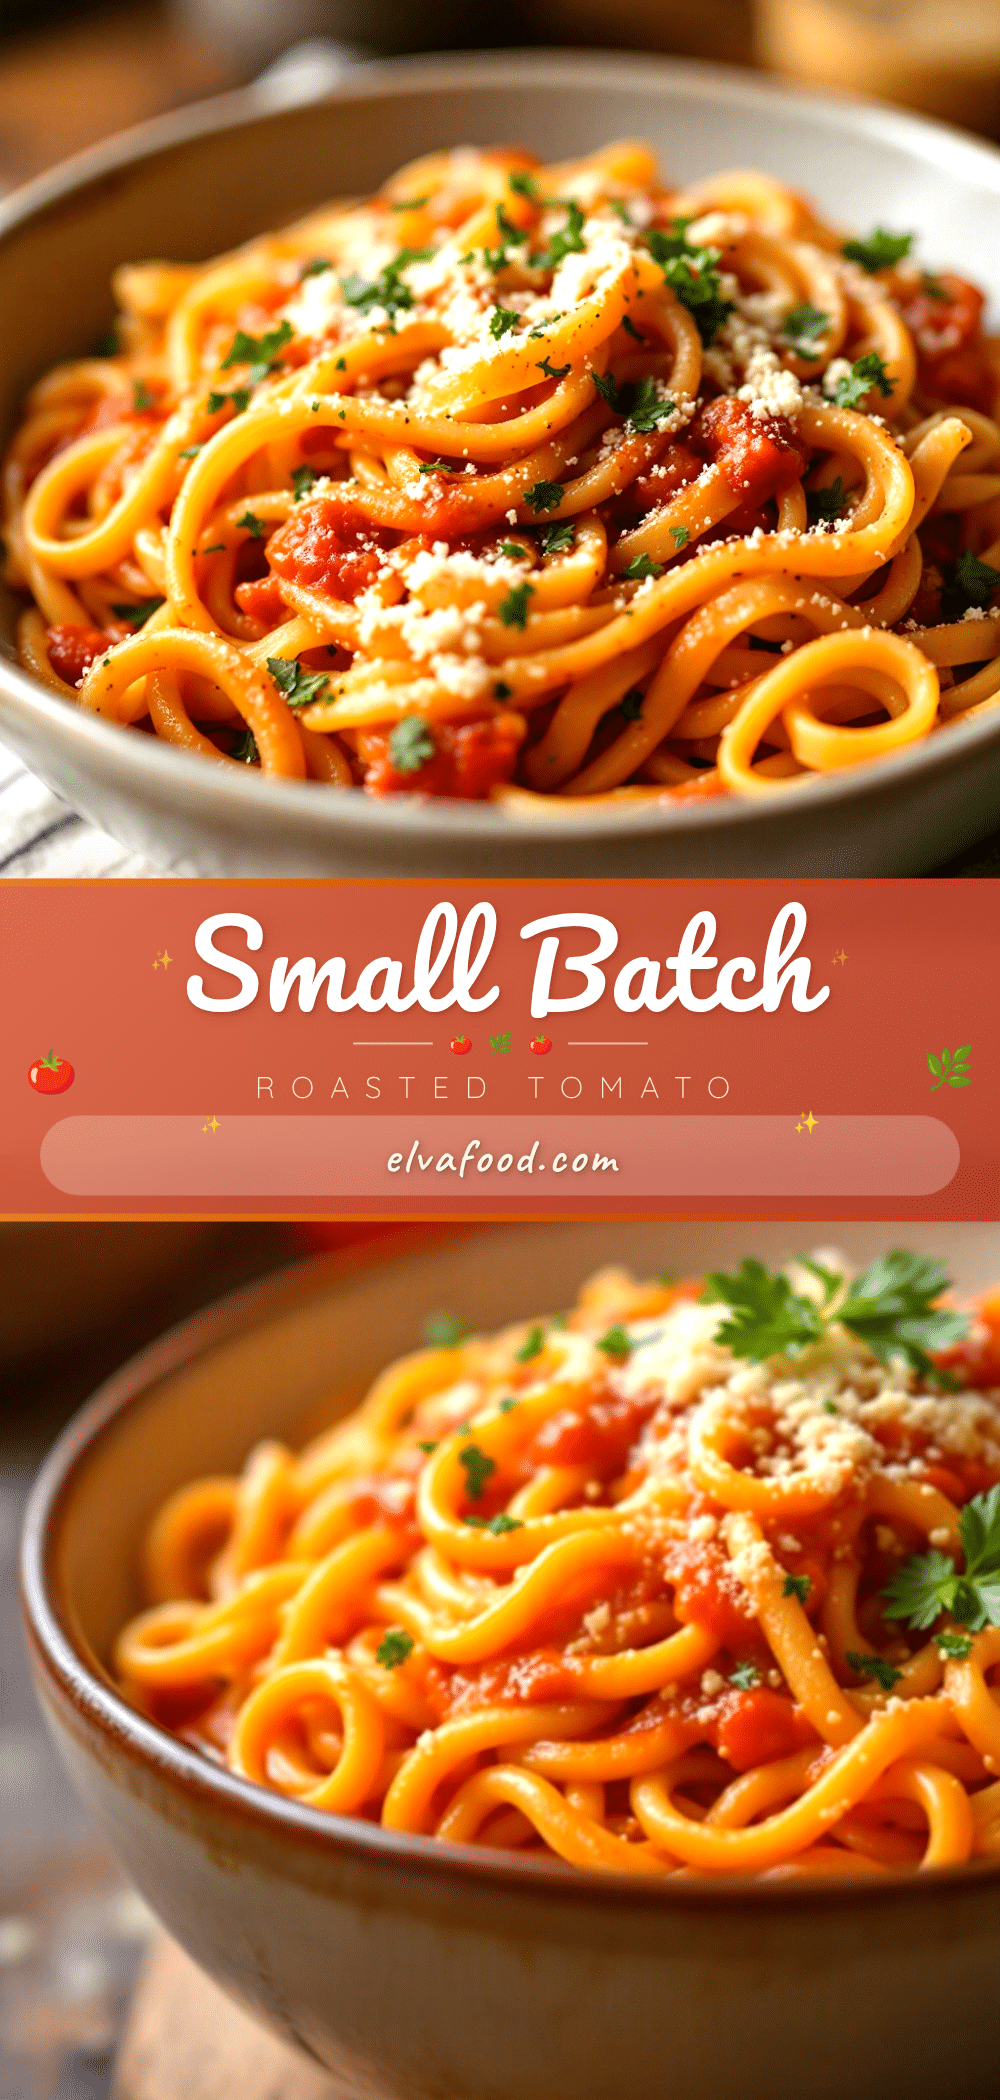
Easy Small-Batch Canned Roasted Tomato Sauce: Best Homemade Recipe
This small-batch canned roasted tomato sauce captures the essence of summer in a jar. With simple ingredients and a manageable two-hour process, you can enjoy deep, caramelized tomato flavor all year long.
- Prep Time: 15 minutes
- Cook Time: 1 hour 35 minutes
- Total Time: 2 hours
- Yield: 4 to 5 half-pint jars (about 2.5 cups total) 1x
- Category: Sauce
- Cuisine: Italian
Ingredients
- 5 pounds ripe Roma or San Marzano tomatoes
- 4 cloves garlic, smashed
- 1 medium yellow onion, quartered
- 3 tablespoons extra virgin olive oil
- 2 teaspoons kosher salt
- 1 teaspoon dried oregano
- 1 teaspoon dried basil
- 1/4 teaspoon red pepper flakes (optional)
- 2 tablespoons lemon juice or bottled lemon juice
- 1/2 teaspoon black pepper
Instructions
- Preheat your oven to 400°F (200°C). Wash your tomatoes and cut out the core. Cut larger tomatoes in half, leave smaller ones whole.
- Line your baking sheet with parchment paper. Arrange the tomatoes cut-side up in a single layer. Tuck the garlic cloves and onion quarters between the tomatoes. Drizzle everything with olive oil, then sprinkle with salt, oregano, and black pepper.
- Roast for 45-60 minutes, until the tomatoes are soft and starting to caramelize. Halfway through, give the pan a gentle shake to redistribute the juices.
- Let the roasted vegetables cool slightly — about 10 minutes. Transfer everything from the baking sheet into your food mill or blender. Work in batches if needed.
- Process through the food mill to remove skins and seeds. If using an immersion blender, peel the tomatoes first (the skins slip right off after roasting), then blend until smooth right in the pot.
- Pour the puree into your large pot. Add the dried basil, red pepper flakes (if using), and the lemon juice. Stir well. Bring to a gentle simmer over medium heat, then reduce to low.
- Simmer for 20-30 minutes, stirring occasionally, until the sauce thickens to your liking. Taste and adjust salt and pepper.
- While the sauce simmers, prepare your canning equipment. Wash your jars, lids, and bands in hot soapy water. Place the jars in your canner, cover with water, and bring to a boil. Keep them hot until ready to fill.
- Fill your hot jars using the wide-mouth funnel, leaving 1/2 inch headspace. Run a clean spatula or chopstick around the inside of each jar to release any air bubbles. Wipe the rims clean with a damp towel.
- Center a lid on each jar and screw on the band until fingertip-tight. Don’t overtighten.
- Process in a boiling water bath for 35 minutes (adjust for altitude: add 5 minutes for 1,000-3,000 feet, 10 minutes for 3,001-6,000 feet, 15 minutes for 6,001-8,000 feet). Start the timer when the water returns to a full boil.
- Remove jars with a jar lifter and place them on a clean kitchen towel. Don’t tighten the bands. Let them cool undisturbed for 12-24 hours.
Notes
Don’t skip the roasting step—it caramelizes the natural sugars and deepens the flavor. The 1/2 inch headspace is non-negotiable for safe canning. Start your water bath heating while the sauce simmers to avoid thermal shock. If a jar doesn’t seal, refrigerate and use within a week.
Nutrition
- Serving Size: 1/2 cup (4 ounces)
- Calories: 60
- Sugar: 4
- Sodium: 380
- Fat: 3.5
- Saturated Fat: 0.5
- Carbohydrates: 7
- Fiber: 2
- Protein: 1.5
Keywords: small-batch canned tomato sauce, roasted tomato sauce, homemade canned sauce, easy canning recipe, water bath canning


