I didn’t plan on making these wings. Not even a little bit.
It was the morning of the championship game, and I had a fridge full of chicken wings I’d grabbed on sale with no real idea what I was going to do with them. My usual move was frying — messy, splattery, delicious, but the kind of chaos you need to mentally prepare for. I wasn’t prepared.
So I stood there, door open, cold air hitting my face, and I thought: what if I just baked them and hoped for the best?
Honestly, I was skeptical. Baked wings have let me down before. Soggy skin. Sad texture. The kind of wing that makes you wish you’d just ordered pizza.
But then my husband walked in, saw the wings defrosting, and said, “Please don’t fry those. The whole house will smell like a fast food joint for three days.” Fair point. So I committed to the oven method, but I needed to make it work. No half-measures.
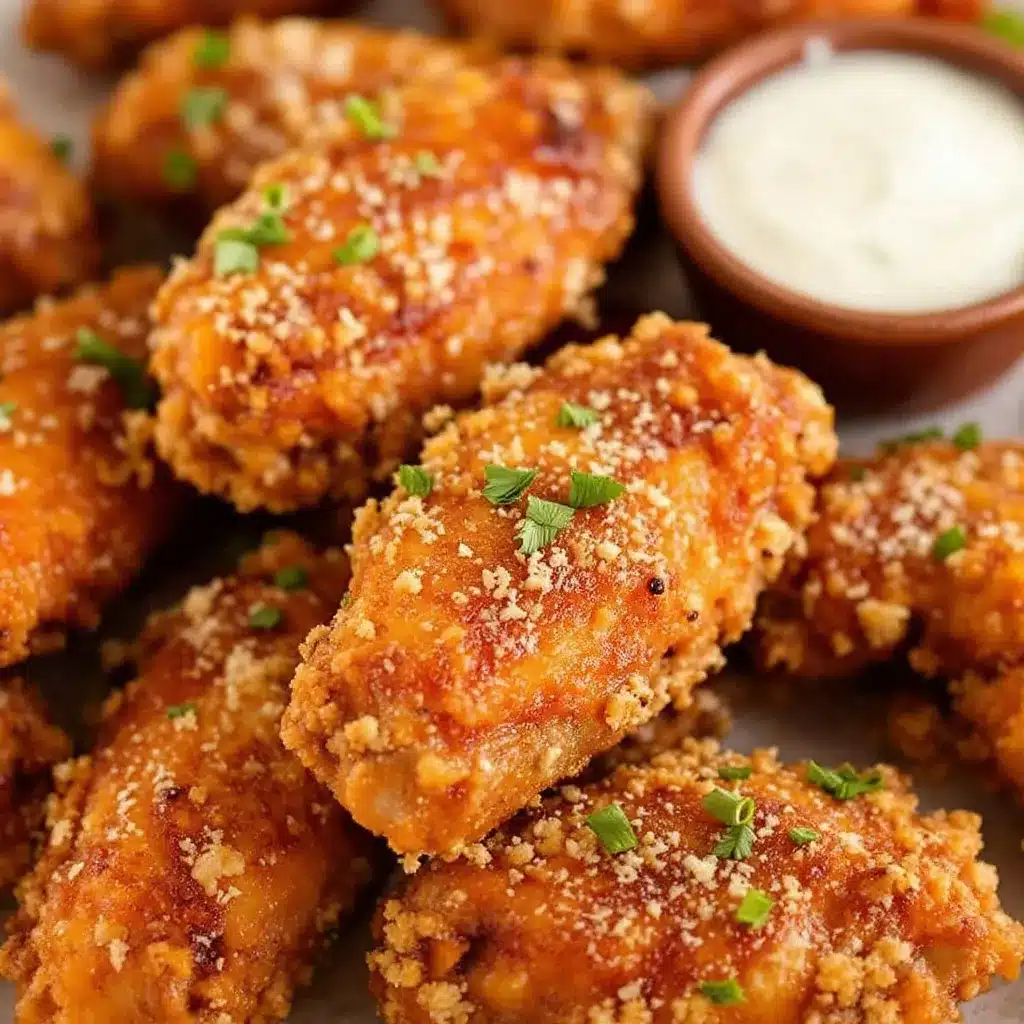
I grabbed my baking sheet, a wire rack, some garlic, a block of Parmesan, and a little baking powder trick I’d picked up from a chef friend years ago. I tossed the wings, seasoned them generously, and slid them into a hot oven. Forty-five minutes later, I pulled out a tray of golden, crispy, garlicky wings that looked like they’d come out of a deep fryer — but without the mess, the smell, or the guilt.
They disappeared in about eight minutes. My brother-in-law, who never compliments food, asked for the recipe before the game even ended. That’s when I knew I’d accidentally stumbled onto something special.
These Crispy Baked Parmesan Garlic Wings for Game Day have become my go-to ever since. They’re the wings I make when I want everyone happy and my kitchen clean. And honestly? I think they’re better than fried.
Why You’ll Love This Recipe
- Oven-Baked, Not Fried: You get that irresistible crispy exterior without deep frying. Less mess, less oil, same crunch.
- Simple Pantry Ingredients: Chicken wings, Parmesan, garlic, butter, and a few spices — that’s it. No weird specialty items.
- Perfect for Game Day: These wings hold up well, stay crispy longer than fried versions, and are easy to serve to a crowd.
- Crowd-Pleaser Guaranteed: I’ve served these at parties, casual dinners, and even a Super Bowl gathering. They’re always the first thing to disappear.
- Foolproof Method: The baking powder trick ensures crispy skin every single time. No guesswork, no failed attempts.
What makes this recipe different from the hundreds of other wing recipes out there? It’s the combination of the dry-baking technique and the fresh garlic-Parmesan finish. Most baked wings either come out rubbery or rely on a heavy sauce that makes the skin soggy. Here, the wings get crispy first, then get tossed in a light, buttery garlic coating that clings to every crevice without weighing them down. It’s the best of both worlds — crunchy exterior, juicy meat, and that punchy, savory flavor that keeps you reaching for one more.
These wings aren’t just good for baked wings. They’re good, period. The kind of good where you close your eyes after the first bite and forget you’re watching a game at all.
What Ingredients You Will Need
This recipe uses simple, everyday ingredients to create something genuinely impressive. Most of these are probably already in your kitchen — which is exactly how game day recipes should be.
For the Wings
- 2 pounds chicken wings (about 10-12 whole wings, or 20-24 separated drumettes and flats)
- 1 tablespoon baking powder (NOT baking soda — this is critical for crispiness)
- 1 teaspoon salt
- 1/2 teaspoon black pepper
- 1/2 teaspoon garlic powder
- 1/2 teaspoon paprika (smoked or sweet, both work great)
For the Garlic Parmesan Coating
- 3 tablespoons unsalted butter, melted
- 4 cloves garlic, minced (fresh only — don’t use jarred here)
- 1/2 cup freshly grated Parmesan cheese (skip the pre-shredded stuff; it won’t melt right)
- 2 tablespoons fresh parsley, chopped (optional, but adds color and freshness)
Ingredient Notes & Tips:
- Chicken wings: I prefer buying whole wings and separating them myself — it’s cheaper and the pieces are more uniform. Save the wing tips for making stock. If you’re short on time, pre-separated drumettes and flats work perfectly.
- Baking powder: This is the secret to crispy baked wings. It raises the skin’s pH, helping it brown and crisp up in the oven. Make sure it’s aluminum-free to avoid any metallic aftertaste.
- Parmesan: Spend the extra dollar on a block of real Parmigiano-Reggiano. The pre-grated stuff has anti-caking agents that prevent it from melting smoothly. Freshly grated Parmesan clings to the wings and creates that beautiful, savory crust.
- Butter: Unsalted gives you control over the salt level. If you only have salted, reduce the added salt in the dry rub slightly.
Equipment Needed
- Large baking sheet (rimmed, to catch any drips)
- Wire rack that fits inside the baking sheet (this is key for air circulation and even crispiness)
- Large mixing bowl (for tossing wings with dry rub)
- Small saucepan or microwave-safe bowl (for melting butter)
- Garlic press or microplane (for mincing garlic finely)
- Cheese grater (for fresh Parmesan)
- Tongs (for flipping wings)
- Paper towels (for drying wings thoroughly)
Budget-Friendly Alternatives: No wire rack? You can place wings directly on the baking sheet, but flip them halfway through and expect slightly less crispy bottoms. A cooling rack from a standard baking set works just as well. If you don’t have a garlic press, mince the garlic finely with a knife — just take your time to get it small enough that it melts into the butter.
Preparation Method
Step 1: Prep the Wings (10 minutes)
Pat the chicken wings completely dry with paper towels. This is the most important step — moisture is the enemy of crispy skin. If you have time, leave them uncovered in the fridge for an hour to dry out further. Cut each wing at the joint to separate the drumette from the flat. Discard the wing tips or save them for stock.
Step 2: Season and Coat (5 minutes)
In a large bowl, combine the baking powder, salt, pepper, garlic powder, and paprika. Add the dried wings and toss thoroughly until each piece is evenly coated. Don’t skip this — every bit of seasoning matters for that final crispy crust.
Step 3: Arrange on Rack (5 minutes)
Place the wire rack over your baking sheet. Arrange the wings in a single layer, leaving a little space between each piece. Crowding them will trap steam and prevent crisping. If you need to use two baking sheets, do it — it’s worth the extra cleanup.
Step 4: Bake (45-50 minutes)
Preheat your oven to 425°F (220°C). Bake the wings for 25 minutes, then flip each piece using tongs. Bake for another 20-25 minutes, until the skin is deep golden brown and crispy. The internal temperature should reach 165°F (74°C) at the thickest part.
Sensory cue: Your kitchen will start smelling like roasted chicken with a hint of garlic and butter around the 30-minute mark. The wings should look puffy and slightly blistered — that’s the baking powder doing its magic.
Step 5: Make the Garlic Butter (5 minutes)
While the wings bake, melt the butter in a small saucepan over low heat. Add the minced garlic and cook for 1-2 minutes until fragrant but not browned — burnt garlic turns bitter. Remove from heat and set aside.
Step 6: Toss and Finish (5 minutes)
Once the wings are out of the oven, transfer them to a large clean bowl. Drizzle the garlic butter over them and toss gently to coat. Sprinkle with the freshly grated Parmesan and toss again. The residual heat will melt the cheese slightly, creating a gorgeous, savory coating. Garnish with fresh parsley if using.
Cooking Tips & Techniques
The Baking Powder Secret: I learned this the hard way after years of soggy baked wings. Baking powder (not baking soda!) raises the pH of the chicken skin, which helps it brown faster and get crispier. It also creates tiny bubbles on the surface, adding texture. Just make sure it’s aluminum-free — the regular stuff can leave a weird metallic taste.
Dry Those Wings: I cannot stress this enough. Pat them dry, then pat them dry again. If you have time, leave them uncovered in the fridge for an hour or two. The drier the skin, the crispier the result. I’ve even left them overnight before, and the difference is noticeable.
Don’t Skip the Rack: The first time I made these, I put the wings directly on the baking sheet. The bottoms came out soggy and pale. A wire rack lifts the wings off the surface, allowing hot air to circulate all around them. Every side gets crispy. It’s a game-changer.
Flip Once, Not Twice: Resist the urge to keep checking and flipping. Let the first side cook undisturbed for 25 minutes, then flip once. Constant opening of the oven door drops the temperature and extends cooking time.
Temperature Matters: 425°F is the sweet spot. Too low and the wings will steam instead of crisp. Too high and the outside burns before the inside cooks through. Trust the temperature.
My Biggest Failure: I once tried to rush the process by skipping the drying step and using a higher temperature. The wings came out with burnt edges, raw centers, and skin that peeled off in sad, rubbery sheets. My husband politely ate two and then ordered pizza. Learn from my mistakes — patience pays off here.
Variations & Adaptations
Spicy Buffalo Parmesan
Add 2 tablespoons of hot sauce (Frank’s RedHot is my go-to) to the melted butter before tossing. The combination of spicy buffalo and savory Parmesan is addictive. I make this version when I’m hosting friends who like heat.
Lemon Herb Version
Replace the garlic with 1 tablespoon of lemon zest and add 1 teaspoon dried oregano to the dry rub. Finish with a squeeze of fresh lemon juice before serving. This is brighter, fresher, and perfect for summer gatherings.
Gluten-Free Option
This recipe is naturally gluten-free — just double-check your baking powder label to ensure it’s certified gluten-free. Serve with veggie sticks instead of bread for a fully gluten-free spread.
Air Fryer Adaptation
Preheat the air fryer to 400°F (200°C). Cook the seasoned wings in a single layer for 12-15 minutes, shaking the basket halfway through. Toss with garlic butter and Parmesan as directed. The air fryer version takes half the time and gets even crispier, if you can believe it.
Extra Crispy Method
For truly shatteringly crispy skin, let the seasoned wings rest uncovered in the fridge for 2-4 hours before baking. This dries out the skin even further. Then bake as directed, adding 5-10 minutes to the total time. The result is almost crackling-level crispiness.
Serving & Storage Suggestions
Serving: These wings are best served immediately, while the Parmesan is still slightly melted and the skin is at its crispiest. Arrange them on a large platter with celery sticks, carrot sticks, and your favorite dipping sauces — ranch, blue cheese, or extra garlic butter all work beautifully. For game day, I like to serve them alongside a big bowl of Easy Lo Mein Noodles for a complete spread.
Reheating: Leftovers (if you have any) reheat best in the oven or air fryer. Place them on a wire rack at 375°F (190°C) for 8-10 minutes. The microwave will make them soggy — avoid it if you can. I’ve also reheated them in a skillet over medium heat with a splash of butter, which works in a pinch.
Storage: Store leftover wings in an airtight container in the refrigerator for up to 4 days. They’ll lose some crispiness but will still be delicious. To freeze, arrange cooled wings in a single layer on a baking sheet, freeze until solid, then transfer to a freezer bag. They’ll keep for up to 3 months. Reheat from frozen in the oven at 400°F (200°C) for 15-20 minutes.
Flavor Development: Interestingly, the garlic flavor deepens overnight. Cold leftovers straight from the fridge have a more mellow, infused garlic taste that’s different from the fresh, punchy version. Both are excellent in their own way.
Nutritional Information & Benefits
Estimated per serving (4-5 wings):
- Calories: 380
- Protein: 28g
- Fat: 26g
- Carbohydrates: 2g
- Fiber: 0g
- Sugar: 0g
Health Benefits: Chicken wings are a good source of high-quality protein, which supports muscle repair and satiety. Garlic offers anti-inflammatory properties and may support immune health — a nice bonus during cold and flu season. Parmesan cheese provides calcium and a small amount of protein, though it should be enjoyed in moderation due to its sodium content.
Dietary Considerations: This recipe is naturally low-carb and keto-friendly. It’s also gluten-free when using certified gluten-free baking powder. If you’re watching sodium, reduce the added salt and use unsalted butter. For a dairy-free version, substitute the butter with olive oil and omit the Parmesan or use a dairy-free alternative.
Personal Note: I love that these wings feel indulgent but aren’t deep-fried. They satisfy that craving for something crispy and savory without the heavy oil and calories. For me, that’s a win-win — especially when I’m snacking during a game and don’t want to undo a week of healthy eating.
Frequently Asked Questions
Can I use frozen wings?
Yes, but thaw them completely in the refrigerator first, then pat them very dry. Frozen wings release a lot of moisture as they cook, which will prevent crisping. Thawing overnight in the fridge is best.
Why are my wings not crispy?
Most likely one of three things: they weren’t dried thoroughly before seasoning, the baking powder was old or aluminum-based, or the wings were crowded on the baking sheet. Check each of these factors and adjust next time. Also, make sure your oven is fully preheated — a cooler oven steams rather than crisps.
Can I make these ahead of time?
You can prep the wings up to the seasoning step and refrigerate them uncovered for up to 24 hours. This actually improves crispiness. Bake them fresh just before serving for the best texture. If you need to reheat, use the oven or air fryer, not the microwave.
What dipping sauce goes best with these wings?
Ranch and blue cheese are classics, but these wings are flavorful enough to stand alone. A simple garlic aioli or a squeeze of lemon also works beautifully. For a spicy kick, try sriracha mayo or a chipotle ranch.
Can I use chicken drumsticks instead of wings?
Absolutely. The same method works for drumsticks, but increase the baking time to 50-60 minutes total. Use a meat thermometer to ensure they reach 165°F (74°C) at the thickest part. The skin on drumsticks is thicker, so you might need an extra 5-10 minutes for optimal crispiness.
Conclusion
These Crispy Baked Parmesan Garlic Wings for Game Day have become a staple in my kitchen for good reason. They deliver everything you want from a chicken wing — crispy skin, juicy meat, bold flavor — without the hassle and mess of deep frying. The garlic butter and fresh Parmesan combination is simple but unforgettable, and the baking powder trick guarantees consistent results every time.
I love that this recipe is flexible enough for casual weeknight dinners but impressive enough for parties. Whether you’re hosting a Super Bowl gathering, a casual get-together, or just craving something crispy and satisfying, these wings deliver. And honestly, they might ruin you for restaurant wings forever — in the best possible way.
If you try this recipe, I’d love to hear how it goes. Leave a comment below, share your photos, and let me know what variations you came up with. And if you’re looking for more game day inspiration, don’t miss our Crispy Sesame Chicken or these Crispy Arancini Risotto Balls for another crowd-pleasing option. Happy cooking, and enjoy the game!
Pin This Recipe!
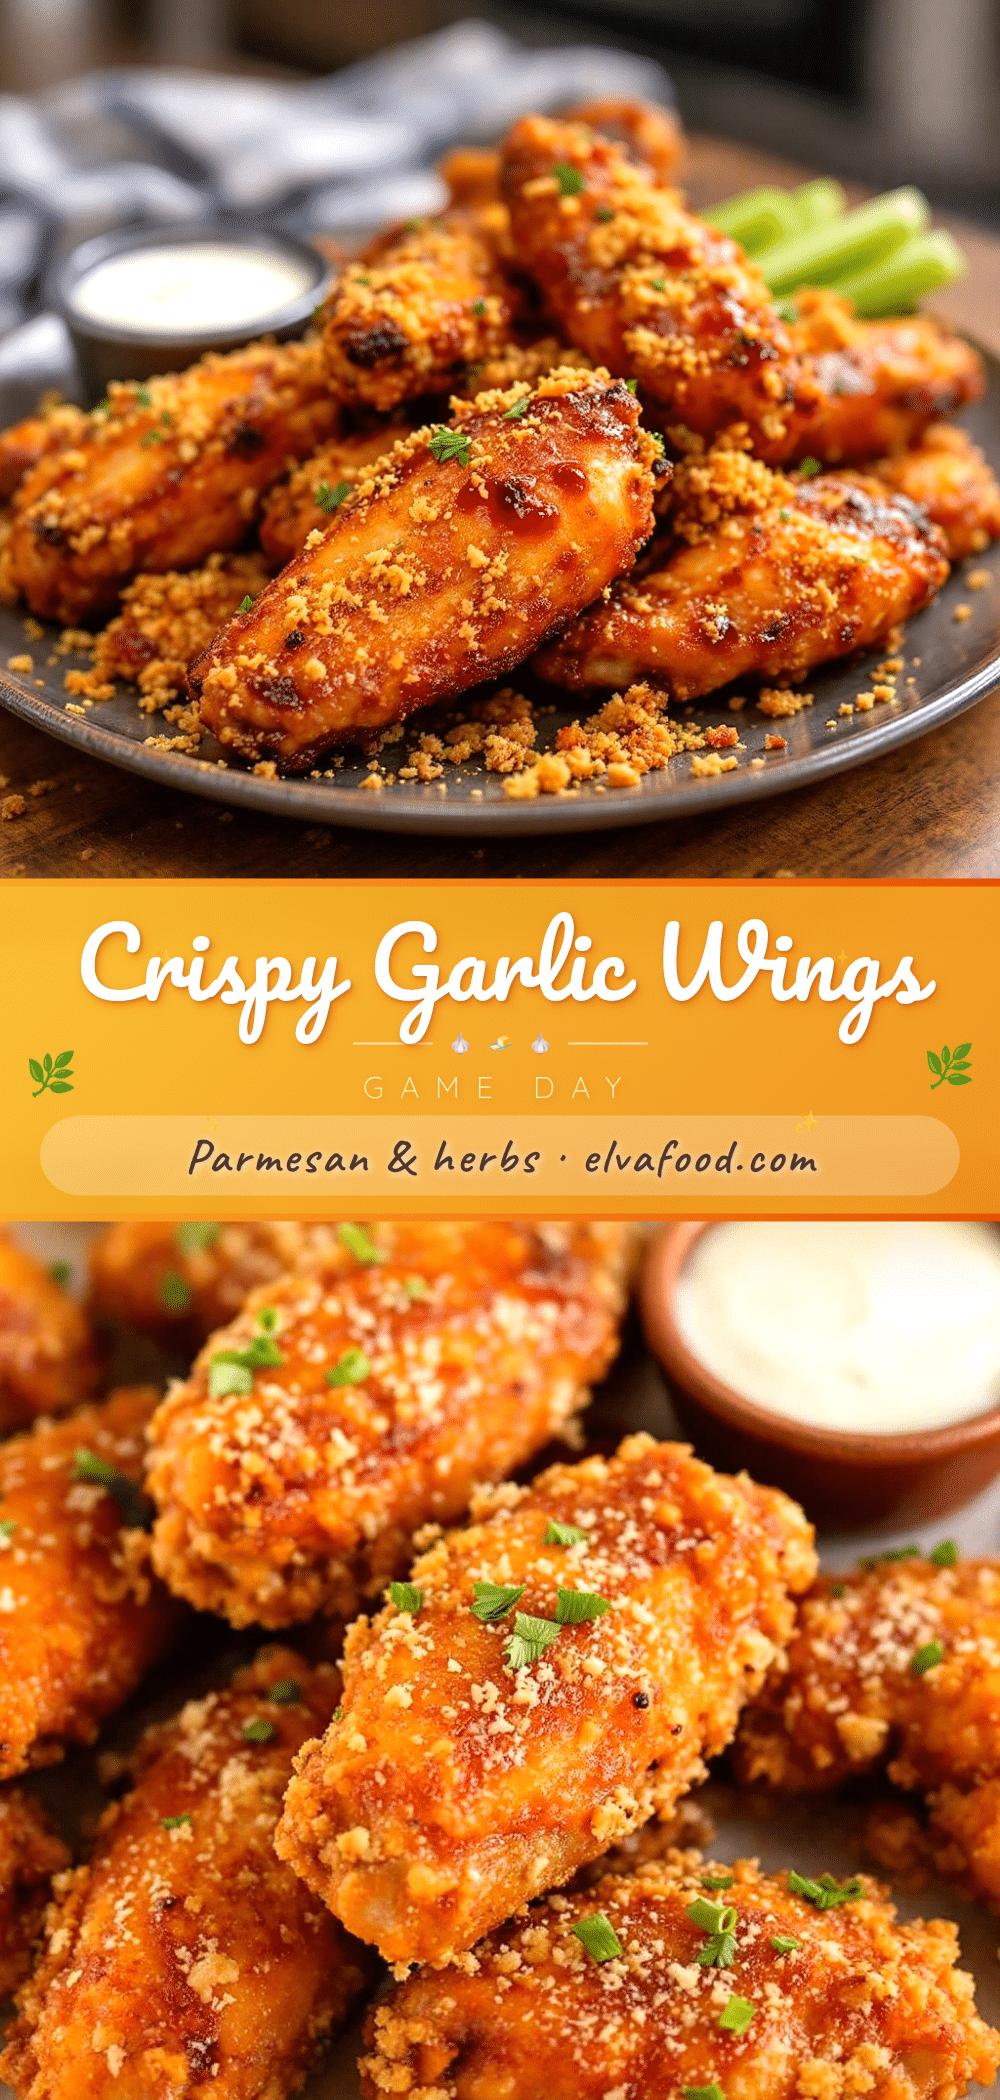
Crispy Baked Parmesan Garlic Wings: Easy Game Day Recipe

Oven-baked chicken wings with a crispy exterior and a savory garlic-Parmesan coating. Perfect for game day, these wings are juicy, flavorful, and much less messy than fried versions.
- Prep Time: 15 minutes
- Cook Time: 45 minutes
- Total Time: 1 hour
- Yield: 4 servings 1x
- Category: Appetizer
- Cuisine: American
Ingredients
- 2 pounds chicken wings (about 10–12 whole wings, or 20–24 separated drumettes and flats)
- 1 tablespoon baking powder (NOT baking soda)
- 1 teaspoon salt
- 1/2 teaspoon black pepper
- 1/2 teaspoon garlic powder
- 1/2 teaspoon paprika (smoked or sweet)
- 3 tablespoons unsalted butter, melted
- 4 cloves garlic, minced
- 1/2 cup freshly grated Parmesan cheese
- 2 tablespoons fresh parsley, chopped (optional)
Instructions
- Preheat oven to 425°F (220°C). Pat chicken wings completely dry with paper towels. Cut each wing at the joint to separate drumette from flat; discard wing tips or save for stock.
- In a large bowl, combine baking powder, salt, pepper, garlic powder, and paprika. Add dried wings and toss thoroughly until evenly coated.
- Place a wire rack over a rimmed baking sheet. Arrange wings in a single layer on the rack, leaving space between each piece.
- Bake for 25 minutes. Flip each wing using tongs, then bake for another 20-25 minutes until deep golden brown and crispy (internal temperature reaches 165°F/74°C).
- While wings bake, melt butter in a small saucepan over low heat. Add minced garlic and cook for 1-2 minutes until fragrant; remove from heat.
- Transfer baked wings to a large clean bowl. Drizzle garlic butter over wings and toss gently to coat. Sprinkle with Parmesan and toss again. Garnish with parsley if desired.
Notes
Pat wings very dry for maximum crispiness. Use aluminum-free baking powder. For extra crispy skin, let seasoned wings rest uncovered in the fridge for 2-4 hours before baking. Leftovers reheat best in oven or air fryer.
Nutrition
- Serving Size: 4-5 wings
- Calories: 380
- Sodium: 800
- Fat: 26
- Saturated Fat: 10
- Carbohydrates: 2
- Protein: 28
Keywords: baked chicken wings, crispy wings, garlic parmesan wings, game day recipe, oven baked wings


