It was late October, around 10 PM, and the only thing I wanted was something dark, chocolatey, and just a little bit spooky. My kitchen was quiet except for the hum of the fridge and the occasional rustle of the neighbor’s cat outside. I wasn’t trying to impress anyone—I just needed a treat that felt like fall and looked like Halloween. That’s when this Best Black Cat Halloween Cookie Cake idea crept into my head, and honestly, it hasn’t left since.
I had a bag of chocolate cookie mix, some black food coloring, and a handful of candy eyes left over from last year’s baking stash. (You know how that goes—you buy way too much and find it in the back of the cupboard months later.) I started mixing, not really sure where I was going. But as the dough came together, I realized I was making a giant cookie shaped like a cat. A black cat. A little mischievous, a little cute, and completely delicious.
This wasn’t a recipe I planned out on paper. It was one of those kitchen experiments that just worked. The cookie came out chewy in the middle, slightly crisp at the edges, and rich enough to satisfy that late-night chocolate craving. I added some black cocoa powder for that deep, dark color and a subtle Oreo-like flavor. The candy eyes made it look like it was watching me from the counter—which, honestly, made me laugh every time I walked past it.
That night, I sat on my couch with a slice of that cookie cake and a glass of cold milk, and I thought, this is exactly what Halloween baking should feel like. Not fussy. Not over-the-top. Just a little bit playful and a whole lot of chocolate. If you’ve ever wanted a dessert that’s both adorable and ridiculously easy, this one’s for you. Trust me—you’re going to love making this cat.
Why You’ll Love This Recipe
This Best Black Cat Halloween Cookie Cake is the kind of recipe that makes you look like a baking genius without actually having to work for it. I’ve tested it three times to get the texture just right—chewy, not cakey, with edges that hold their shape so the cat face stays intact. Here’s why it’s a keeper:
- Quick & Easy: From mixing bowl to oven in under 20 minutes. Perfect for last-minute Halloween parties or a fun weeknight project with the kids.
- Simple Ingredients: You probably already have most of this in your pantry. No weird extracts or hard-to-find specialty items.
- Perfect for Halloween: This isn’t just another sugar cookie—it’s a conversation starter. The black cat shape is instantly recognizable and always gets a reaction.
- Crowd-Pleaser: I brought this to a small gathering, and it disappeared faster than the candy bowl. Kids love the candy eyes, and adults love the deep chocolate flavor.
- Unbelievably Delicious: The combination of Dutch-process cocoa and a touch of espresso powder gives this cookie a richness that’s hard to resist. It’s not too sweet, not too bitter—just right.
What makes this recipe different from other Halloween desserts? It’s the texture. Most cookie cakes turn out too thick or too dry. I spent time figuring out the perfect ratio of butter to sugar to egg, so you get that soft, fudgy center with a slight crunch around the edges. Plus, the black cocoa powder gives it that signature dark color without needing a ton of artificial dye. If you’re looking for something unique that still feels like a classic treat, this is it.
Honestly, this is the kind of dessert that makes you close your eyes after the first bite. It’s comfort food with a spooky twist—easy enough for a beginner but impressive enough to serve at a Halloween party. And let’s be real: anything shaped like a cat is automatically more fun.
What Ingredients You Will Need
This recipe uses simple, everyday ingredients to create a rich, dark chocolate cookie cake that’s perfect for Halloween. Most of these are pantry staples, so you might not even need a trip to the store.
- Unsalted butter, softened (1 cup / 226g): Adds richness and helps create that chewy texture. I prefer using unsalted so I can control the salt level.
- Granulated sugar (1 cup / 200g): Provides sweetness and helps with browning. Don’t substitute with brown sugar here—it’ll change the color and texture.
- Large egg (1, room temperature): Binds the dough together. Make sure it’s at room temp so it mixes evenly into the butter.
- Vanilla extract (2 teaspoons / 10ml): Enhances the chocolate flavor. I use pure vanilla extract, not imitation, for a cleaner taste.
- All-purpose flour (1 ¾ cups / 220g): The base of the cookie. Spoon and level it—don’t scoop directly from the bag, or you’ll end up with too much flour.
- Dutch-process cocoa powder (½ cup / 45g): Gives the cookie its dark, rich color and smooth chocolate flavor. Regular cocoa powder works too, but the color won’t be as black.
- Black cocoa powder (¼ cup / 20g): This is the secret ingredient for that deep, Oreo-like color and flavor. You can find it online or in specialty baking stores. If you don’t have it, use an additional ¼ cup of Dutch-process cocoa.
- Baking soda (½ teaspoon): Helps the cookie spread slightly and stay tender.
- Salt (½ teaspoon): Balances the sweetness and enhances the chocolate.
- Espresso powder (1 teaspoon, optional): Don’t skip this if you have it—it doesn’t make the cookie taste like coffee, it just deepens the chocolate flavor. I use the instant espresso granules from the coffee aisle.
- Black gel food coloring (1-2 teaspoons): For that extra-dark cat color. Gel works better than liquid because it doesn’t add too much moisture.
- Candy eyes (about 20-24): For decorating the cat face. You can find these at craft stores or online. Alternatively, use white chocolate chips and black icing.
- Black licorice strings or black frosting: For the whiskers and mouth. I prefer frosting because it’s easier to control, but licorice gives a fun, chewy texture.
Ingredient Tips: I recommend using Rodelle or Guittard for Dutch-process cocoa—they have a smooth, rich flavor that really shines here. For black cocoa powder, The Cocoa Trader brand is my go-to. If you’re avoiding artificial dyes, you can skip the black food coloring and rely on the black cocoa powder alone; the color will be a very dark brown, which still looks great for a cat.
Equipment Needed
You don’t need anything fancy to make this Best Black Cat Halloween Cookie Cake. Here’s what you’ll need:
- Large mixing bowl: For creaming the butter and sugar. Any medium-to-large bowl works.
- Electric hand mixer or stand mixer: Makes creaming easier, but you can do it by hand with a sturdy whisk and some elbow grease.
- Parchment paper: Essential for easy removal from the pan. I’ve tried greasing the pan directly, and the cookie always sticks in some spots.
- 9-inch round cake pan or cast-iron skillet: For baking the cookie cake. A cake pan gives cleaner edges, but a skillet gives a nice rustic look.
- Small offset spatula: For smoothing the dough into an even layer. A regular spatula works too, but the offset one is easier to maneuver.
- Cooling rack: Helps the cookie cool evenly so the bottom doesn’t get soggy.
- Piping bag or zip-top bag: For drawing the cat face details with frosting. A small round tip is nice, but snipping the corner of a zip-top bag works just as well.
Budget-Friendly Tip: If you don’t have a 9-inch cake pan, you can shape the dough into a free-form cat shape on a parchment-lined baking sheet. Just make sure the dough is about ½ inch thick so it bakes evenly. I’ve done this before when my cake pan was in the dishwasher, and it turned out just as cute—just a little more “abstract art” than precise cat.
Preparation Method
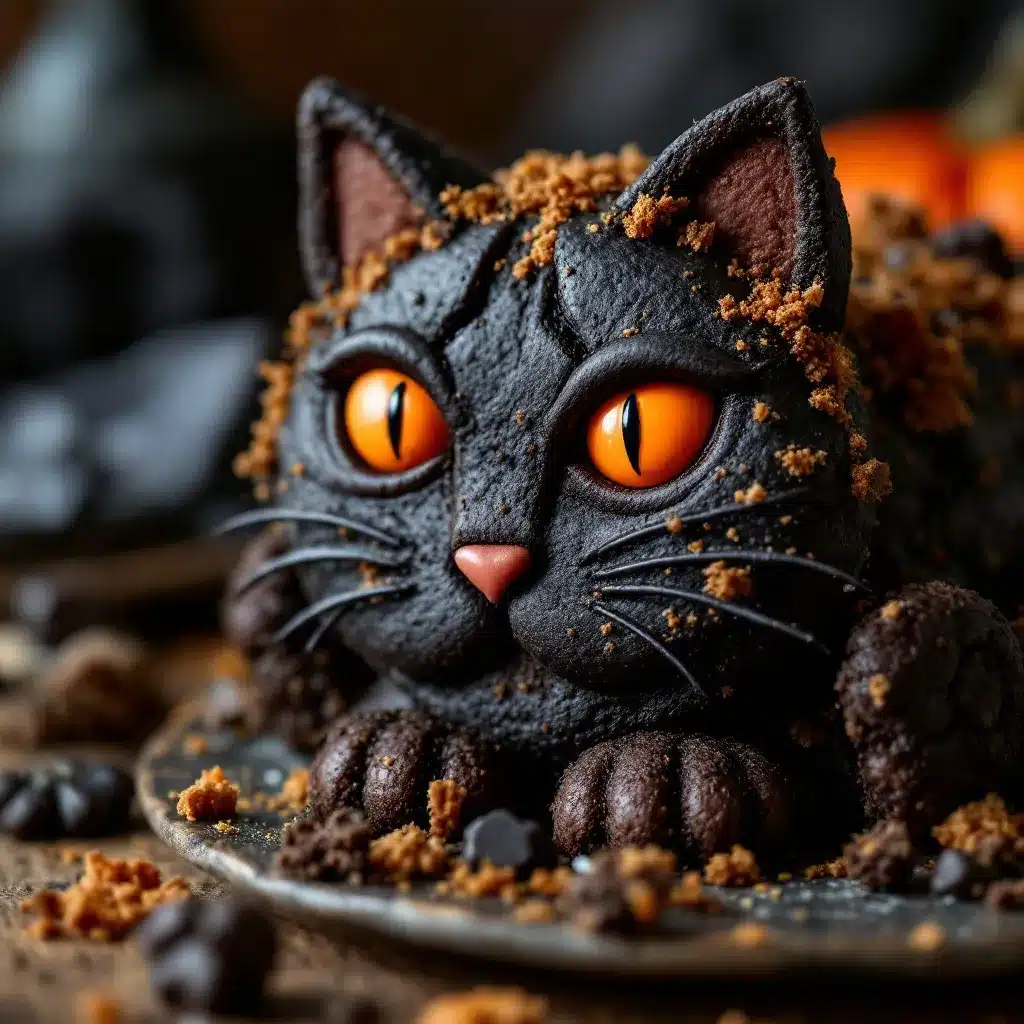
Follow these steps carefully, and you’ll have a perfectly spooky cookie cake that’s as fun to make as it is to eat.
- Preheat your oven to 350°F (175°C). Line a 9-inch round cake pan with parchment paper, leaving some overhang on two sides for easy lifting. Set aside.
- Cream the butter and sugar: In a large mixing bowl, beat the softened butter and granulated sugar together on medium speed until light and fluffy, about 3-4 minutes. Scrape down the sides of the bowl halfway through. You want the mixture to look pale and airy—this is key for a tender cookie.
- Add the egg and vanilla: Beat in the room-temperature egg and vanilla extract until fully combined. The mixture might look slightly curdled at this point, but that’s okay—it’ll come together once you add the dry ingredients.
- Mix the dry ingredients: In a separate bowl, whisk together the all-purpose flour, Dutch-process cocoa powder, black cocoa powder, baking soda, salt, and espresso powder (if using). This ensures the leavening and salt are evenly distributed.
- Combine wet and dry: Gradually add the dry ingredients to the wet mixture, mixing on low speed until just combined. Be careful not to overmix—stop as soon as you no longer see streaks of flour. Overworking the dough will make the cookie tough.
- Add black food coloring: Stir in the black gel food coloring until the dough is uniformly dark. Start with 1 teaspoon and add more if needed. The dough should look almost black, with a slight sheen from the butter.
- Press into the pan: Transfer the dough to the prepared cake pan. Using your hands or a small offset spatula, press it into an even layer. Make sure it’s level—this helps it bake evenly. The dough will be thick and slightly sticky, so lightly wet your fingers if needed.
- Bake for 18-22 minutes: Place the pan on the middle rack and bake until the edges are set and the center looks slightly underdone (it should still jiggle just a little when you shake the pan). A toothpick inserted into the center should come out with a few moist crumbs—not wet batter. Overbaking will give you a dry cookie.
- Cool completely in the pan: Let the cookie cake cool in the pan on a wire rack for at least 20 minutes. Then, use the parchment overhang to lift it out and transfer it to the rack to cool completely. Do not decorate while warm—the frosting will melt and the candy eyes will slide off.
- Decorate the cat face: Once completely cool, use black frosting to pipe two triangular ears at the top of the cookie. Place two candy eyes below the ears. Pipe a small pink or black nose in the center, then draw a mouth and whiskers using black frosting or thin licorice strings. Let the frosting set for about 10 minutes before slicing.
Sensory Cue: When the cookie is done, your kitchen will smell like a mix of brownies and dark chocolate—rich, slightly smoky, and absolutely irresistible. The top should look slightly crackled, and the edges will be a shade darker than the center.
Cooking Tips & Techniques
After testing this recipe a few times, I learned a couple of things the hard way. Here’s what I wish I’d known from the start:
- Don’t overmix the dough: I know I said it before, but it’s worth repeating. Overmixing develops gluten, which makes the cookie tough and bread-like. You want it tender and almost fudgy. Mix just until the flour disappears.
- Use room-temperature ingredients: Cold butter won’t cream properly, and a cold egg can seize the mixture. Let both sit on the counter for about 30 minutes before starting. I’ve rushed this step before, and the dough ended up lumpy and uneven.
- Check for doneness early: Ovens vary wildly. My first test batch came out a little overdone because my oven runs hot. Start checking at 18 minutes. The center should look slightly underbaked—it will continue to set as it cools.
- Let it cool completely: I decorated one batch while it was still warm, and the candy eyes slid right off into a puddle of melting frosting. Patience is your friend here. If you’re in a hurry, pop the cookie in the fridge for 15 minutes after it comes to room temperature.
- Make-ahead tip: You can prepare the dough a day in advance and keep it wrapped in the fridge. Let it sit at room temperature for 10 minutes before pressing into the pan—cold dough is harder to spread evenly.
Common Mistake to Avoid: Using too much food coloring. Gel coloring is concentrated, so a little goes a long way. If you add too much, it can make the dough taste slightly bitter. Start with 1 teaspoon and add more only if the color isn’t dark enough for your liking.
Variations & Adaptations
One of the best things about this Best Black Cat Halloween Cookie Cake is how easy it is to customize. Here are a few ways I’ve played around with it:
- Gluten-Free Version: Substitute the all-purpose flour with a 1:1 gluten-free baking flour blend. I’ve used Bob’s Red Mill with great results. The texture will be slightly more crumbly, but the flavor is still spot-on.
- Vegan Adaptation: Use vegan butter (like Earth Balance) and a flax egg (1 tablespoon ground flaxseed mixed with 3 tablespoons water, let sit for 5 minutes). The cookie won’t be quite as chewy, but it’s still delicious. I tested this for a friend’s Halloween party, and no one noticed the difference.
- White Chocolate Drizzle: After decorating, drizzle melted white chocolate over the top for a “ghostly” effect. It adds a nice sweetness that contrasts with the dark cookie. I did this for a batch I brought to a potluck, and it was the first thing to disappear.
- Spider Web Variation: Instead of a cat face, pipe a spider web pattern on top using white frosting. Place a plastic spider in the center for an extra-creepy touch. This is perfect if you’re short on time and don’t want to fuss with whiskers.
- Mini Cookie Cats: Use a cat-shaped cookie cutter to cut out individual cookies from the dough before baking. Reduce baking time to 10-12 minutes. Great for party favors or lunchbox surprises.
Personal Variation: Last Halloween, I added a layer of caramel sauce between two cookie cakes to make a sandwich. It was messy, over-the-top, and absolutely incredible. If you’re feeling adventurous, give it a try—just have napkins ready.
Serving & Storage Suggestions
This cookie cake is best served at room temperature, sliced into wedges like a pie. The edges are slightly crisp, and the center is soft and fudgy—a perfect combination.
Presentation Ideas:
- Place the whole cookie cake on a black or orange platter for a festive look.
- Sprinkle some edible glitter or star-shaped sprinkles around the edges for a magical touch.
- Serve with a scoop of vanilla ice cream or a glass of cold milk. The creamy contrast is beautiful against the dark cookie.
Storage Instructions:
- Room Temperature: Store in an airtight container at room temperature for up to 3 days. The cookie will stay soft and chewy. Place a slice of bread in the container to help retain moisture—just don’t let it touch the cookie directly.
- Refrigerator: You can refrigerate it for up to a week, but the texture will become slightly firmer. Let it sit at room temperature for 15 minutes before serving to soften up.
- Freezer: Wrap the undecorated cookie cake tightly in plastic wrap, then aluminum foil. Freeze for up to 3 months. Thaw in the fridge overnight, then decorate before serving. I always keep a frozen one on hand for unexpected Halloween guests.
Reheating Tip: If you want that just-baked warmth, pop a slice in the microwave for 10-15 seconds. It’ll be soft and gooey, like it just came out of the oven. Don’t overdo it, or the candy eyes might melt.
Nutritional Information & Benefits
Let’s be honest—this isn’t a health food. But it’s a treat meant for enjoyment, and that’s okay. Here’s a rough estimate per serving (based on 8 slices):
| Nutrient | Amount Per Serving |
|---|---|
| Calories | 385 |
| Total Fat | 18g |
| Saturated Fat | 11g |
| Cholesterol | 60mg |
| Sodium | 210mg |
| Total Carbohydrates | 52g |
| Dietary Fiber | 3g |
| Sugars | 32g |
| Protein | 4g |
Health Highlights: The cocoa powder is rich in antioxidants called flavonoids, which can support heart health. The espresso powder adds a tiny boost of caffeine (not enough to keep you awake, but enough to notice). If you’re watching your sugar intake, you can reduce the sugar to ¾ cup—the cookie will be slightly less sweet but still delicious.
Dietary Considerations: This recipe contains dairy, eggs, and gluten. For a dairy-free version, use vegan butter. For a gluten-free version, use a 1:1 gluten-free flour blend. Always check labels if you’re serving someone with allergies.
From my perspective, this cookie cake is about joy and celebration, not deprivation. One slice won’t derail your wellness goals—it’ll just make your Halloween a little more fun.
Conclusion
This Best Black Cat Halloween Cookie Cake is more than just a dessert—it’s a little piece of Halloween magic you can make with your own hands. It’s easy enough for a beginner, impressive enough for a party, and delicious enough to become a yearly tradition. I love how it brings a smile to everyone’s face, from the kids who pick off the candy eyes first to the adults who sneak a second slice when no one’s looking.
I hope you give this recipe a try and make it your own. Maybe you’ll add extra sprinkles, or shape it into a different animal, or serve it with a scoop of ice cream. Whatever you do, don’t forget to have fun with it. Halloween only comes once a year, so why not make it delicious?
If you make this cookie cake, I’d love to hear about it! Leave a comment below and let me know how your cat turned out. Did you add any fun twists? Share your photos on social media and tag me—I can’t wait to see your spooky creations. Happy Halloween, and happy baking!
Frequently Asked Questions
Can I use regular cocoa powder instead of black cocoa?
Yes, you can. The cookie won’t be as dark in color, but it will still taste great. Use a total of ¾ cup of regular Dutch-process cocoa powder if you don’t have black cocoa. The flavor will be slightly less “Oreo-like,” but still rich and chocolatey.
How do I keep the cookie cake from spreading too much?
Make sure your butter is softened, not melted. Melted butter causes cookies to spread too much. Also, chill the shaped dough in the pan for 15 minutes before baking if you want thicker edges. This helps the cookie hold its shape better.
Can I make this recipe ahead of time?
Absolutely. You can prepare the dough up to 2 days in advance and keep it in the fridge. Let it sit at room temperature for 10 minutes before pressing into the pan. Alternatively, bake the cookie cake completely, cool it, and store it undecorated for up to 3 days. Decorate just before serving.
What if I don’t have a 9-inch cake pan?
No problem! You can shape the dough into a free-form cat shape on a parchment-lined baking sheet. Just make sure the dough is about ½ inch thick and the shape is roughly cat-like. The baking time might be slightly shorter, so start checking at 15 minutes.
How do I make the cat face look good?
Practice makes perfect, but here’s a simple trick: pipe the ears first, then place the eyes. Draw a small triangle for the nose, and then pipe three whiskers on each side. Use a toothpick to gently adjust any lines that look uneven. If you mess up, just scrape off the frosting and try again—the cookie is very forgiving.
Pin This Recipe!
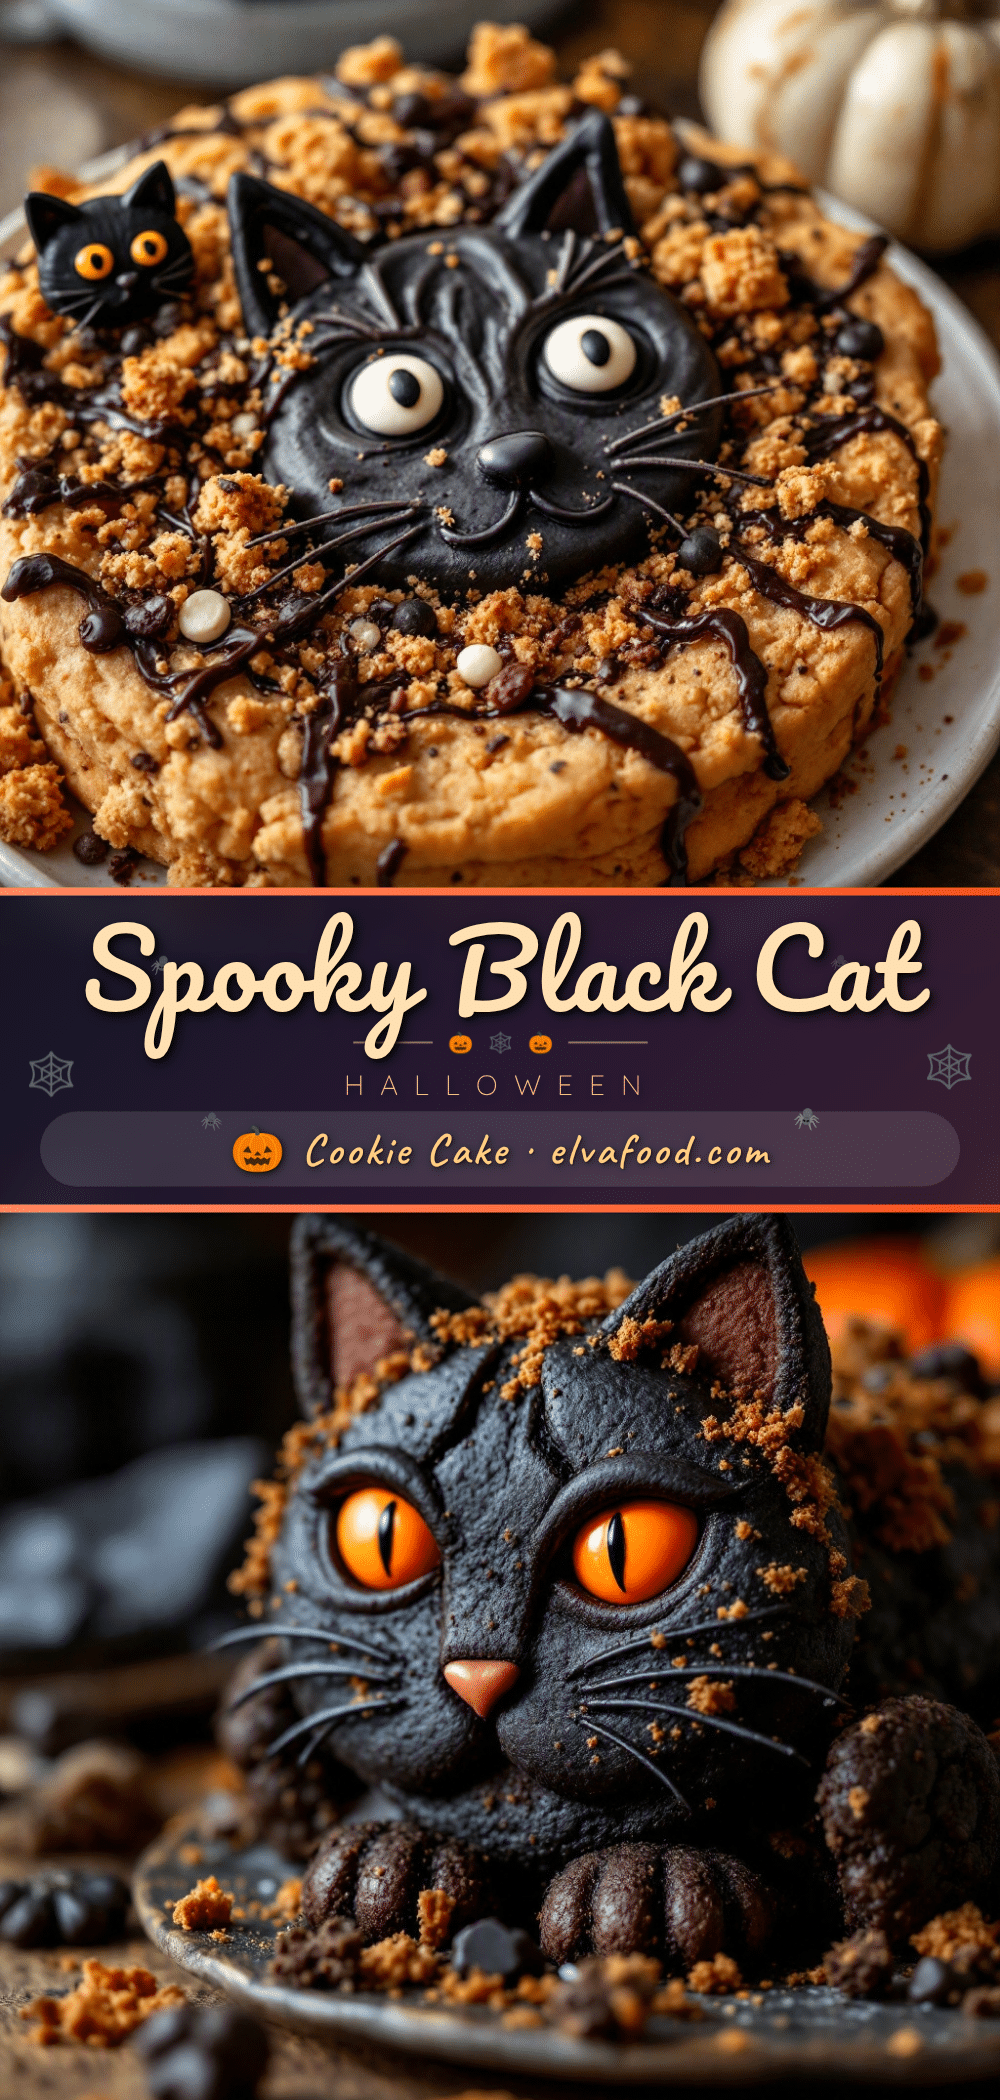
Best Black Cat Halloween Cookie Cake: Easy Recipe

This Best Black Cat Halloween Cookie Cake is a rich, dark chocolate cookie cake shaped like a black cat, perfect for Halloween. It’s easy to make, uses simple ingredients, and is sure to be a crowd-pleaser with its chewy texture and spooky decorations.
- Prep Time: 20 minutes
- Cook Time: 20 minutes
- Total Time: 40 minutes
- Yield: 8 servings 1x
- Category: Dessert
- Cuisine: American
Ingredients
- 1 cup (226g) unsalted butter, softened
- 1 cup (200g) granulated sugar
- 1 large egg, room temperature
- 2 teaspoons (10ml) vanilla extract
- 1 ¾ cups (220g) all-purpose flour
- ½ cup (45g) Dutch-process cocoa powder
- ¼ cup (20g) black cocoa powder
- ½ teaspoon baking soda
- ½ teaspoon salt
- 1 teaspoon espresso powder (optional)
- 1–2 teaspoons black gel food coloring
- 20–24 candy eyes
- Black licorice strings or black frosting (for whiskers and mouth)
Instructions
- Preheat your oven to 350°F (175°C). Line a 9-inch round cake pan with parchment paper, leaving some overhang on two sides for easy lifting. Set aside.
- Cream the butter and sugar: In a large mixing bowl, beat the softened butter and granulated sugar together on medium speed until light and fluffy, about 3-4 minutes. Scrape down the sides of the bowl halfway through.
- Add the egg and vanilla: Beat in the room-temperature egg and vanilla extract until fully combined.
- Mix the dry ingredients: In a separate bowl, whisk together the all-purpose flour, Dutch-process cocoa powder, black cocoa powder, baking soda, salt, and espresso powder (if using).
- Combine wet and dry: Gradually add the dry ingredients to the wet mixture, mixing on low speed until just combined. Be careful not to overmix.
- Add black food coloring: Stir in the black gel food coloring until the dough is uniformly dark. Start with 1 teaspoon and add more if needed.
- Press into the pan: Transfer the dough to the prepared cake pan. Using your hands or a small offset spatula, press it into an even layer.
- Bake for 18-22 minutes: Place the pan on the middle rack and bake until the edges are set and the center looks slightly underdone. A toothpick inserted into the center should come out with a few moist crumbs.
- Cool completely in the pan: Let the cookie cake cool in the pan on a wire rack for at least 20 minutes. Then, use the parchment overhang to lift it out and transfer it to the rack to cool completely.
- Decorate the cat face: Once completely cool, use black frosting to pipe two triangular ears at the top of the cookie. Place two candy eyes below the ears. Pipe a small pink or black nose in the center, then draw a mouth and whiskers using black frosting or thin licorice strings. Let the frosting set for about 10 minutes before slicing.
Notes
Don’t overmix the dough to keep it tender. Use room-temperature ingredients for best results. Check for doneness early as ovens vary. Let the cookie cool completely before decorating to prevent melting. You can prepare the dough a day in advance and keep it wrapped in the fridge.
Nutrition
- Serving Size: 1 slice
- Calories: 385
- Sugar: 32
- Sodium: 210
- Fat: 18
- Saturated Fat: 11
- Carbohydrates: 52
- Fiber: 3
- Protein: 4
Keywords: Halloween cookie cake, black cat cookie, chocolate cookie cake, easy Halloween dessert, spooky cookie


