Introduction
Rough, crackling crust — and that’s the whole point. When I pull this crispy no-knead Dutch oven artisan bread recipe from the oven, my fingers can’t resist tapping the crust to hear it sing that satisfying crackle. The crust’s blistered bubbles, uneven ridges, and golden-brown speckles tell the story before I even slice into it. It’s a texture that hooks me every single time, long before the crumb or aroma enters the picture.
Honestly, I didn’t start out chasing crust alone. It was more of an accidental obsession — you know, those early morning experiments where you half-sleep through measuring flour and water, then forget about the dough for hours? That’s how this no-knead recipe took root. The dough is sticky, loose, and frankly a bit intimidating at first, but the payoff is that rustic, artisan texture that looks like you spent all day fussing over it. Nope. Just a bit of patience, a trusty Dutch oven, and a little science in the flour-water-yeast dance.
Watching the bread rise through the glass lid, steam swirling inside the pot, the crust tightening and transforming — it’s like a slow-motion reveal of crispy perfection. I’m not gonna lie, I’ve had loaves that were too dense or doughy, but this recipe locked in that perfect balance. It’s the kind of bread that’s as much fun to touch and admire as it is to eat. And that’s why it stuck with me — because it’s real, tactile, and unpretentious.
There’s something quietly satisfying about pulling warm bread from a Dutch oven, cracking that crust with your fingertips, and knowing you made it all yourself without any fancy machines or hours of kneading. This bread is honest, straightforward, and genuinely delicious — a dependable companion for everything from a simple soup night to a celebratory brunch. And honestly, that crust? It’s worth every minute of the wait.
Why You’ll Love This Recipe
After countless batches, this crispy no-knead Dutch oven artisan bread recipe has become my go-to whenever I want a homemade loaf with minimal effort but maximum texture. Here’s why it stands apart:
- Quick & Easy: The dough comes together in just 10 minutes, then you let it do its own thing for 12-18 hours. Perfect for busy days or those lazy weekends.
- Simple Ingredients: Flour, water, salt, and yeast — you probably already have these staples in your pantry. No weird additives or specialty flours required.
- Perfect for Cozy Dinners: This bread pairs beautifully with hearty stews like Irish lamb stew or warm soups such as the Italian wedding soup, soaking up every bit of broth.
- Crowd-Pleaser: Everyone loves that crackly crust and tender crumb. It’s a reliable hit at potlucks or brunches.
- Unbelievably Delicious: The contrast between the crunchy crust and pillowy inside is what makes this bread hard to put down.
What sets this apart from other no-knead recipes is the Dutch oven method, which traps steam to create that signature crust. Plus, you don’t have to fuss with shaping complicated loaves — a simple round boule is all you need. I’ve played with different flours and rising times, but this version nails the balance every time, making it accessible whether you’re a beginner or a seasoned baker.
It’s the kind of bread that invites you to slow down, appreciate the textures, and maybe even savor a quiet moment with butter melting into those crunchy crevices. That’s why this recipe stuck with me — it’s a little ritual of patience that pays off with a loaf that feels truly homemade.
What Ingredients You Will Need
This recipe uses simple, wholesome ingredients to deliver bold flavor and satisfying texture without the fuss. Most are pantry staples, and substitutions are easy when needed.
- All-purpose flour (3 cups / 375g) – I prefer King Arthur for consistent texture, but any unbleached flour works.
- Instant yeast (1/4 teaspoon) – This small amount makes a big difference; active dry yeast works if activated first.
- Salt (1 1/2 teaspoons) – Fine sea salt is my go-to for even seasoning.
- Warm water (1 1/2 cups / 360ml) – Around 105°F (40°C), enough to hydrate the flour without killing the yeast.
That’s it! Just flour, yeast, salt, and water. No sugar, no fat, no oils. The magic is in the technique, not the ingredients.
Looking to add a twist? You can swap half the all-purpose flour for whole wheat for nuttier flavor, or replace water with an equal amount of buttermilk for a slight tang. For gluten-free eaters, a blend of gluten-free flours with xanthan gum can work, but results vary.
Seasonal tip: In cooler months, try adding a spoonful of honey or molasses to the water for a subtle sweetness that complements fall soups and stews. In summer, fresh herbs like rosemary or thyme mixed into the dough add freshness without complicating the texture.
Equipment Needed
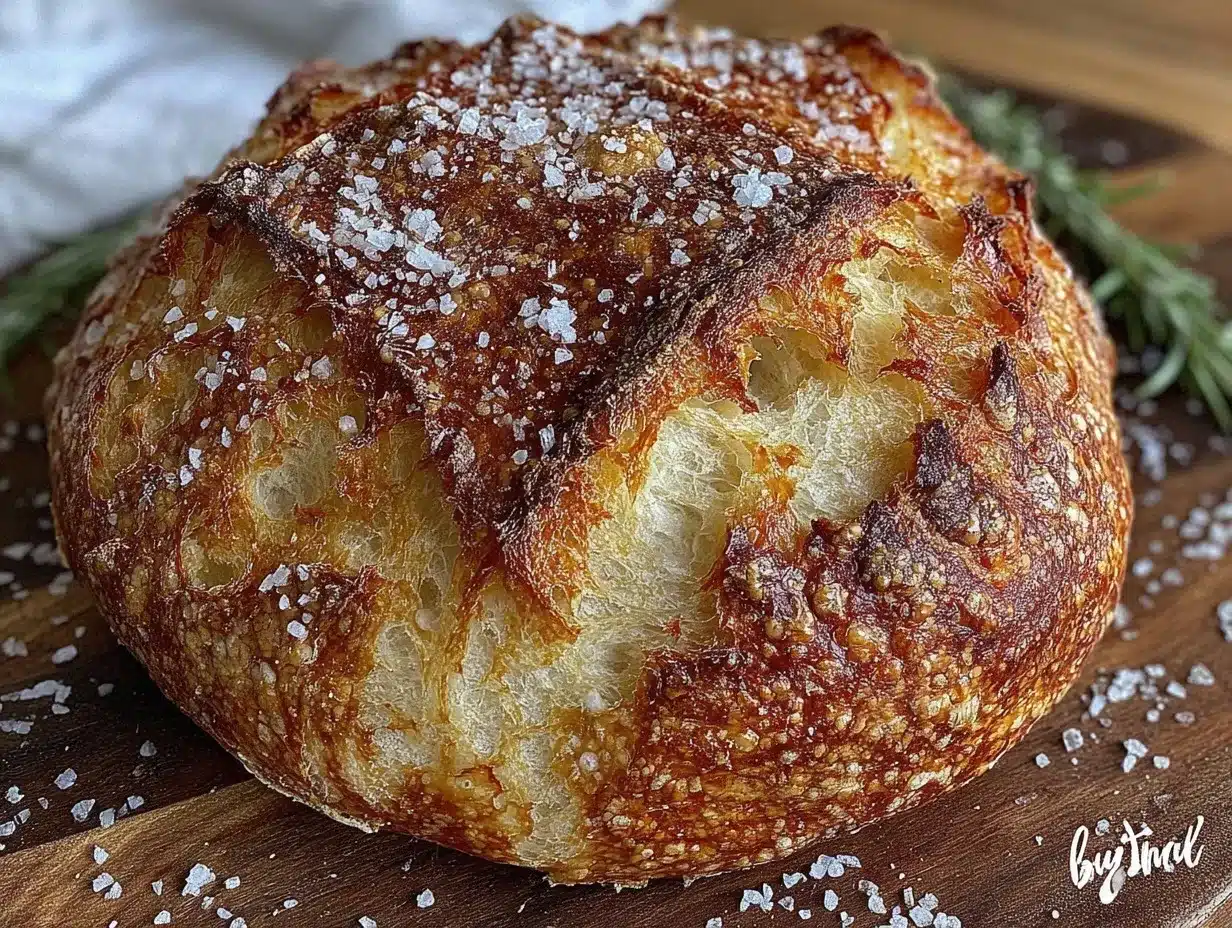
- Dutch oven (5 to 7-quart size) with lid – This is non-negotiable for that crisp crust and perfect steam environment. I use a seasoned cast iron one, but enameled works great too.
- Mixing bowl – A large, sturdy bowl to hold the dough while it rises.
- Wooden spoon or spatula – For mixing the wet, sticky dough.
- Kitchen scale (optional but recommended) – Helps with precise measurements for consistent results.
- Parchment paper – Makes transferring the dough into the Dutch oven easier and prevents sticking.
- Bench scraper or sharp knife – To score the dough before baking, which helps control the expansion and creates that classic artisan look.
If you don’t have a Dutch oven, a heavy oven-safe pot with a tight-fitting lid will do, but results may vary. I once tried baking this bread on a pizza stone with a pan of water below for steam, and while it was good, the crust didn’t quite have the same blistered crunch.
Preparation Method
- Mix the dough: In a large mixing bowl, combine 3 cups (375g) of all-purpose flour, 1/4 teaspoon instant yeast, and 1 1/2 teaspoons salt. Stir to combine evenly.
- Add warm water: Pour in 1 1/2 cups (360ml) of warm water, around 105°F (40°C). Use a wooden spoon or spatula to mix until a shaggy, sticky dough forms. No kneading needed — just mix till everything is incorporated. This should take about 2-3 minutes.
- First rise: Cover the bowl tightly with plastic wrap or a clean kitchen towel. Let the dough rest at room temperature for 12 to 18 hours. You’ll know it’s ready when the surface is dotted with bubbles and it’s doubled in size. The long, slow fermentation is what develops flavor and texture.
- Preheat your oven: About 30 minutes before baking, place your Dutch oven (with lid) in the oven and preheat to 450°F (230°C). This step is crucial for that crusty exterior.
- Shape the dough: Turn the dough out onto a heavily floured surface. It will be sticky and loose—don’t panic. Using floured hands, fold it over on itself a couple of times to form a rough ball. Let it rest on the floured surface for 15 minutes while the oven heats.
- Transfer dough to parchment: Place the dough ball on a piece of parchment paper large enough to lift it. Using a sharp knife or bench scraper, score a few slashes on top — this helps the bread expand in the oven.
- Bake: Carefully remove the hot Dutch oven from the oven. Use the parchment paper to lift the dough and place it inside. Cover with the lid and bake for 30 minutes.
- Finish baking: Remove the lid and bake an additional 10-15 minutes to deepen the crust color and crispness. The bread should be a deep golden brown and sound hollow when tapped.
- Cool down: Lift the bread from the pot with the parchment and cool on a wire rack for at least 1 hour before slicing. This step lets the crumb set and keeps the crust crisp.
If your bread feels dense or gummy next time, try extending the fermentation or making sure your oven is fully preheated. The dough should feel light and bubbly before baking — that’s the secret to a light, airy crumb.
Cooking Tips & Techniques
There’s a few tricks I’ve picked up that make this no-knead Dutch oven artisan bread foolproof:
- Flour your hands liberally when shaping. The dough is sticky and can be frustrating if you try to handle it dry.
- Don’t rush the rise. The long fermentation develops flavor and texture. I’ve tried shortening it and the bread was disappointing — dense and bland.
- Preheat the Dutch oven well. A screaming hot pot traps steam perfectly, giving you that crackling crust. I always set a timer for 30 minutes minimum.
- Use parchment paper. It’s a small step but makes transferring the dough into the hot pot way easier and safer.
- Score your loaf. This isn’t just decoration — it controls the expansion and prevents the bread from bursting unpredictably.
- Let the bread cool. Believe me, slicing too soon ruins the texture. The crumb needs that time to finish cooking internally.
Multitasking tip: While the bread is baking, it’s a perfect time to start a simple soup or stew like the Dublin coddle. The warm bread and savory stew combo is unbeatable for a cozy night in.
Variations & Adaptations
This recipe’s simplicity makes it a great canvas for creativity:
- Herbed bread: Add 1-2 tablespoons of chopped fresh herbs like rosemary, thyme, or sage to the dough before rising for an aromatic twist.
- Whole wheat version: Substitute up to half the all-purpose flour with whole wheat flour for a nuttier, heartier loaf. You might need slightly more water.
- Gluten-free adaptation: Use a 1:1 gluten-free baking flour blend with xanthan gum. The texture won’t be identical, but it will still have a nice crust.
- Cheese-studded bread: Fold in 1 cup (100g) of shredded sharp cheddar or Parmesan for a savory upgrade. Great with soups or on its own.
- Sourdough twist: Replace yeast with 1/4 cup (60g) active sourdough starter and extend the rise to 24 hours for tangier flavor and complex texture.
I once tried folding in roasted garlic cloves and it added a mellow sweetness that paired beautifully with a simple olive oil drizzle. It’s a nice way to customize without much extra work.
Serving & Storage Suggestions
This bread shines best fresh from the oven, but leftovers can be just as good with the right care.
- Serving: Serve at room temperature or slightly warm. I like to slice and toast it lightly with butter or olive oil. It’s perfect alongside a bowl of creamy soup or a hearty stew.
- Storage: Keep wrapped loosely in a clean kitchen towel or paper bag at room temperature for up to 2 days. Avoid plastic wrap as it traps moisture and softens the crust.
- Freezing: Slice before freezing and store in an airtight bag for up to 3 months. Toast slices straight from frozen for best texture.
- Reheating: To refresh the crust, spritz the loaf lightly with water and warm in a 350°F (175°C) oven for 5-10 minutes. This revives that crackly exterior nicely.
Flavors deepen over time, so if you can wait a day, you might find the crumb tastes even better the next day. But honestly, it’s tough to resist that fresh-out-of-the-oven crunch!
Nutritional Information & Benefits
Per slice (assuming 12 slices per loaf): approximately 150 calories, 30g carbohydrates, 5g protein, 1g fat, and 2g fiber.
This bread is free from added sugars and preservatives, making it a wholesome choice for daily eating. The simplicity of ingredients means it’s naturally vegan and can be made gluten-free with substitutions. The slow fermentation helps break down gluten, making it easier to digest for some people.
From a wellness standpoint, this recipe offers comfort food without the heaviness of enriched commercial breads. It pairs perfectly with nutrient-rich dishes like the fresh spring vegetable frittata, balancing indulgence with wholesome ingredients.
Conclusion
This crispy no-knead Dutch oven artisan bread recipe is a simple joy to make and a delight to share. It’s proof that you don’t need complicated steps or fancy equipment to get bakery-worthy results at home. The crust-first approach means you get that tactile satisfaction every time — crusty outside, soft inside, and full of personality.
Feel free to tweak the flours, add herbs, or fold in cheese to suit your mood and pantry. That’s the beauty of this recipe: its versatility and ease let you make it truly your own. Honestly, this bread has become a staple in my kitchen, perfect for everything from cozy dinners to lazy weekend breakfasts.
Give it a try, and if you’re curious about more comforting homemade dishes, you might enjoy the hearty flavors in Irish lamb stew or the simple satisfaction of Dublin coddle. I’d love to hear how your bread turns out or what creative spins you add — drop a comment and share your experience!
FAQs
- Can I use bread flour instead of all-purpose flour? Yes, bread flour works well and can give a chewier texture, but all-purpose flour is perfectly fine.
- Do I have to use a Dutch oven? While a Dutch oven creates the best crust, you can bake on a preheated baking stone with a pan of water for steam, though results vary.
- How do I know when the bread is done? The crust should be deep golden brown and the loaf sounds hollow when tapped on the bottom.
- Can I make the dough ahead and refrigerate? Yes, after mixing, you can refrigerate the dough for up to 24 hours to slow fermentation—just bring it to room temp before baking.
- What’s the best way to store leftover bread? Keep it wrapped in a paper bag or towel at room temperature for up to 2 days, or freeze slices for longer storage.
Pin This Recipe!
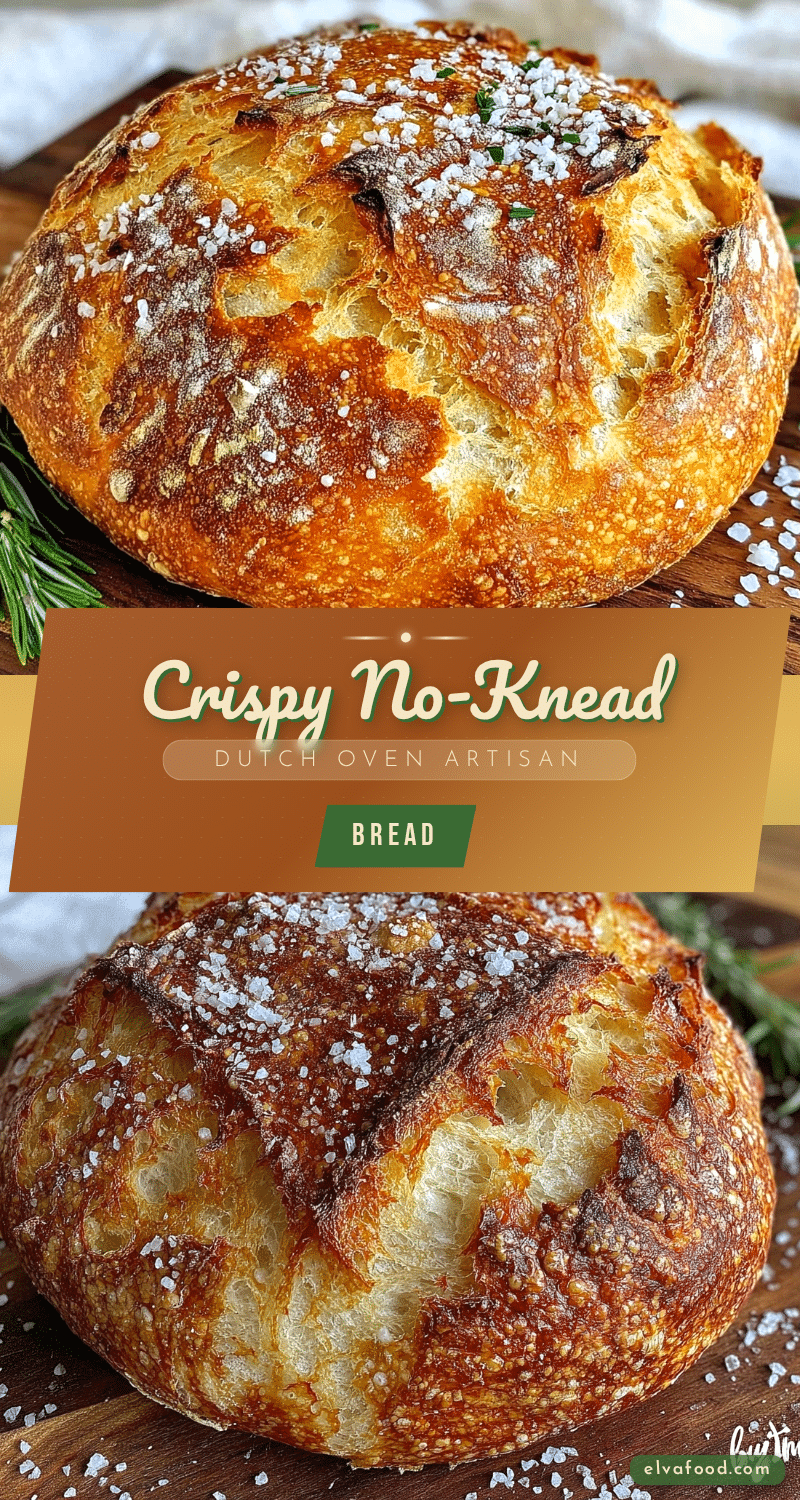
Crispy No-Knead Dutch Oven Artisan Bread
A simple no-knead artisan bread recipe that yields a rough, crackling crust and a soft, pillowy crumb using a Dutch oven for perfect steam and crust.
- Prep Time: 10 minutes
- Cook Time: 45 minutes
- Total Time: 12 hours 55 minutes to 18 hours 55 minutes
- Yield: 1 loaf (about 12 slices) 1x
- Category: Bread
- Cuisine: American
Ingredients
- 3 cups (375g) all-purpose flour
- 1/4 teaspoon instant yeast
- 1 1/2 teaspoons salt
- 1 1/2 cups (360ml) warm water (around 105°F / 40°C)
Instructions
- In a large mixing bowl, combine 3 cups (375g) of all-purpose flour, 1/4 teaspoon instant yeast, and 1 1/2 teaspoons salt. Stir to combine evenly.
- Pour in 1 1/2 cups (360ml) of warm water, around 105°F (40°C). Use a wooden spoon or spatula to mix until a shaggy, sticky dough forms. No kneading needed — just mix till everything is incorporated. This should take about 2-3 minutes.
- Cover the bowl tightly with plastic wrap or a clean kitchen towel. Let the dough rest at room temperature for 12 to 18 hours until doubled in size and bubbly.
- About 30 minutes before baking, place your Dutch oven (with lid) in the oven and preheat to 450°F (230°C).
- Turn the dough out onto a heavily floured surface. Using floured hands, fold it over on itself a couple of times to form a rough ball. Let it rest on the floured surface for 15 minutes.
- Place the dough ball on a piece of parchment paper large enough to lift it. Score a few slashes on top with a sharp knife or bench scraper.
- Carefully remove the hot Dutch oven from the oven. Use the parchment paper to lift the dough and place it inside. Cover with the lid and bake for 30 minutes.
- Remove the lid and bake an additional 10-15 minutes to deepen the crust color and crispness. The bread should be deep golden brown and sound hollow when tapped.
- Lift the bread from the pot with the parchment and cool on a wire rack for at least 1 hour before slicing.
Notes
Flour your hands liberally when shaping the sticky dough. Do not rush the rise; long fermentation develops flavor and texture. Preheat the Dutch oven well for a perfect crust. Use parchment paper to transfer dough safely. Score the loaf to control expansion. Let bread cool completely before slicing to maintain crust crispness. Refrigerate dough up to 24 hours to slow fermentation if desired.
Nutrition
- Serving Size: 1 slice (1/12th of l
- Calories: 150
- Sodium: 300
- Fat: 1
- Carbohydrates: 30
- Fiber: 2
- Protein: 5
Keywords: no-knead bread, Dutch oven bread, artisan bread, crispy crust bread, easy homemade bread, no-knead artisan bread


