Rummaging through the pantry when the clock’s mercilessly ticking down to school pickup and there’s nothing but a sad half-empty bag of oats and a sticky jar of honey left. That’s when this recipe for crunchy homemade granola bars with honey and almonds was born—out of pure necessity and a dash of stubbornness. Honestly, I’d been meaning to make something wholesome for the kids that wasn’t just another store-bought snack loaded with mystery ingredients. So, with a little improvisation and a lot of crossed fingers, I whipped up a batch that somehow turned out crunchy, sweet, and satisfying enough to vanish by dinnertime.
The smell of toasted almonds mingling with honey filling the kitchen was enough to calm the chaos for a moment. And the texture? That perfect snap when you bite into the bars became my little victory dance. Who knew that a simple mix of pantry staples could turn into a snack that’s both kid-approved and something I’d happily munch on during a hectic afternoon? There’s something quietly rewarding about making something homemade that feels like a treat but is actually good for you.
It stuck around because it’s reliable—a recipe that doesn’t demand fancy ingredients or hours in the kitchen. Plus, it’s flexible enough to tweak depending on what’s on hand (I’ve swapped almonds for walnuts or added a sprinkle of cinnamon when feeling fancy). It’s the kind of recipe that sneaks into your routine and becomes a quiet staple, the kind of snack you reach for when you want something crunchy and sweet without the guilt. And that’s why I’m sharing it with you now, hoping it finds a spot in your kitchen too.
Why You’ll Love This Recipe
This crunchy homemade granola bars with honey and almonds recipe has gone through plenty of kitchen trials (and a few crumbs lost to impatient hands). After all that testing, I can say it’s a winner for so many reasons:
- Quick & Easy: Comes together in under 30 minutes, perfect for those last-minute snack emergencies or busy mornings when you need something grab-and-go.
- Simple Ingredients: No hunting down exotic items—just oats, almonds, honey, and a few staples you probably already have.
- Perfect for On-the-Go: Whether it’s a school lunch, a post-workout bite, or a hiking treat, these bars hold up well and stay crunchy.
- Crowd-Pleaser: My family, including the picky eaters, are always asking for more. The combo of honey’s natural sweetness and almonds’ crunch is a hit.
- Unbelievably Delicious: The toasted almonds add a nutty depth while the honey binds everything with a gentle sweetness that’s not overpowering.
- Unique Twist: The secret to the perfect crunch is lightly toasting the oats and almonds before mixing and using just the right amount of honey to hold the bars together without sogginess.
This isn’t just another chewy granola bar recipe; it’s one that balances texture and flavor so well that you’ll find yourself making it again and again. It’s comfort food—without the guilt—and something you can trust to satisfy hunger and cravings alike. Plus, if you have a little extra time, pairing it with a homemade homemade horchata makes a lovely snack combo that feels a bit special.
What Ingredients You Will Need
This recipe uses simple, wholesome ingredients to deliver bold flavor and satisfying texture without the fuss. Most of these are pantry staples, which means no last-minute store runs. Here’s a rundown of what I use and why each one matters:
- Old-fashioned rolled oats (2 cups / 180g) – The base of the bars, providing that hearty chew. Quick oats won’t hold up as well for crunch.
- Raw almonds, roughly chopped (1 cup / 140g) – Adds the signature crunch and nutty flavor. You can swap for walnuts or pecans if you prefer.
- Honey (1/3 cup / 113g) – Acts as the natural sweetener and binder. I recommend clover honey for its mild flavor.
- Unsalted butter (1/4 cup / 57g), melted – Helps with richness and holds the bars together nicely.
- Brown sugar (1/4 cup / 50g) – Adds a subtle molasses depth and helps with caramelization.
- Vanilla extract (1 tsp) – For that warm, inviting aroma.
- Salt (1/4 tsp) – Balances sweetness and enhances flavor.
- Ground cinnamon (optional, 1/2 tsp) – Adds a cozy spice note if you like a bit of warmth.
- Chia seeds or flaxseeds (optional, 2 tbsp) – For a nutritional boost and extra texture.
For a gluten-free option, make sure to use certified gluten-free oats. If you want to swap butter, coconut oil works well but gives a slight tropical hint. When I made these bars in summer, I sometimes toss in dried cranberries or chopped dried apricots for a fruity twist. It’s easy to adapt based on what you have.
Equipment Needed
- Mixing bowls – At least one large bowl for combining the dry and wet ingredients.
- Baking sheet – For toasting the oats and almonds beforehand. A rimmed sheet is best to avoid spills.
- Measuring cups and spoons – Accuracy matters here to get the right balance of sweetness and crunch.
- Wooden spoon or silicone spatula – For mixing everything together without breaking up the nuts too much.
- 8×8-inch (20x20cm) baking pan – To press the mixture into bars. Lining with parchment paper makes removal easy.
- Sharp knife – To cut the bars cleanly once cooled.
If you don’t have a baking pan that size, a similarly sized casserole dish or even a loaf pan works fine. I’ve used disposable aluminum pans when in a pinch. For toasting, a toaster oven works well if you’re short on space, but watch carefully to prevent burning. Keeping your baking sheet clean and dry helps the oats toast evenly and not stick.
Preparation Method
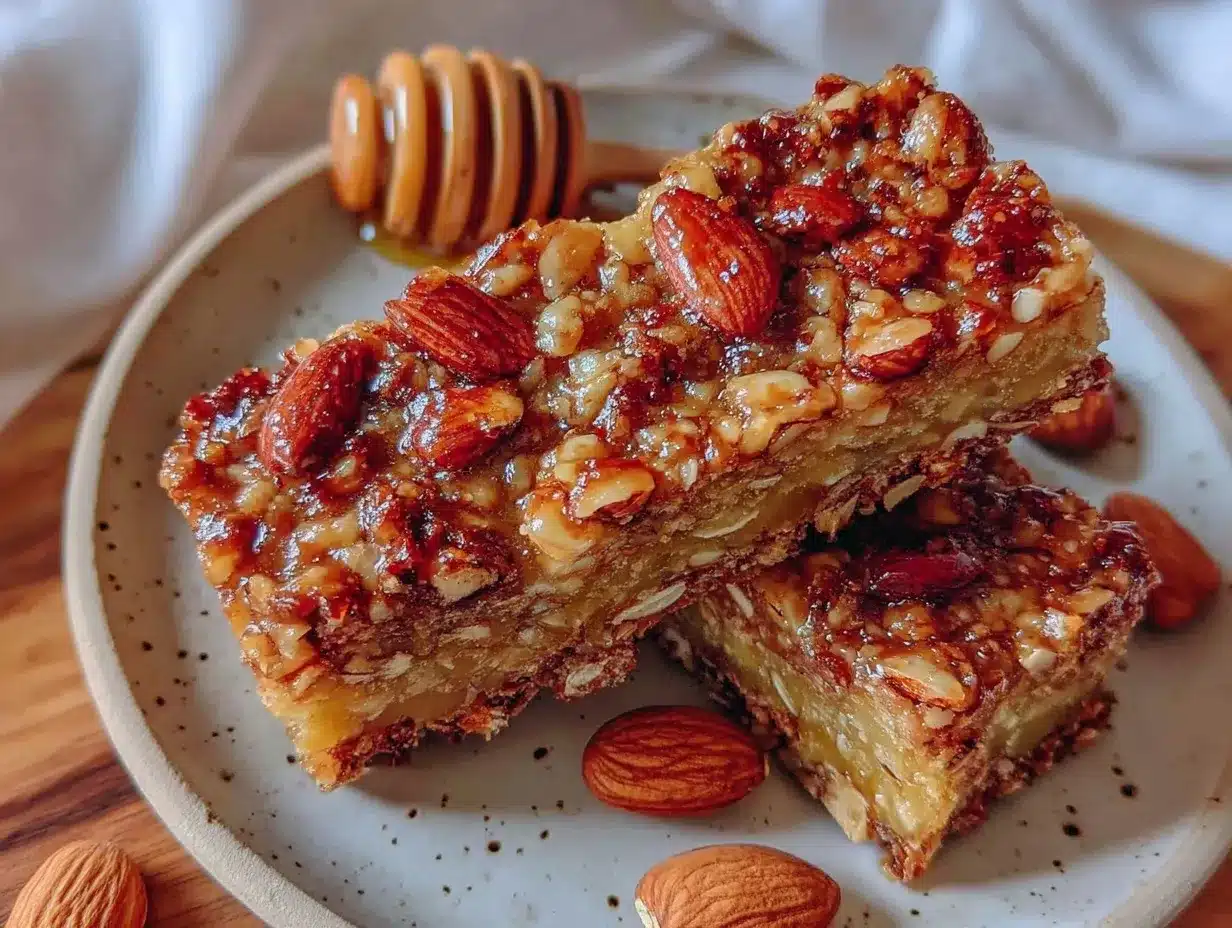
- Preheat your oven to 350°F (175°C). Line a baking sheet with parchment paper or a silicone mat.
- Toast the oats and almonds: Spread the oats and chopped almonds evenly on the baking sheet. Toast in the oven for 10-12 minutes, stirring halfway through. You want a light golden color and a nutty aroma—watch closely so they don’t burn.
- Prepare the binding mixture: In a small saucepan, combine the honey, melted butter, and brown sugar over medium heat. Stir frequently until the sugar dissolves and the mixture starts to bubble gently, about 3-4 minutes. Remove from heat and stir in vanilla extract and salt.
- Mix dry and wet ingredients: Transfer the toasted oats and almonds to a large bowl. If using cinnamon or seeds, add them now. Pour the warm honey mixture over the oats and stir thoroughly, making sure every oat and nut is coated.
- Transfer to pan and press: Line your 8×8-inch baking pan with parchment paper, leaving some overhang for easy lifting. Pour the granola mixture into the pan and press down firmly using the back of a spatula or your hands (lightly dampen hands to prevent sticking). Pressing firmly is key for crunchy bars that hold together.
- Chill: Place the pan in the refrigerator for at least 2 hours (or overnight if you can wait). This step sets the bars and makes cutting easier.
- Cut into bars: Using the parchment overhang, lift the granola slab out of the pan. Place on a cutting board and slice into bars or squares using a sharp knife. For neat edges, wipe the knife between cuts.
- Store: Keep the bars in an airtight container at room temperature for up to a week or freeze for longer storage.
Note: If the bars crumble too much, it might mean they needed a bit more honey or butter, or weren’t pressed firmly enough. If they’re too sticky, try reducing the honey slightly next time or chilling them longer. The bars should snap cleanly when broken.
Cooking Tips & Techniques
Here are some nuggets of hard-earned wisdom from making these granola bars dozens of times:
- Toasting is essential. It’s tempting to skip, but toasting the oats and almonds brings out flavor and crunch that raw ingredients can’t match.
- Don’t rush the pressing. Firm pressure makes the difference between crumbly clusters and bars that hold strong. I often use a smaller pan to get thicker bars that feel more substantial.
- Watch your oven closely. Nuts and oats can go from toasted to burnt in seconds. Stir halfway through and keep an eye on color.
- Honey ratio matters. Too little and the bars fall apart; too much and they’re sticky. Start with the recipe amount, then tweak based on your honey’s thickness.
- Use parchment paper. It’s a simple step to avoid frustration when removing bars from the pan.
- Experiment with mix-ins. If you want, toss in some mini chocolate chips or coconut flakes after mixing for an extra flair. Just keep in mind it may change texture.
For a snack that’s reliable every time, I’ve found that sticking to these basics while adjusting for personal taste is the way to go. It’s also helpful to multitask by prepping the binding mixture while the oats toast to save time.
Variations & Adaptations
Want to switch things up? These granola bars are a fantastic base for many twists:
- Nut-free version: Replace almonds with pumpkin seeds or sunflower seeds for crunch without allergens.
- Fruit-packed: Add dried cherries, raisins, or chopped dates for chewiness and natural sweetness.
- Spiced: Mix in ginger, nutmeg, or cardamom along with cinnamon for a warm, cozy flavor profile.
- Chocolate lover’s edition: Stir in cocoa powder to the oat mixture and sprinkle mini dark chocolate chips on top before chilling.
- Vegan swap: Use coconut oil instead of butter and maple syrup instead of honey to keep it plant-based.
I once added a handful of shredded coconut and a pinch of sea salt for a tropical vibe that disappeared way too fast. If you want a softer bar, bake the pressed mixture at 325°F (160°C) for 15 minutes, but be warned—it’ll lose some crunch.
Serving & Storage Suggestions
These crunchy homemade granola bars are best served at room temperature—cold bars from the fridge can be a bit too hard to enjoy immediately. They pair wonderfully with a cup of tea or a smoothie for breakfast or an afternoon pick-me-up.
If you’re packing these for lunchboxes or road trips, wrap individually in parchment or beeswax wraps to keep them fresh and easy to grab. Stored in an airtight container, they keep well at room temperature for about a week. For longer storage, freeze the bars in a zip-top bag for up to 3 months. Just let them thaw at room temperature before eating.
Interestingly, the flavors deepen a bit after a day or two as the oats absorb some moisture, making the bars slightly chewier without losing crunch. I find that a little warm honey drizzled on top right before serving makes them extra irresistible.
Nutritional Information & Benefits
Each homemade granola bar (assuming 12 bars per batch) contains approximately:
| Calories | 180-200 kcal |
|---|---|
| Protein | 4-5 grams |
| Fat | 7-9 grams (mostly healthy fats from almonds and butter) |
| Carbohydrates | 25-28 grams (natural sugars from honey and oats) |
| Fiber | 3-4 grams |
The oats provide sustained energy and fiber for digestive health, while almonds contribute heart-healthy fats and protein. Honey offers natural sweetness and antioxidants, making these bars a better choice than many processed snacks. Just a heads up—this recipe contains nuts and dairy, so it’s not suitable for those with allergies, but substitutions can help.
From my perspective, having a wholesome snack like this around feels like a small but meaningful way to take care of the family without sacrificing taste or convenience.
Conclusion
Honestly, these crunchy homemade granola bars with honey and almonds have become my go-to snack when life’s busy and I want something homemade without fuss. The balance of sweet, nutty, and crunchy hits the spot every time, and I love how easy it is to customize based on what’s in my pantry or mood. Whether you’re packing school lunches, fueling a hike, or just need a sweet pick-me-up, this recipe fits right in.
Feel free to tweak it and make it yours—maybe you’ll add pumpkin seeds or a pinch of cinnamon, or mix in dried fruit for something new. I’m always curious how folks adjust their homemade granola bars, so please share your twists and tips below.
Making snacks from scratch can seem daunting, but trust me, once you taste these bars, you’ll never want to go back to the store-bought versions. Here’s to crunchy, sweet, and homemade moments in the middle of the everyday chaos.
FAQs about Crunchy Homemade Granola Bars with Honey and Almonds
Can I use quick oats instead of rolled oats?
Quick oats tend to make softer bars since they absorb moisture faster. For the best crunch and texture, stick with old-fashioned rolled oats.
How long do these granola bars keep?
Stored in an airtight container at room temperature, they stay fresh for up to a week. You can freeze them for up to 3 months.
Is it possible to make these bars vegan?
Yes! Swap the butter for coconut oil and honey for maple syrup to make a vegan-friendly version.
Can I add other nuts or seeds?
Absolutely. Walnuts, pecans, pumpkin seeds, or sunflower seeds all work well and add different flavors and textures.
How do I prevent the bars from sticking to the pan?
Line your baking pan with parchment paper, leaving some overhang. This makes lifting the bars out easy and prevents sticking.
For a wholesome snack that pairs nicely with a comforting meal, these granola bars fit right alongside a hearty Irish lamb stew or a simple fresh spring vegetable frittata. They’re just the kind of homemade treat that makes everyday food feel a little more special.
Pin This Recipe!
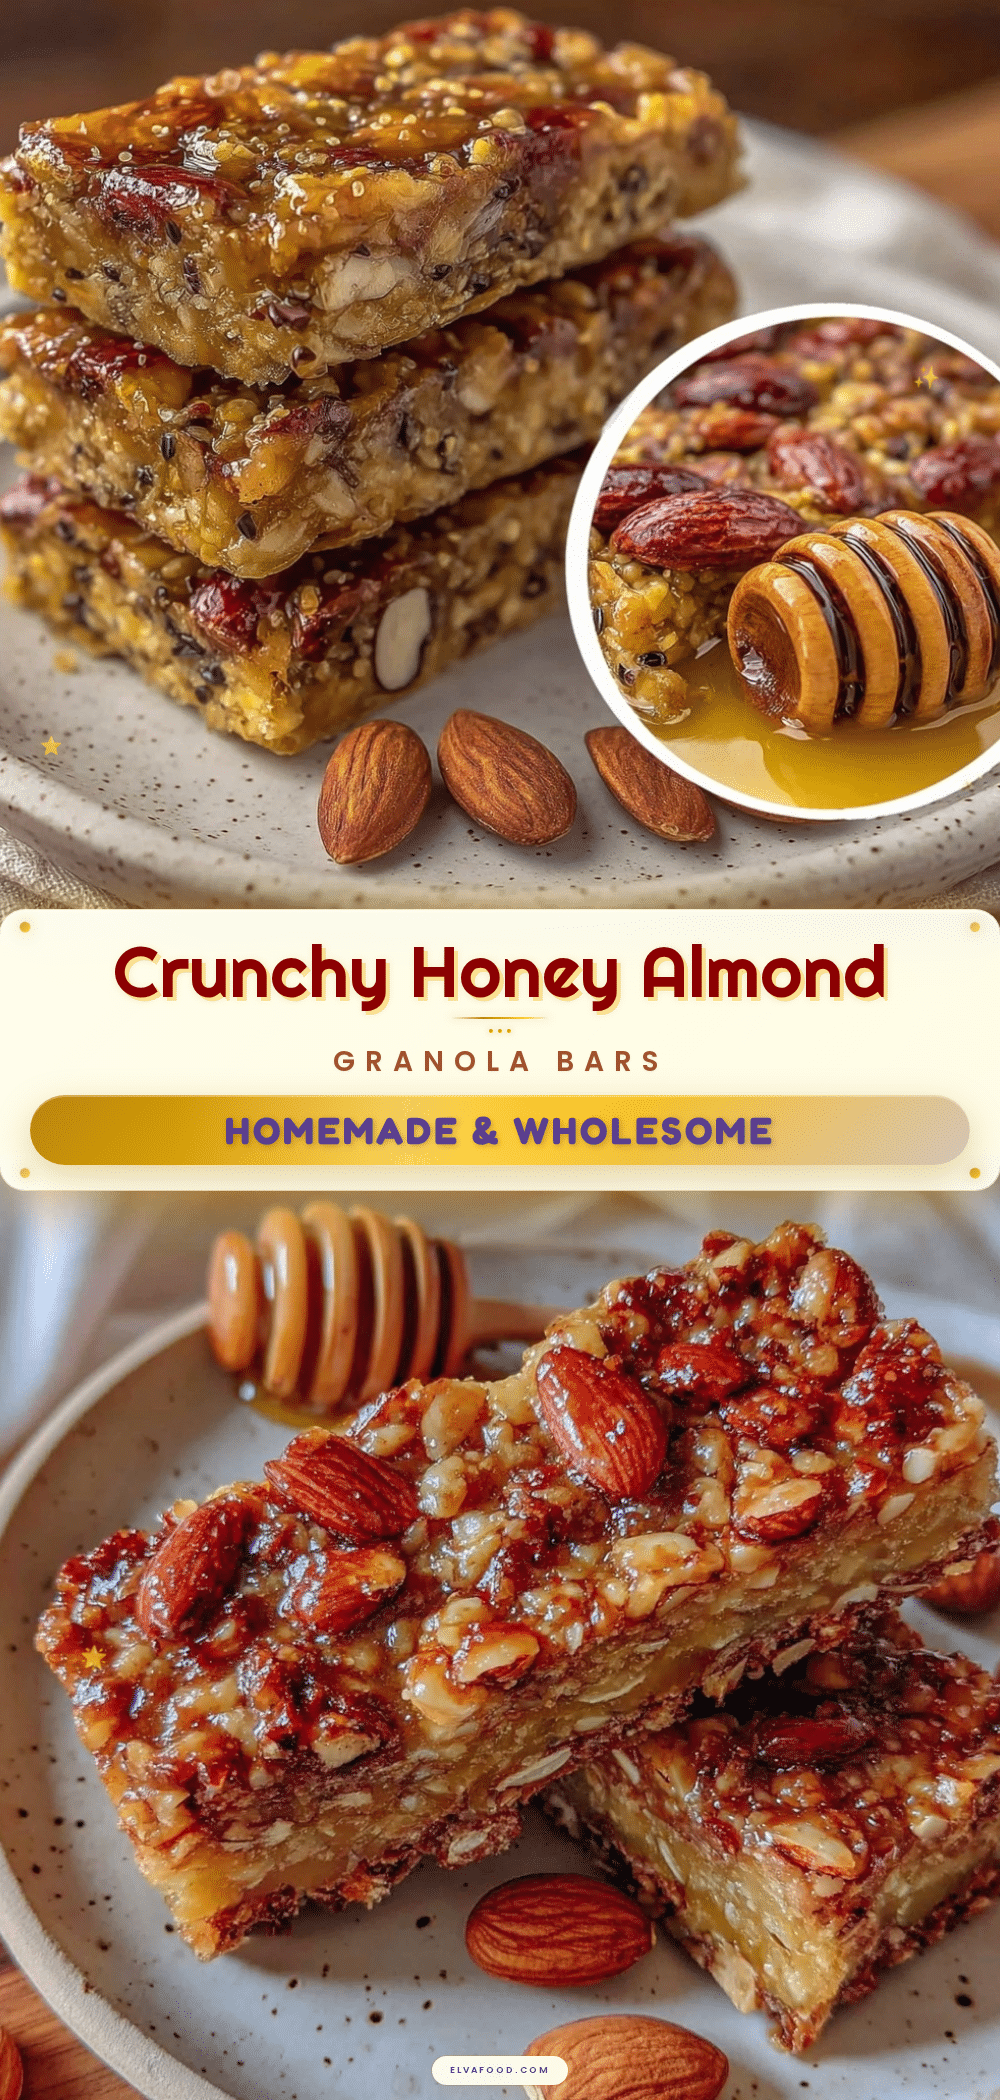
Crunchy Homemade Granola Bars with Honey and Almonds
These crunchy homemade granola bars combine toasted oats and almonds with honey for a sweet, satisfying snack that’s quick and easy to make. Perfect for on-the-go, they are kid-approved and customizable.
- Prep Time: 10 minutes
- Cook Time: 12 minutes
- Total Time: 2 hours 22 minutes
- Yield: 12 bars 1x
- Category: Snack
- Cuisine: American
Ingredients
- 2 cups old-fashioned rolled oats (180g)
- 1 cup raw almonds, roughly chopped (140g)
- 1/3 cup honey (113g)
- 1/4 cup unsalted butter, melted (57g)
- 1/4 cup brown sugar (50g)
- 1 teaspoon vanilla extract
- 1/4 teaspoon salt
- 1/2 teaspoon ground cinnamon (optional)
- 2 tablespoons chia seeds or flaxseeds (optional)
Instructions
- Preheat your oven to 350°F (175°C). Line a baking sheet with parchment paper or a silicone mat.
- Toast the oats and almonds: Spread the oats and chopped almonds evenly on the baking sheet. Toast in the oven for 10-12 minutes, stirring halfway through until light golden and fragrant.
- Prepare the binding mixture: In a small saucepan, combine honey, melted butter, and brown sugar over medium heat. Stir frequently until sugar dissolves and mixture bubbles gently, about 3-4 minutes. Remove from heat and stir in vanilla extract and salt.
- Mix dry and wet ingredients: Transfer toasted oats and almonds to a large bowl. Add cinnamon and seeds if using. Pour warm honey mixture over oats and stir thoroughly to coat evenly.
- Transfer to pan and press: Line an 8×8-inch (20×20 cm) baking pan with parchment paper, leaving overhang. Pour granola mixture into pan and press firmly using a spatula or lightly dampened hands.
- Chill: Refrigerate the pan for at least 2 hours or overnight to set the bars.
- Cut into bars: Lift granola slab out using parchment overhang. Place on cutting board and slice into bars or squares with a sharp knife, wiping knife between cuts for clean edges.
- Store: Keep bars in an airtight container at room temperature for up to one week or freeze for longer storage.
Notes
Toasting oats and almonds is essential for flavor and crunch. Press bars firmly to avoid crumbling. Use parchment paper with overhang for easy removal. Adjust honey and butter amounts if bars are too crumbly or sticky. Optional mix-ins include dried fruit, seeds, or chocolate chips. For vegan version, substitute butter with coconut oil and honey with maple syrup.
Nutrition
- Serving Size: 1 bar
- Calories: 190
- Sugar: 12
- Sodium: 70
- Fat: 8
- Saturated Fat: 3
- Carbohydrates: 27
- Fiber: 3.5
- Protein: 4.5
Keywords: granola bars, homemade snack, honey granola bars, almond granola bars, crunchy granola bars, healthy snack, easy granola bars


