I figured making fruit and veggie gummies at home would be a complicated, sticky mess that’d take forever to get right. It took about half an hour for that to fall apart completely — in the best way possible. Honestly, I was just trying to get my kids to eat more greens without the usual battles or sneaky purees. The idea of pure fruit juice and real vegetable goodness set into fun, squishy shapes sounded too simple to actually work. But as the colorful little bites came together in the silicone molds, I realized this wasn’t just a gimmick; it was a surprisingly easy and tasty snack that my picky eaters actually asked for again.
The first batch was a bit of a trial — some gummies stuck to the molds, and the texture was a little firmer than I expected. But after tweaking the gelatin ratio and picking sweeter fruit juices, it became a snack they’d carry around like tiny treasures. The fresh strawberry and carrot combo was a hit, with just enough natural sweetness to feel like candy but none of the junk. It felt like a quiet victory, sneaking in actual vegetables without a fuss. I kept the recipe simple because, honestly, I’m not great at following complicated instructions, and this one rewarded that laid-back approach.
Making these gummies gave me a little window into how easy snacks can be both wholesome and fun — no complicated kitchen wizardry needed. It’s the kind of recipe I turn to when I want to feel like I’m doing something good without turning snack time into a production. Plus, it’s way better than grabbing a bag of sugar-packed store gummies. Somehow, these easy homemade fruit and veggie gummies found a spot in our snack routine, and I bet it’ll stick with you too once you see how much kids love them.
Why You’ll Love This Recipe
From my kitchen experiments and countless snack-time negotiations, this easy homemade fruit and veggie gummies recipe stands out for some pretty solid reasons:
- Quick & Easy: You can whip these up in under 40 minutes, making them perfect for busy afternoons or last-minute snack cravings.
- Simple Ingredients: No hunting down exotic stuff here. Most ingredients are pantry staples or easy-to-find fresh produce.
- Perfect for Kids: Great for lunchboxes, playdates, or even as a little treat after school that you won’t feel guilty about.
- Crowd-Pleaser: Both kids and adults tend to sneak a few — the natural sweetness and chewy texture are hard to resist.
- Unbelievably Delicious: The blend of real fruit and veggie juices with that gummy chew hits the comfort-snack sweet spot without artificial flavors.
What sets this recipe apart is the balance it strikes — it’s not just a fruit snack masquerading as healthy. The use of real vegetable juice alongside fruit juice adds a subtle earthiness that deepens flavor, and using gelatin rather than pectin gives these gummies that satisfying chew you’d expect from store-bought treats. Plus, you can customize the shapes and colors to suit any occasion — from little stars to playful animals (which always scores bonus points with the kids).
Honestly, this recipe stuck with me because it made healthy snacking feel doable and even a bit fun. If you’re tired of hiding veggies in every dish or coaxing kids to take one more bite, these gummies offer a fresh, low-fuss alternative. It’s the kind of snack that quietly wins over the toughest little critics.
What Ingredients You Will Need
This recipe uses simple, wholesome ingredients to deliver bold flavor and satisfying texture without the fuss. You’ll mostly rely on fresh juices and gelatin to do the heavy lifting here — nothing fancy, just a handful of natural staples that combine to create a snack your kids will actually want.
- Fruit Juice: About 1 cup (240 ml) of freshly squeezed or 100% fruit juice works best. I often use apple or grape juice for natural sweetness. Avoid anything with added sugars or artificial ingredients.
- Vegetable Juice: 1/2 cup (120 ml) carrot or beet juice adds natural color and nutrients without overpowering sweetness. Freshly juiced is ideal, but bottled works fine too.
- Gelatin Powder: 3 tablespoons (about 30 grams) of unflavored gelatin powder. I trust brands like Knox for consistent results. This is what gives the gummies their chew.
- Honey or Maple Syrup: 1-2 tablespoons (15-30 ml) for a touch of extra sweetness, depending on your juice choice and kids’ preference. You can skip this if your juices are sweet enough.
- Lemon Juice: 1 tablespoon (15 ml) freshly squeezed lemon juice brightens the flavor and balances the sweetness.
- Optional Natural Food Coloring: If you want more vibrant gummies, a few drops of natural coloring from beet powder or spirulina powder can help — but it’s not necessary.
For substitutions, you can swap gelatin with agar-agar for a vegetarian-friendly version, but the texture will be less chewy and more jelly-like. If fresh vegetable juice isn’t your thing, blending steamed veggies with a little water and straining can work, but the flavor will be milder. For gluten-free and allergen-safe options, this recipe already fits the bill as long as you double-check your gelatin brand.
Equipment Needed
- Small Saucepan: For gently warming the juice mixture. A heavy-bottomed pan helps avoid scorching.
- Mixing Bowl: To bloom the gelatin powder before combining with the juices.
- Measuring Cups and Spoons: Precision matters here, especially with gelatin amounts for proper texture.
- Silicone Molds: Flexible molds in fun shapes make the gummies easy to pop out — I swear by silicone because it’s non-stick and dishwasher safe.
- Whisk or Spoon: For stirring the gelatin mixture smoothly.
If you don’t have silicone molds, a small baking dish or glass pan works fine; you can cut the gummies into squares after they set. I’ve tried metal molds before, but gelatin sticks like crazy, so I wouldn’t recommend them. For budget-friendly options, simple ice cube trays can double as gummy molds — just pick ones with smaller cavities for bite-sized treats.
Preparation Method
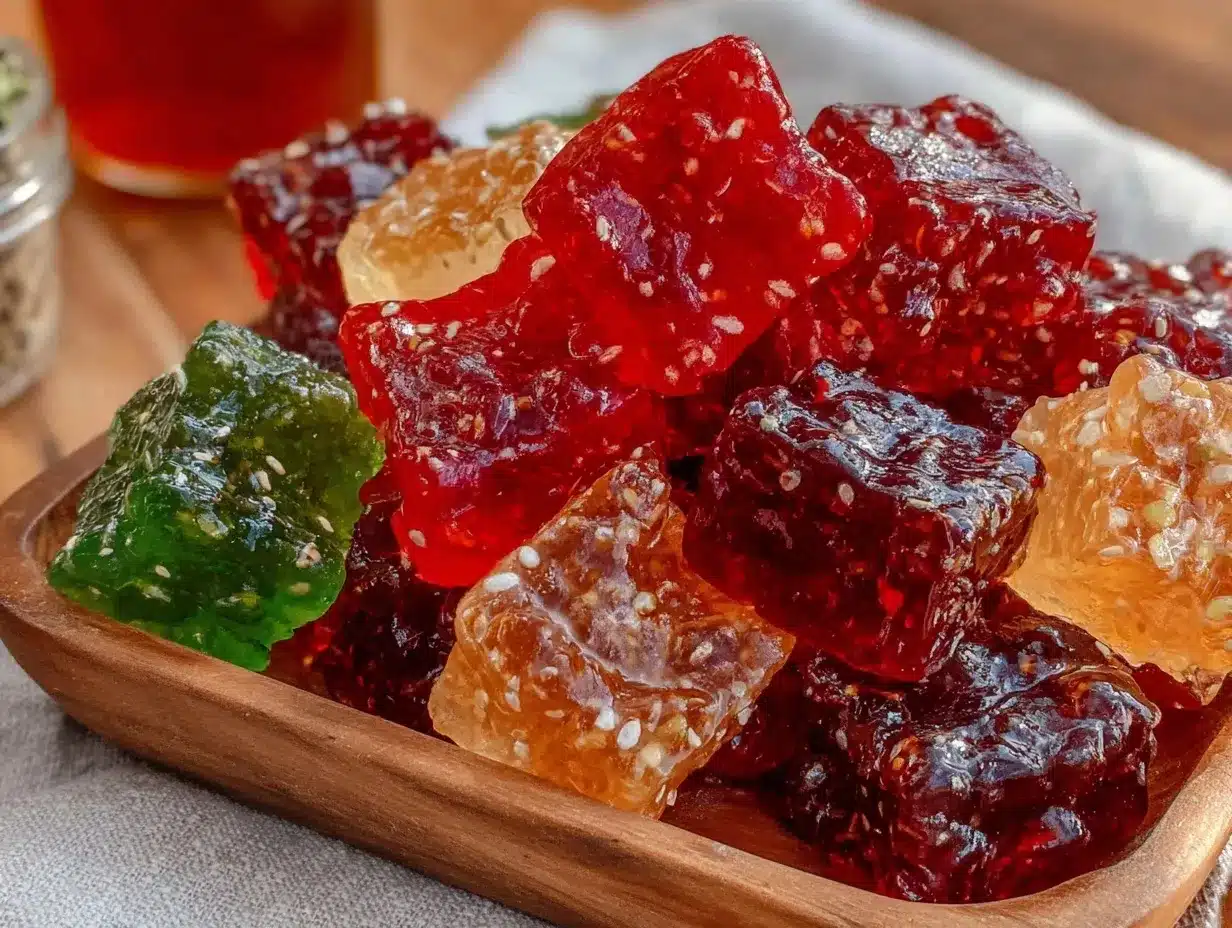
- Bloom the Gelatin: Pour 1/2 cup (120 ml) of the fruit and vegetable juice mix into a mixing bowl. Sprinkle the 3 tablespoons (30 g) of gelatin powder evenly over the surface. Let it sit for 5 minutes until it thickens and blooms — this step is key to avoiding lumps.
- Warm the Juice Mixture: In a small saucepan, combine the remaining 1 cup (240 ml) of fruit and vegetable juice, honey or maple syrup (if using), and lemon juice. Heat gently over low-medium heat until warm but not boiling (around 140°F/60°C). Stir occasionally to dissolve the sweetener.
- Combine Gelatin and Warm Juice: Pour the warm juice mixture into the bloomed gelatin bowl. Whisk steadily until the gelatin dissolves completely, about 2-3 minutes. The mixture should be smooth and slightly thickened.
- Pour Into Molds: Immediately pour the mixture into your silicone molds or prepared pan. Work quickly but carefully — gelatin begins to set fast once cooled.
- Chill: Transfer the molds to the refrigerator and let them set for at least 2 hours, or until firm to the touch.
- Remove Gummies: Gently pop the gummies out of the molds. If using a pan, cut into bite-sized squares with a sharp knife.
- Store: Keep the gummies in an airtight container in the fridge for up to 1 week.
Tip: If your gummies stick too much, lightly dust them with a little cornstarch or powdered sugar before serving. Also, avoid boiling the juice mixture, or the gelatin won’t set properly. I usually prepare the gelatin while the juice is warming to save time, and it’s worked like a charm every time.
Cooking Tips & Techniques
Getting the texture just right is the trickiest part, but once you’ve mastered a few tips, these homemade fruit and veggie gummies become downright easy.
- Don’t Skip Blooming the Gelatin: This step lets the gelatin absorb liquid and prevents gritty lumps. I learned this the hard way when my first batch was grainy.
- Keep the Heat Gentle: High heat can ruin gelatin’s setting power. Low and slow is the way to go — warm enough to dissolve but not boiling.
- Mix Well and Quickly: Once the gelatin is combined with the warm juice, pour it into molds fast to avoid premature setting. I sometimes find myself rushing here, but a steady hand wins.
- Use Silicone Molds: They make removing gummies a breeze. If you’re using a pan, greasing it lightly can help.
- Adjust Sweetness to Taste: Depending on your fruit juice’s natural sugar, tweak the honey or maple syrup amount. I tend to go lighter to keep the snack wholesome.
Multitasking during setting time helps too — while the gummies chill, I often prep other meals, like my easy lo mein noodles with chicken and veggies, so snack prep fits smoothly into a busy day.
Variations & Adaptations
One of the best things about this recipe is how flexible it is. Here are a few ways to mix it up:
- Flavor Variations: Try swapping carrot juice for beet juice for a deeper red color and earthy tone. Or blend apple and spinach juice to sneak in more greens without changing the flavor too much.
- Dietary Adaptations: Use agar-agar powder instead of gelatin for a vegan or vegetarian version. The texture will be a little softer but still enjoyable.
- Texture Tweaks: Add a teaspoon of vitamin C powder (ascorbic acid) to help preserve color and add a slight tang, which some kids love.
- Cooking Methods: If you want a no-cook version, try blending softened gelatin sheets with warm juice, but results vary and usually take longer to set.
- Personal Twist: I once mixed in a small amount of pureed mango for a tropical twist. The kids went nuts for it, and it added a natural sweetness that cut down on added sugars.
There’s no harm in experimenting here — just keep the gelatin ratio close to the original, or the gummies might turn out too soft or rubbery.
Serving & Storage Suggestions
These gummies are best served chilled, straight from the fridge. They make excellent little treats for lunchboxes or afternoon snacks. For a playful touch, arrange them on a colorful platter with fresh fruit slices or pair with a glass of chilled homemade lemonade.
Store the gummies in an airtight container in the refrigerator for up to one week. If you want to keep them longer, you can freeze them for up to two months, although the texture softens a bit after thawing. When reheating, it’s best to enjoy them cold, but if you want to soften them slightly, leave them at room temperature for 10 minutes.
Flavors tend to deepen slightly after a day in the fridge, so making them a day ahead can actually improve taste. Just watch out for condensation, which can make gummies sticky — a light dusting of cornstarch helps keep them separated.
If you’re planning a fun brunch, these gummies pair nicely alongside a fresh vegetable frittata like the fresh spring vegetable frittata with goat cheese, for a colorful, balanced spread.
Nutritional Information & Benefits
Each serving of these homemade fruit and veggie gummies offers a modest calorie count—roughly 50-70 calories per 3-4 gummies—making them a guilt-free snack option. They provide small amounts of vitamins A and C from the vegetable and fruit juices, plus some hydration. The gelatin contributes collagen, which is good for skin and joint health, though amounts are small.
This recipe is naturally gluten-free and dairy-free, friendly for many dietary needs. Just check your gelatin brand if you have specific allergies. By using natural sweeteners like honey or maple syrup, it avoids refined sugars common in commercial gummies.
From a wellness perspective, these gummies are a gentle way to introduce kids to vegetable flavors and reduce reliance on processed snacks. It’s a little step toward better habits without making snack time a battleground.
Conclusion
This easy homemade fruit and veggie gummies recipe proves that healthy snacking doesn’t have to be complicated or boring. It’s flexible, quick, and genuinely tasty — all things that matter when you’re juggling kid-approved meals and busy schedules. I love how it brings a bit of fun to the kitchen while sneaking in nutrition, and it’s one of those few recipes that kids actually ask to make with you.
Feel free to tweak the flavors or shapes to fit your family’s tastes and occasions. Whether it’s a weekday treat or part of a festive spread, these gummies show that simple, real ingredients can shine in unexpected ways. If you try making them, I’d love to hear what combos you come up with — sharing snack hacks is always welcome around here!
FAQs About Homemade Fruit and Veggie Gummies for Kids
Can I use store-bought juice for these gummies?
Yes, as long as it’s 100% juice without added sugars or preservatives. Freshly squeezed is best for flavor and nutrition, but bottled juice works fine in a pinch.
How long do the gummies last in the fridge?
Store them in an airtight container, and they’ll keep well for up to one week. Beyond that, texture may change, but they’re usually still safe to eat.
Can I make these gummies without gelatin?
You can use agar-agar powder as a vegetarian alternative, but the texture will be more jelly-like and less chewy.
What if my gummies stick to the molds?
Try lightly dusting the molds with cornstarch before pouring the mixture, or dust the gummies after removing them. Silicone molds should release gummies easily when fully set.
Is it possible to add vitamins or supplements to the gummies?
Yes, you can mix in powdered vitamin C or other supplements safe for kids, but add them after the gelatin is fully dissolved and keep amounts small to avoid affecting texture.
Pin This Recipe!
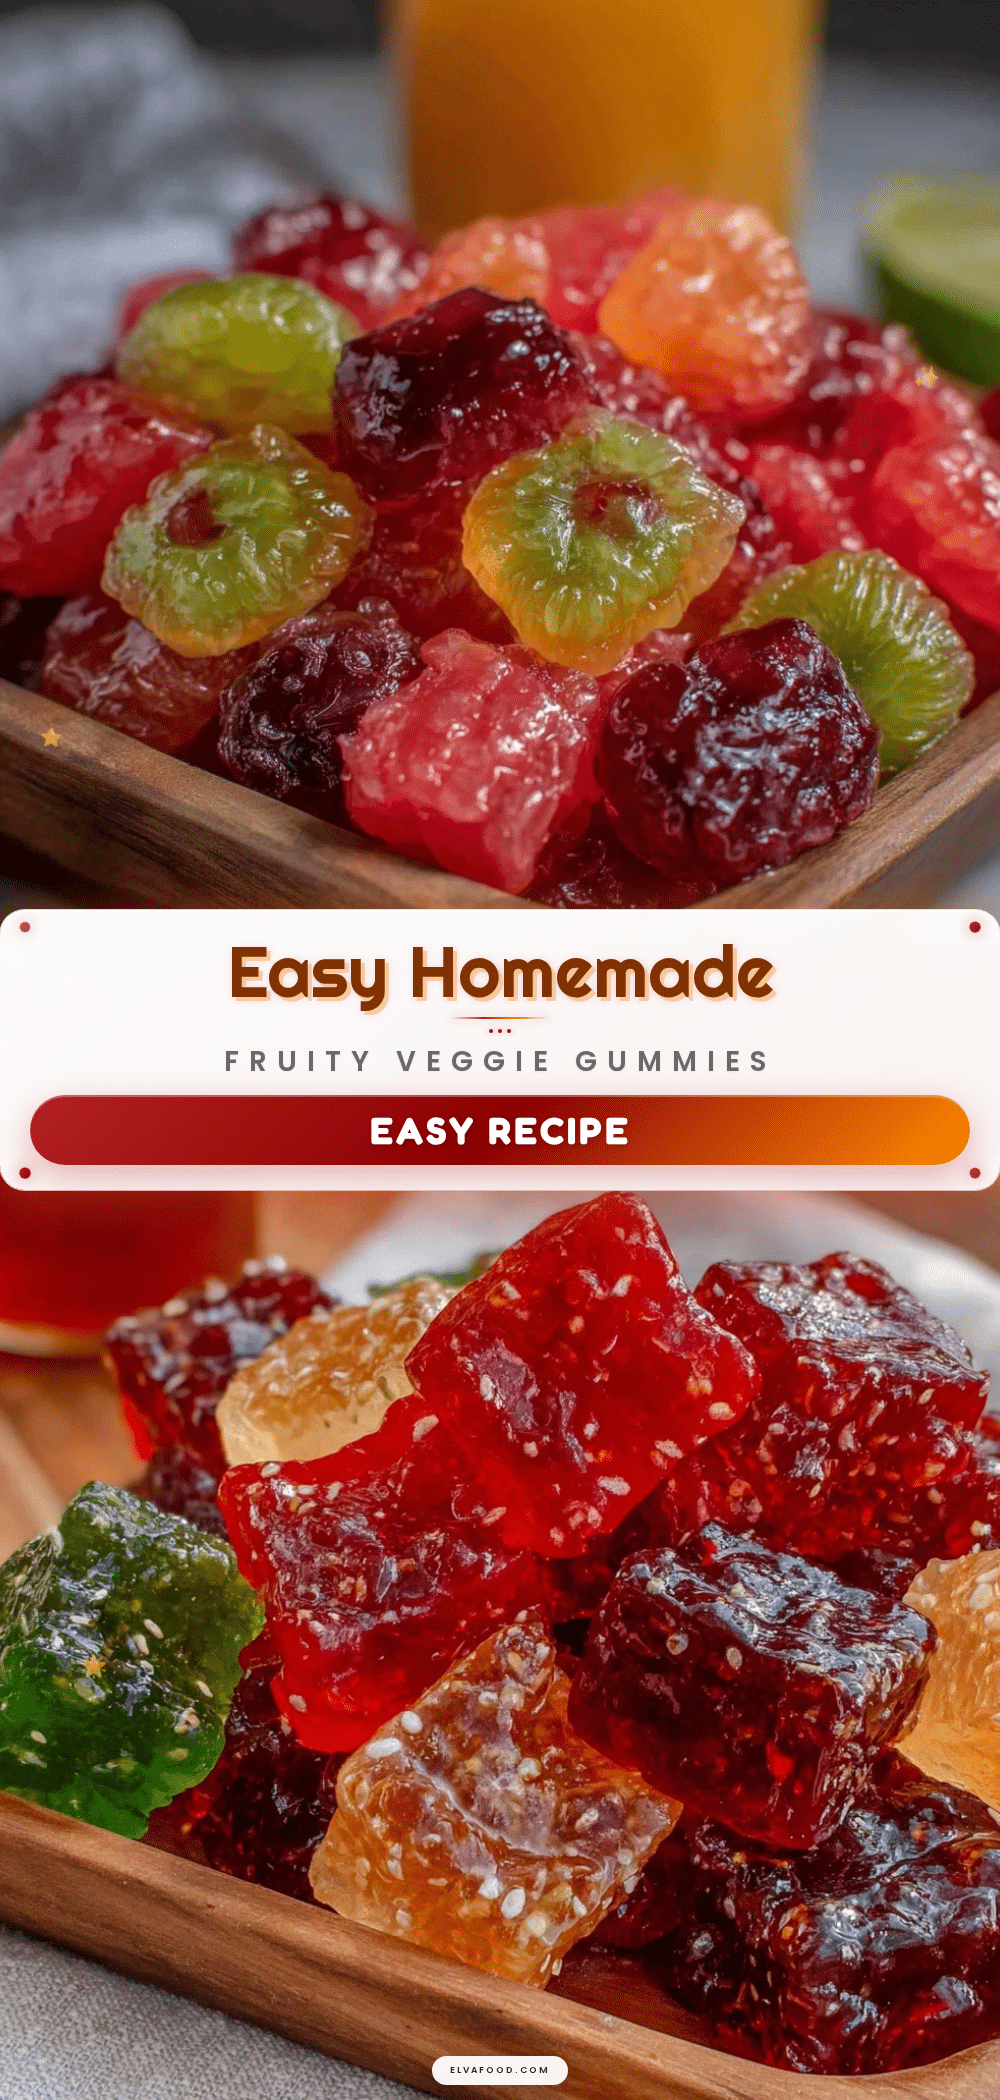
Easy Homemade Fruit and Veggie Gummies for Kids
A quick and simple recipe for homemade fruit and vegetable gummies that kids love, made with real juices and gelatin for a healthy, tasty snack.
- Prep Time: 10 minutes
- Cook Time: 10 minutes
- Total Time: 2 hours 20 minutes
- Yield: About 30-40 gummies (depending on mold size) 1x
- Category: Snack
- Cuisine: American
Ingredients
- 1 cup (240 ml) fruit juice (freshly squeezed or 100% juice, e.g., apple or grape juice)
- 1/2 cup (120 ml) vegetable juice (carrot or beet juice)
- 3 tablespoons (about 30 grams) unflavored gelatin powder
- 1–2 tablespoons (15–30 ml) honey or maple syrup (optional)
- 1 tablespoon (15 ml) freshly squeezed lemon juice
- Optional: a few drops natural food coloring (beet powder or spirulina powder)
Instructions
- Pour 1/2 cup (120 ml) of the fruit and vegetable juice mix into a mixing bowl. Sprinkle the 3 tablespoons (30 g) of gelatin powder evenly over the surface. Let it sit for 5 minutes until it thickens and blooms.
- In a small saucepan, combine the remaining 1 cup (240 ml) of fruit and vegetable juice, honey or maple syrup (if using), and lemon juice. Heat gently over low-medium heat until warm but not boiling (around 140°F/60°C). Stir occasionally to dissolve the sweetener.
- Pour the warm juice mixture into the bloomed gelatin bowl. Whisk steadily until the gelatin dissolves completely, about 2-3 minutes, until smooth and slightly thickened.
- Immediately pour the mixture into silicone molds or a prepared pan. Work quickly as gelatin begins to set once cooled.
- Transfer the molds to the refrigerator and let them set for at least 2 hours, or until firm to the touch.
- Gently pop the gummies out of the molds. If using a pan, cut into bite-sized squares with a sharp knife.
- Store the gummies in an airtight container in the fridge for up to 1 week.
Notes
Do not boil the juice mixture to preserve gelatin setting power. Bloom gelatin first to avoid lumps. Use silicone molds for easy removal. If gummies stick, dust with cornstarch or powdered sugar. Adjust sweetness with honey or maple syrup as needed. Agar-agar can be used as a vegetarian substitute but results in a softer, jelly-like texture.
Nutrition
- Serving Size: 3-4 gummies
- Calories: 5070
- Sugar: 1214
- Sodium: 510
- Carbohydrates: 1315
- Protein: 12
Keywords: fruit gummies, veggie gummies, homemade gummies, healthy snacks for kids, gelatin gummies, fruit and vegetable snacks, easy kids snacks


