“Can you believe this dessert is no-bake?” my friend gasped last Fourth of July, eyeing the vibrant layers of red, white, and blue on my picnic table. Honestly, I didn’t expect the Easy No-Bake Berry Flag Icebox Cake to turn out this stunning the first time I tried it — it was supposed to be just a quick fix after a chaotic morning. But there I was, assembling it between juggling kids and a last-minute invite from neighbors. The mix of fresh berries and cool, creamy layers gave everyone that little spark of joy – like a perfect summer breeze on a hot day.
What makes this cake stick with me isn’t just the eye-catching design or the simplicity of stacking ingredients. It’s that moment when you slice into those layers, and the flavors meld into something sweet, tart, and refreshing — just right to cool you off and bring people together. I’ve made this dessert multiple times during this patriotic season now, tweaking the berry ratios as I go, but each time it feels like a little celebration on its own.
There’s something about how this Easy No-Bake Berry Flag Icebox Cake quietly steals the show at barbecues, potlucks, or casual get-togethers. It’s a dessert that doesn’t demand a lot of fuss but rewards you with smiles and requests for the recipe. Plus, no oven heat during summer? Yes, please. This cake has become my go-to for those warm afternoons when you want something festive yet breezy enough to whip up between errands.
So, if you’re looking for a dessert that’s all about fresh flavors, simple prep, and a bit of patriotic flair, this Easy No-Bake Berry Flag Icebox Cake might just be your new summer staple. It’s the kind of treat that lets you relax and enjoy the day, knowing your dessert is already doing the talking quietly on the picnic table.
Why You’ll Love This Easy No-Bake Berry Flag Icebox Cake Recipe
After testing this recipe several times, I can say it’s one of those rare desserts that hits all the right notes without making you work overtime. Here’s why this Easy No-Bake Berry Flag Icebox Cake has earned a permanent spot in my recipe box:
- Quick & Easy: It comes together in under 20 minutes, which is a lifesaver on busy holiday weekends or when you’re hosting last-minute visitors.
- Simple Ingredients: No tricky or hard-to-find items here — just fresh berries, whipped cream, and classic cookies or graham crackers you probably have on hand.
- Perfect for Patriotic Celebrations: Whether it’s Independence Day, Memorial Day, or any summer fête, this cake’s flag-inspired design adds festive charm without extra effort.
- Crowd-Pleaser: The mix of creamy layers and tart berries appeals to kids and adults alike — my picky nephew even asked for seconds!
- Unbelievably Delicious: The texture contrast between crumbly cookies, fluffy cream, and juicy berries makes each bite a little celebration.
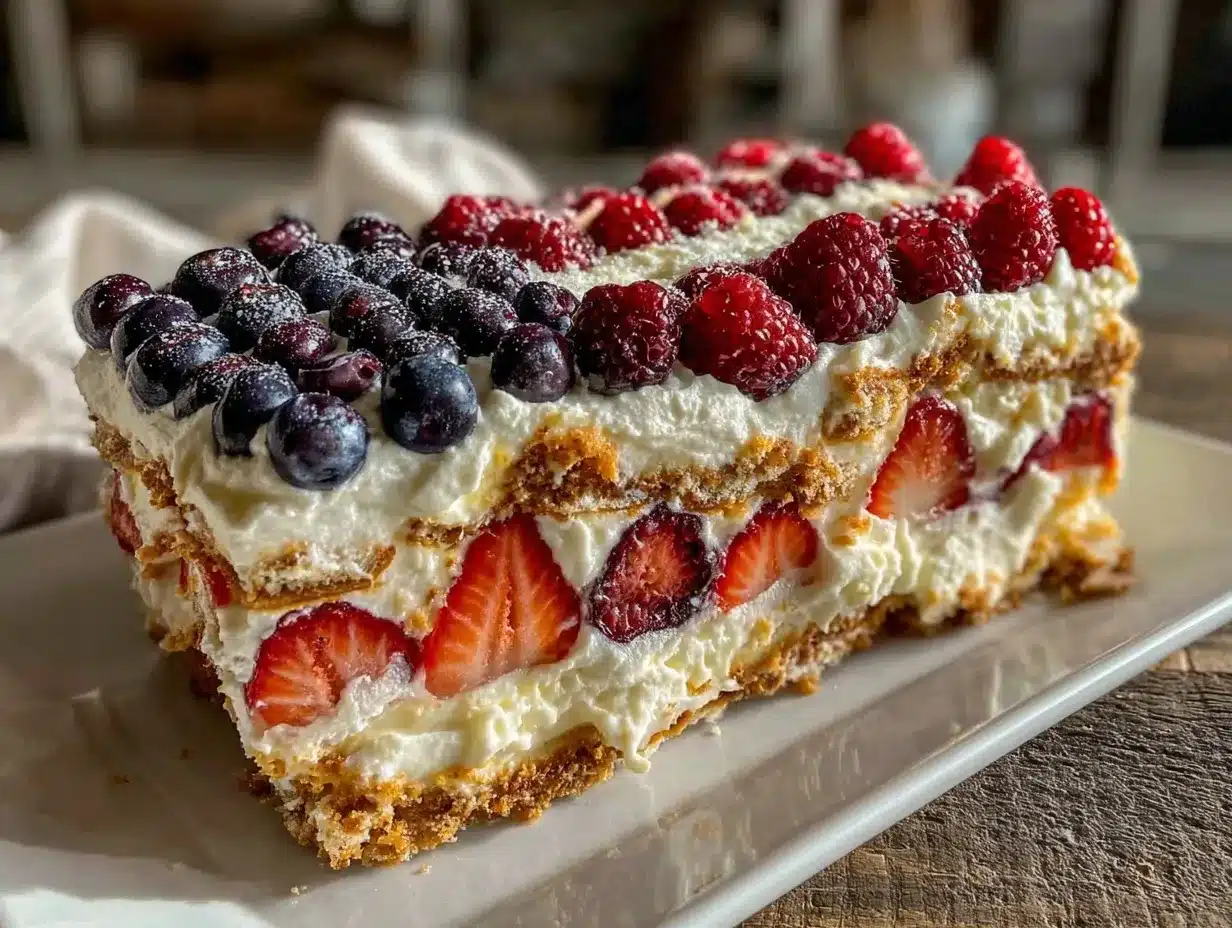
This isn’t just another no-bake cake. The trick is in how the cookies soak up the cream overnight, turning delightfully cake-like without baking. Also, layering the berries in a bold flag pattern adds a fun visual twist that’s sure to impress guests. I like to use a homemade whipped cream with just a hint of vanilla, which makes it taste fresh and light, unlike those overly sweetened store-bought options.
Honestly, making this cake feels like a small act of celebration in itself — a reminder that good food doesn’t have to be complicated to be memorable. And if you want to try a dessert that pairs well with summer classics like hearty stews or easy noodle dishes, this is your go-to sweet ending.
What Ingredients You Will Need
This recipe uses simple, wholesome ingredients to deliver a bold flavor and satisfying texture without the fuss. Most of these items are pantry staples, and the fresh berries add that seasonal pop that makes this dessert feel special. Feel free to swap or substitute where needed to suit your tastes or dietary needs.
- For the Base Layers:
- Graham crackers or vanilla wafer cookies (about 2 sleeves, roughly 200g/7oz) – I prefer Nabisco Honey Maid for that perfect balance of sweetness and crunch
- Unsalted butter, melted (2 tablespoons / 28g) – optional, to brush on crackers for a richer taste
- For the Cream Filling:
- Heavy whipping cream (2 cups / 480ml), chilled – fresh, cold cream whips better
- Powdered sugar (1/3 cup / 40g) – for light sweetness
- Vanilla extract (1 teaspoon) – adds warm flavor depth
- Cream cheese, softened (optional, 4 oz / 113g) – for a tangy creaminess if you want to mix it up
- For the Berry Flag Topping:
- Fresh strawberries (1 cup / 150g), hulled and sliced – pick ripe, firm berries for best color
- Fresh blueberries (1 cup / 150g) – wash and pat dry to avoid sogginess
- Fresh raspberries (1 cup / 125g) – optional, for extra red dimension
- Optional Garnishes:
- Mint leaves – for a pop of green and freshness
- Edible flowers – to make it party-ready
Substitutions: Use coconut cream instead of heavy cream for a dairy-free version, and gluten-free cookies if needed. Frozen berries can work in a pinch, but fresh is always best for that vibrant look and fresh flavor.
Equipment Needed
- Mixing bowls – several sizes for whipping cream and mixing ingredients
- Electric mixer or whisk – an electric hand mixer saves time and effort, but a sturdy whisk can work if you’re patient
- 8×8-inch (20×20 cm) square baking pan or glass dish – clear glass works great for showing off the layers
- Spatula – silicone is ideal for folding and spreading cream smoothly
- Measuring cups and spoons – for accuracy
- Sharp knife – for slicing berries and cutting the finished cake
- Plastic wrap or foil – to cover the cake while chilling
If you don’t have an electric mixer, no worries — just give the cream a good, steady whisk. It’s a bit of an arm workout but worth it for that fluffy texture. Also, using a glass dish not only helps with the flag presentation but lets you peek at those pretty layers as they set, which is always a win in my book.
Preparation Method
- Prep the Cream Filling: In a large bowl, pour the chilled heavy whipping cream. Add powdered sugar and vanilla extract. Using an electric mixer, whip on medium-high speed until soft peaks form, about 3-4 minutes. If you like a tangier cream, beat in softened cream cheese until smooth and combined. Set aside.
- Prepare the Base: If you want, lightly brush the graham crackers with melted butter for a richer flavor. This step is optional but adds a nice touch. Line the bottom of your 8×8-inch pan with a single layer of crackers, breaking pieces as needed to fit snugly. This should take about 5 minutes.
- Layer the Cream: Spread about 1/3 of the whipped cream mixture evenly over the graham crackers. Use a spatula to smooth the surface gently. This layer will soak into the crackers and start the magic of turning them cake-like.
- Add the Next Layer of Crackers: Place another layer of graham crackers over the cream. Press down lightly but don’t smash. Repeat spreading 1/3 of the cream over this layer.
- Final Cracker Layer and Cream: Top with a last layer of crackers, then spread the remaining cream on top, smoothing it out carefully. This creamy top is your canvas for the berry flag.
- Arrange the Berries: Start by placing blueberries in the top-left corner to represent the stars area of the flag. Then, create alternating stripes of sliced strawberries and raspberries horizontally across the rest of the cake. Take your time to make clean, bold lines—this is where your dessert shines visually.
- Chill: Cover the cake tightly with plastic wrap and refrigerate for at least 4 hours, preferably overnight. This chilling step lets the crackers soften and the flavors meld perfectly.
- Serve: When ready, slice the cake into squares with a sharp knife, wiping the blade clean between cuts for neat edges. Serve chilled for the best texture and flavor.
Note: If your cream starts to separate or looks watery, it might be overwhipped. Stop mixing as soon as soft peaks form. Also, if the berries release too much juice, gently pat them dry with paper towels before arranging.
Cooking Tips & Techniques
Whipping cream can be tricky if you haven’t done it often. Cold cream whips faster and holds better, so chill your bowl and beaters ahead if you can. I learned this the hard way when my cream turned into butter halfway through making a dessert. Also, folding in softened cream cheese adds body without overpowering the lightness.
When layering the berries, less is more. Too many wet berries can make the cake soggy, so use fresh, firm berries and arrange them just before serving if you want to keep them crisp longer. If you’re worried about mess, try placing a thin layer of cream over the top before berries—it acts like a moisture barrier.
Timing is key: assembling the cake is quick, but letting it chill is where the magic happens. Overnight chilling results in a cake-like texture that’s surprisingly satisfying for a no-bake recipe. I usually make this the night before to free up my holiday day for other fun stuff.
Multitasking tip: While the cake chills, you can prep other dishes like the Italian wedding soup or a batch of miso-glazed salmon for a balanced meal.
Variations & Adaptations
This Easy No-Bake Berry Flag Icebox Cake is versatile and can be adapted to suit different tastes and occasions:
- Dairy-Free Version: Use coconut cream whipped with a touch of maple syrup instead of heavy cream and skip cream cheese. Use gluten-free cookies for an allergen-friendly option.
- Flavor Twists: Add a layer of lemon curd or mascarpone mixed with honey between the cookie layers for a citrusy surprise. It pairs wonderfully with the berries’ tartness.
- Seasonal Berries: Swap strawberries and blueberries for fresh peaches, blackberries, or cherries in summer and fall. This keeps the dessert fresh and exciting all year.
- Chocolate Lover’s Version: Use chocolate wafer cookies instead of graham crackers and sprinkle shaved dark chocolate on top of the berries for a richer flavor profile.
- Personal Favorite: I once added crushed pistachios between layers for a nutty crunch that surprised everyone in the best way.
Serving & Storage Suggestions
Serve this cake chilled, straight from the fridge, for that perfect cool, creamy texture and fresh berry burst. It’s a stunning centerpiece for any patriotic table and pairs well with light drinks like iced tea, lemonade, or a sparkling rosé.
Store leftovers covered tightly in the refrigerator for up to 3 days. The flavors deepen beautifully overnight, though the berries might release a little juice, making the cream extra luscious. Avoid freezing, as the texture of the berries and cream won’t hold up well.
Reheat? Nope — this dessert is best enjoyed cold. If you want to prep ahead, make the cake the night before and add the berries just before serving to keep them fresh and vibrant.
Nutritional Information & Benefits
Each serving of this Easy No-Bake Berry Flag Icebox Cake contains approximately 250-300 calories, depending on portion size and ingredient choices. The fresh berries provide a good dose of vitamin C, fiber, and antioxidants, making this dessert a lighter, fruit-forward treat.
Using homemade whipped cream allows you to control sugar content, and swapping in dairy-free options can make it suitable for lactose intolerance. The recipe is gluten-free if you choose gluten-free cookies. Just keep an eye on added sugars if you’re watching your intake.
From a wellness perspective, this dessert strikes a nice balance between indulgence and fresh nutrition. It’s a welcoming treat that lets you enjoy the spirit of celebration without overdoing it.
Conclusion
The Easy No-Bake Berry Flag Icebox Cake isn’t just another pretty dessert; it’s a simple, joyful way to bring a little festivity to your table without stress or hours in the kitchen. I love how it combines fresh, seasonal flavors with that creamy, dreamy texture, making it a reliable hit every time.
Feel free to make it your own — tweak the berries, try different cookies, or add your favorite twist. That’s the beauty of this no-bake cake: it welcomes creativity and adapts to your style. I hope it becomes a staple in your celebrations, just like it has in mine.
Now, I’d love to hear how you put your spin on it or what memories it sparks when you serve it. Don’t hesitate to share your thoughts and recipes!
Frequently Asked Questions
Can I use frozen berries for this icebox cake?
Frozen berries can work, but make sure to thaw and drain them well to avoid excess moisture that might make the cake soggy. Fresh berries are best for texture and appearance.
How long should I chill the cake before serving?
At least 4 hours is needed for the cookies to soften and the flavors to meld. Overnight chilling is ideal for the best texture and taste.
Can I prepare this cake in advance for a party?
Absolutely! Make the cake up to a day ahead, but add the fresh berries just before serving to keep them vibrant and fresh.
What can I substitute for graham crackers?
You can use vanilla wafers, digestive biscuits, or gluten-free cookies depending on your preference and dietary needs.
Is this recipe suitable for kids?
Definitely! Kids love the colorful layers and the sweet, creamy taste. Just ensure the berries are fresh and washed well.
Pin This Recipe!
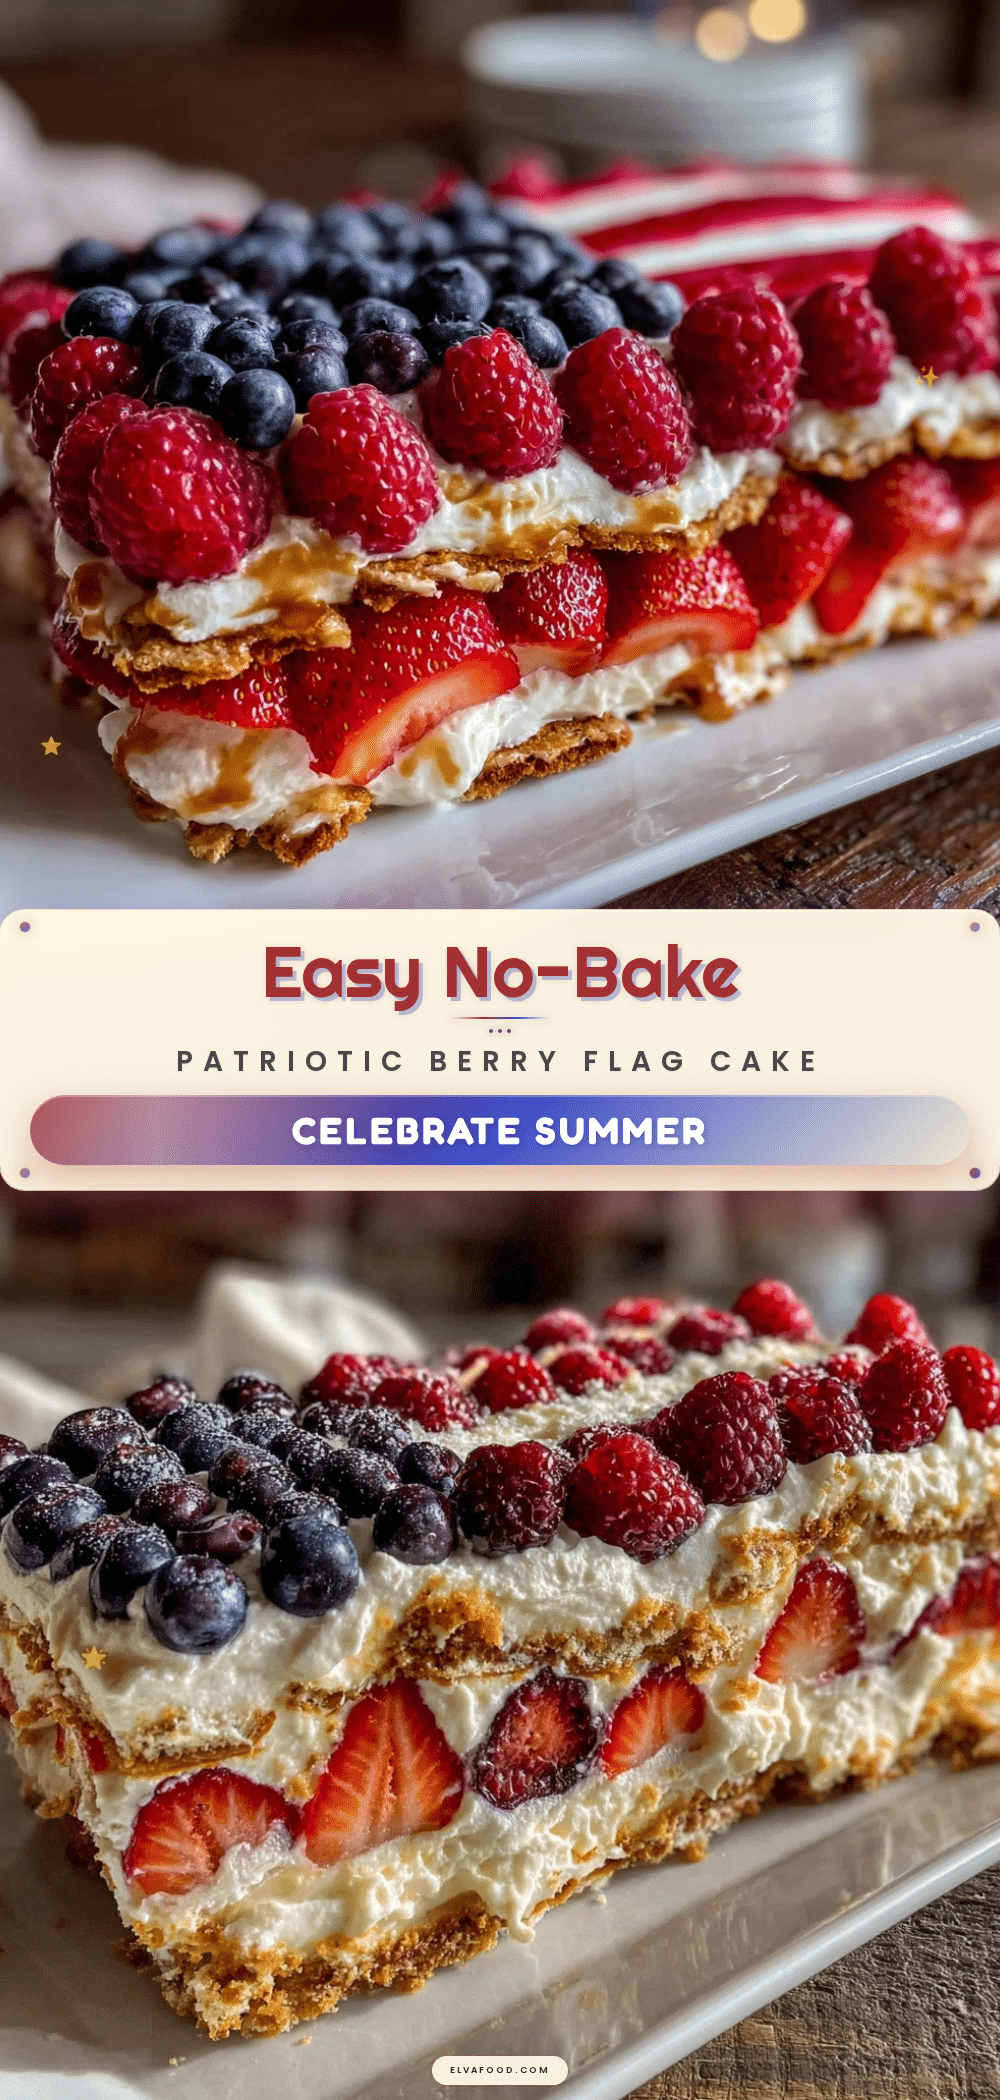
Easy No-Bake Berry Flag Icebox Cake Recipe for Perfect Patriotic Celebrations

A quick and festive no-bake dessert featuring layers of graham crackers, whipped cream, and fresh berries arranged in a patriotic flag design. Perfect for summer celebrations and easy to prepare.
- Prep Time: 15 minutes
- Cook Time: 0 minutes
- Total Time: 4 hours 15 minutes
- Yield: 9 servings
- Category: Dessert
- Cuisine: American
Ingredients
- Graham crackers or vanilla wafer cookies (about 2 sleeves, roughly 7 oz)
- Unsalted butter, melted (2 tablespoons) – optional
- Heavy whipping cream (2 cups), chilled
- Powdered sugar (1/3 cup)
- Vanilla extract (1 teaspoon)
- Cream cheese, softened (optional, 4 oz)
- Fresh strawberries (1 cup), hulled and sliced
- Fresh blueberries (1 cup)
- Fresh raspberries (1 cup) – optional
- Mint leaves – optional garnish
- Edible flowers – optional garnish
Instructions
- In a large bowl, pour the chilled heavy whipping cream. Add powdered sugar and vanilla extract. Using an electric mixer, whip on medium-high speed until soft peaks form, about 3-4 minutes. If desired, beat in softened cream cheese until smooth and combined. Set aside.
- Optionally, lightly brush the graham crackers with melted butter for a richer flavor. Line the bottom of an 8×8-inch pan with a single layer of crackers, breaking pieces as needed to fit snugly. This should take about 5 minutes.
- Spread about one-third of the whipped cream mixture evenly over the graham crackers. Smooth the surface gently with a spatula.
- Place another layer of graham crackers over the cream. Press down lightly but do not smash. Spread another one-third of the cream over this layer.
- Top with a last layer of crackers, then spread the remaining cream on top, smoothing it out carefully.
- Arrange the berries: place blueberries in the top-left corner to represent the stars area of the flag. Create alternating stripes of sliced strawberries and raspberries horizontally across the rest of the cake.
- Cover the cake tightly with plastic wrap and refrigerate for at least 4 hours, preferably overnight.
- When ready, slice the cake into squares with a sharp knife, wiping the blade clean between cuts for neat edges. Serve chilled.
Notes
Use fresh, firm berries to avoid sogginess. If cream starts to separate or looks watery, it may be overwhipped—stop mixing at soft peaks. Pat berries dry before arranging to reduce juice. For dairy-free, substitute coconut cream and gluten-free cookies. Assemble the cake the night before and add berries just before serving for best freshness.
Nutrition
- Serving Size: 1 square (approximat
- Calories: 275
- Sugar: 14
- Sodium: 150
- Fat: 18
- Saturated Fat: 11
- Carbohydrates: 22
- Fiber: 2
- Protein: 3
Keywords: no-bake cake, berry flag cake, icebox cake, patriotic dessert, summer dessert, easy dessert, berry dessert