The tray was empty before anyone even realized the bars were gone. Third batch in two weeks, and the requests for the recipe keep rolling in through texts and casual chats. It’s funny — I never intended to make something so addictive when I whipped up these easy no-bake chocolate peanut butter protein bars. Honestly, I was just looking for a quick snack that could fuel me between work and workouts without the fuss of baking or fancy ingredients.
It all started on a rushed morning when I needed protein-packed energy without sacrificing flavor. I fiddled with peanut butter, cocoa, and a few pantry staples, hoping to get something decent. Turns out, it was better than decent — these bars struck a balance between fudgy chocolate and creamy peanut butter that just hit the spot. The texture was soft but held together perfectly, which surprised me since I didn’t bake a thing.
What really surprised me was how quickly they disappeared at the office and how people kept coming back for more. I realized this recipe wasn’t just about convenience; it was about something satisfying and wholesome that you can grab on the go. These bars have become a quiet staple in my kitchen — a little secret weapon for busy days and unexpected cravings.
What makes me keep making them, though, is how simple they are and how much they remind me that healthy snacks don’t have to be complicated. No mess, no oven, just straightforward ingredients and a texture that’s comfortingly chewy with a punch of protein. It’s the kind of recipe that feels like a small win on a hectic day, and that’s why it stuck with me — and hopefully, it will with you too.
Why You’ll Love This Recipe
After testing this easy no-bake chocolate peanut butter protein bars recipe several times, I can say it truly fits the bill for a homemade snack that’s both indulgent and nourishing. Here’s why it keeps showing up in my snack rotation:
- Quick & Easy: These bars come together in under 15 minutes — no oven, no complicated steps. Perfect when time’s short.
- Simple Ingredients: No need for specialty stores — just pantry staples like peanut butter, oats, and cocoa powder.
- Perfect for Anytime Snacking: Whether it’s a midday pick-me-up, a post-workout boost, or an afternoon treat, these bars fit all occasions.
- Crowd-Pleaser: I’ve shared these with friends and family, and they always ask for the recipe. Kids, adults—everyone loves ’em.
- Unbelievably Delicious: That combo of chocolate and peanut butter is a classic for a reason. The texture is chewy yet soft, making every bite a delight.
What sets this recipe apart is the balance — I blend the protein powder smoothly into the mix, so the bars aren’t chalky or dry. The peanut butter adds richness, while the oats provide just the right chew. I also add a touch of honey for natural sweetness, avoiding any artificial sugar crash later on. Honestly, it’s a snack that feels honest and satisfying, not overly processed or complicated.
Plus, they’re no-bake, which means you can make a batch anytime without heating up the kitchen — a huge plus during warmer months or when you just want something fast. I’ve found these bars perfect for gifting too; they look nice wrapped in parchment and make a thoughtful homemade snack for friends.
What Ingredients You Will Need
This recipe uses simple, wholesome ingredients to deliver bold flavor and satisfying texture without the fuss. You’ll find most are likely already in your kitchen pantry or easy to grab on your next grocery run.
- Natural Peanut Butter — creamy and unsweetened works best for that rich, nutty flavor (I usually go for Smucker’s Natural).
- Old-Fashioned Rolled Oats — adds chew and body; quick oats can work but change the texture slightly.
- Cocoa Powder — unsweetened Dutch-process gives a deep chocolate flavor without bitterness.
- Vanilla Protein Powder — I recommend a whey or plant-based powder with mild vanilla notes to keep the flavor balanced.
- Honey or Maple Syrup — natural sweetener to bind and add subtle sweetness.
- Chia Seeds — optional but great for texture and an extra nutrition boost.
- Milk of Choice — almond, oat, or cow’s milk, just enough to bring the mixture together.
- Salt — a pinch to round out flavors and balance the sweetness.
Feel free to swap the peanut butter for almond or cashew butter for a different nutty profile. If you’re avoiding gluten, make sure to use certified gluten-free oats. For a lower sugar option, reduce the honey and add a splash of vanilla extract instead.
Equipment Needed
- Mixing Bowl: A large bowl to combine all the ingredients comfortably.
- Measuring Cups and Spoons: Precise measurements help keep the bars consistent.
- Spatula or Wooden Spoon: For mixing the thick batter evenly.
- 8×8-inch Baking Pan or Similar: To press and set the bars. Line it with parchment paper for easy removal.
- Refrigerator: To chill and firm up the bars — no baking required but patience is key!
If you don’t have an 8×8 pan, any shallow container will work, as long as you can press the mixture evenly. I’ve used glass and metal pans with equal success. For quick cleanup, parchment paper is your best friend here — just lift the whole slab out once chilled.
Preparation Method
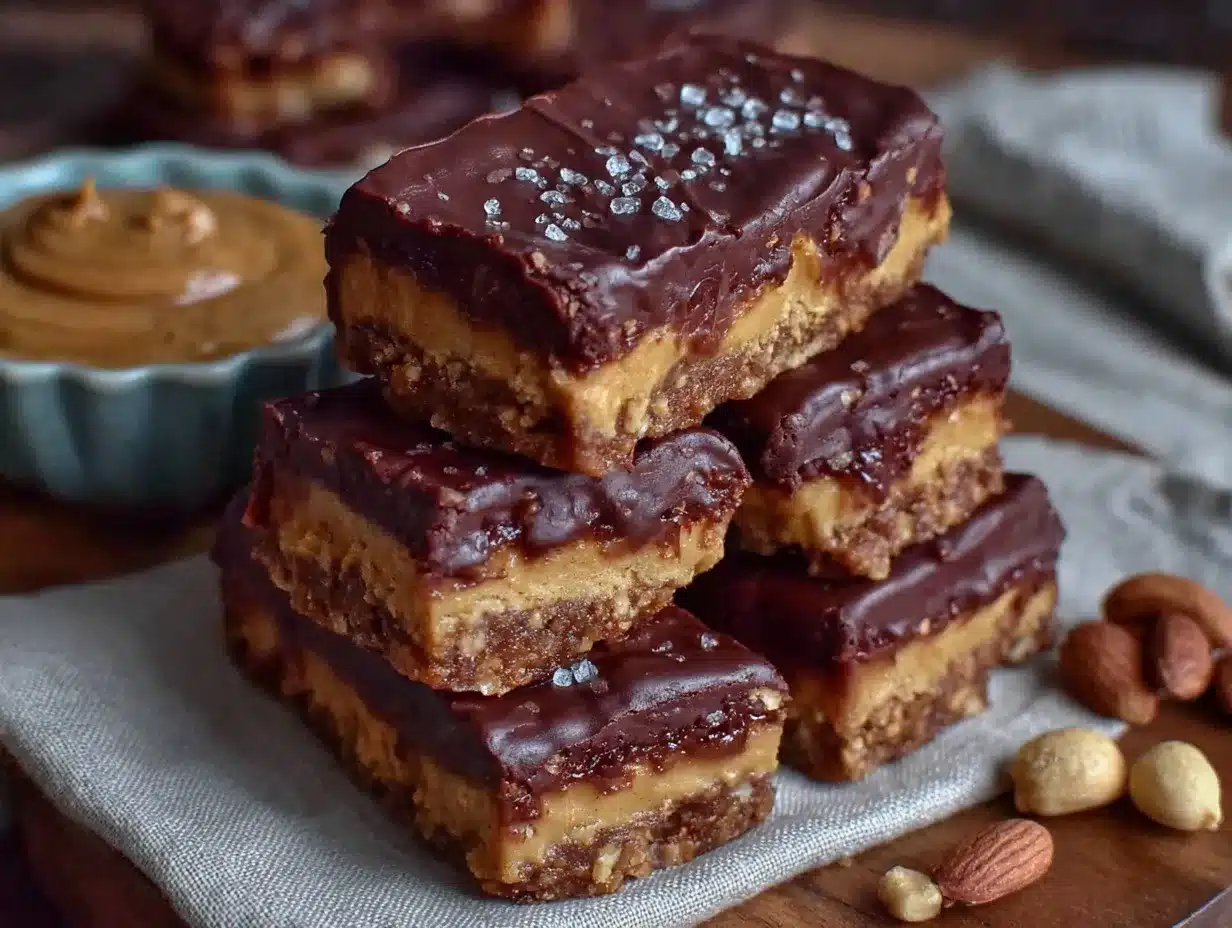
- Combine Dry Ingredients: In your mixing bowl, add 1 1/2 cups (135g) rolled oats, 1/3 cup (30g) unsweetened cocoa powder, 1/4 tsp salt, and 1/2 cup (45g) vanilla protein powder. Stir until evenly mixed. This step ensures the cocoa and protein distribute well, avoiding clumps.
- Add Peanut Butter and Sweetener: Add 1 cup (250g) natural peanut butter and 1/3 cup (80ml) honey or maple syrup to the dry mix. Use a spatula to start combining — the mixture will be thick but keep going until the peanut butter coats the oats.
- Incorporate Milk Slowly: Pour in 1/4 cup (60ml) milk of your choice gradually, stirring as you go. The mixture should come together into a sticky batter but not too runny. You might need a tablespoon more or less depending on your peanut butter’s consistency.
- Add Optional Chia Seeds: Sprinkle in 1 tablespoon chia seeds if using. They add a nice texture and extra fiber without changing flavor.
- Press Into Pan: Line your 8×8-inch pan with parchment paper, leaving some overhang for easy lifting. Transfer the mixture and press it firmly into an even layer using the back of a spatula or your hands (clean hands work best!). Firm pressure ensures the bars hold together once chilled.
- Chill Until Set: Place the pan in the refrigerator for at least 2 hours, or until firm to the touch. If you’re in a hurry, the freezer works too — about 45 minutes should do it.
- Slice and Serve: Once set, lift the slab out with the parchment paper and cut into 10-12 bars. Store leftovers in an airtight container in the fridge.
Keep an eye on the texture as you mix — if it feels crumbly, a splash more milk usually helps. If too wet, add a little more oats. The smell of cocoa and peanut butter mingling as you press the mixture is a good sign you’re on track!
Cooking Tips & Techniques
Working with no-bake recipes like these chocolate peanut butter protein bars has its quirks. Over the years, I’ve learned a few tricks that make all the difference:
- Choose the Right Peanut Butter: Natural peanut butter with oil separation works best because it’s less processed and blends smoothly. Avoid overly dry or overly runny brands for best texture.
- Mix Thoroughly but Gently: You want everything combined but not beaten into a paste. A gentle fold keeps the oats intact, giving the bars that nice chew.
- Press Firmly: Don’t skimp on pressing the mixture into the pan. A tightly packed slab will hold together better when cut.
- Chill Long Enough: Patience here pays off. Skipping the full chill time usually results in bars that crumble.
- Protein Powder Choice Matters: Some powders add graininess or an aftertaste. I recommend trying one with a mild vanilla flavor for a smooth, balanced bar.
- Adjust Sweetness to Taste: Depending on your peanut butter and protein powder, you might want a touch more or less honey. Taste the mixture before chilling (it won’t be fully set yet) and tweak.
One mistake I made early on was rushing the chilling time — the bars fell apart and made a mess in my lunchbox. Since then, I always set a timer, and it’s saved me from a soggy snack disaster more than once.
Variations & Adaptations
These easy no-bake chocolate peanut butter protein bars are forgiving and versatile. Here are a few ways to customize them:
- Vegan Version: Use maple syrup or agave instead of honey, and a plant-based protein powder. Almond or cashew butter also works well.
- Nut-Free Option: Swap peanut butter for sunflower seed butter or tahini. Use a seed-based protein powder if needed.
- Add Crunch: Fold in chopped nuts, seeds, or even mini dark chocolate chips for texture variation.
- Flavor Boost: Stir in a teaspoon of instant coffee or espresso powder for a mocha twist.
- Seasonal Twist: In warmer months, add freeze-dried raspberries or swap cocoa for raw cacao nibs for a fresh flavor.
I once added a handful of shredded coconut and a dash of cinnamon — it was surprisingly delicious and made the bars feel a little more exotic. For an easy switch-up, try making these bars with almond butter and matcha powder for a green tea version that’s a hit at brunches.
Serving & Storage Suggestions
These bars are best served chilled or at room temperature. I like to keep mine in the fridge and grab one straight for a quick protein boost. They travel well too, making them perfect for packed lunches or post-workout snacks.
Pair them with a hot cup of coffee or a glass of cold milk for a satisfying snack break. If you want to turn these bars into a more complete mini-meal, try serving alongside fresh fruit or a dollop of Greek yogurt.
Store leftover bars in an airtight container in the refrigerator for up to a week. For longer storage, wrap individually and freeze for up to 3 months. Thaw in the fridge overnight before enjoying.
Flavors deepen a bit after a day or two in the fridge, so if you can resist, letting them sit helps meld the peanut butter and cocoa perfectly. Just don’t wait too long — they’re hard to keep on the shelf!
Nutritional Information & Benefits
Each bar provides a good balance of protein, healthy fats, and fiber — perfect for steady energy without sugar spikes. Here’s a rough estimate per bar (assuming 12 bars):
| Calories | Protein | Fat | Carbs | Fiber | Sugar |
|---|---|---|---|---|---|
| 180 kcal | 10g | 9g | 15g | 3g | 6g |
Key benefits come from natural peanut butter’s healthy fats and protein powder’s muscle-supporting amino acids. Oats contribute fiber and complex carbs, while cocoa powder adds antioxidants. This recipe is gluten-free if you use certified oats and dairy-free if you choose a plant-based milk and protein powder.
From a wellness perspective, these bars give you a nutrient-dense option that feels indulgent but supports your active lifestyle. I often reach for them after a workout or as a mid-afternoon pick-me-up without the guilt.
Conclusion
All in all, these easy no-bake chocolate peanut butter protein bars have become my go-to for homemade snacks that hit the right notes — quick to make, satisfying, and nourishing. I love how customizable they are and how they bring a little boost of energy without fuss or fancy ingredients.
Feel free to make this recipe your own by switching up nut butters, adding mix-ins, or adjusting sweetness levels. It’s a simple base that welcomes creativity and adapts to what you have on hand.
For me, they’re a quiet success — a snack that gets shared, enjoyed, and remembered without any fanfare. Give them a try and see what kind of favorites they become in your kitchen.
FAQs
Can I use other nut butters instead of peanut butter?
Yes, almond butter, cashew butter, or sunflower seed butter all work well. Just make sure they’re creamy for easier mixing.
Do I have to use protein powder?
Protein powder boosts the protein content, but you can omit it or substitute with ground nuts or seeds if preferred.
How long do these bars last?
Stored in the fridge, they keep well for up to a week. You can freeze them for up to 3 months.
Can I make these bars without sweetener?
You can reduce or skip the honey/maple syrup, but the bars may be less sticky and less sweet.
What if my bars are crumbly after chilling?
Try adding a bit more peanut butter or milk next time, and make sure to press the mixture firmly into the pan before chilling.
If you want a hearty, comforting meal after enjoying these bars, you might enjoy the Irish lamb stew with Guinness or, for something lighter, the fresh spring vegetable frittata is a wonderful choice to balance your day.
Pin This Recipe!
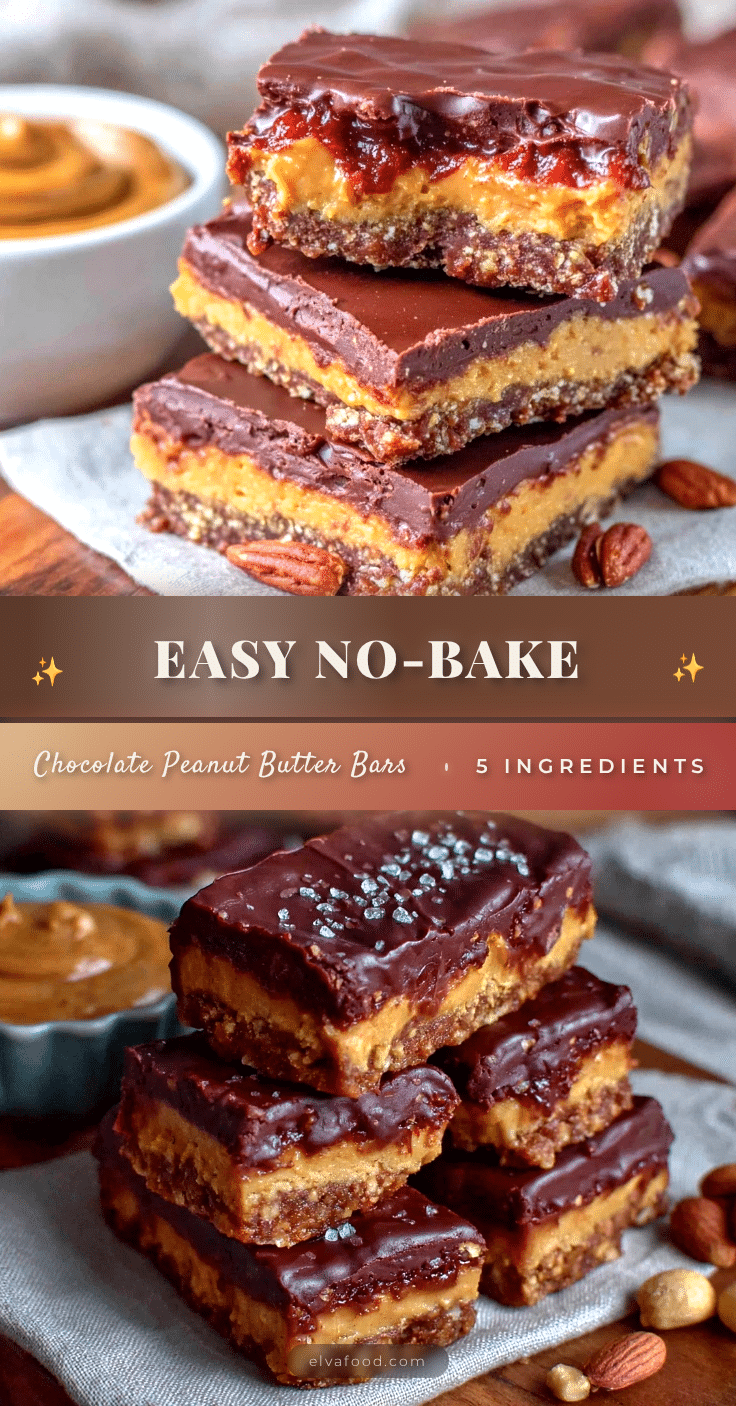
Easy No-Bake Chocolate Peanut Butter Protein Bars
These easy no-bake chocolate peanut butter protein bars are a quick, protein-packed snack with a perfect balance of fudgy chocolate and creamy peanut butter. They require no oven and come together in under 15 minutes, making them ideal for busy days and on-the-go energy.
- Prep Time: 10 minutes
- Cook Time: 2 hours (chilling time)
- Total Time: 2 hours 10 minutes
- Yield: 10-12 bars 1x
- Category: Snack
- Cuisine: American
Ingredients
- 1 1/2 cups (135g) old-fashioned rolled oats
- 1/3 cup (30g) unsweetened Dutch-process cocoa powder
- 1/4 teaspoon salt
- 1/2 cup (45g) vanilla protein powder (whey or plant-based)
- 1 cup (250g) natural peanut butter (creamy, unsweetened)
- 1/3 cup (80ml) honey or maple syrup
- 1/4 cup (60ml) milk of choice (almond, oat, or cow’s milk)
- 1 tablespoon chia seeds (optional)
Instructions
- In a large mixing bowl, combine rolled oats, cocoa powder, salt, and vanilla protein powder. Stir until evenly mixed to avoid clumps.
- Add natural peanut butter and honey or maple syrup to the dry mix. Use a spatula to combine thoroughly until the peanut butter coats the oats.
- Gradually pour in milk of choice while stirring to form a sticky batter. Adjust milk quantity as needed for consistency.
- If using, sprinkle in chia seeds and mix gently.
- Line an 8×8-inch baking pan with parchment paper, leaving overhang for easy removal.
- Transfer the mixture to the pan and press firmly into an even layer using the back of a spatula or clean hands.
- Refrigerate for at least 2 hours until firm. Alternatively, freeze for about 45 minutes to speed up setting.
- Once set, lift the slab out using the parchment paper and cut into 10-12 bars.
- Store leftovers in an airtight container in the refrigerator for up to one week or freeze for up to three months.
Notes
Use natural peanut butter with oil separation for best texture. Adjust milk quantity to achieve a sticky but not runny batter. Press mixture firmly into the pan to prevent crumbling. Chill fully to ensure bars hold together. Protein powder choice affects texture and flavor; mild vanilla flavor recommended. Sweetness can be adjusted by varying honey or maple syrup. Optional chia seeds add fiber and texture. Variations include swapping nut butters, adding mix-ins like nuts or chocolate chips, or flavor boosts like espresso powder.
Nutrition
- Serving Size: 1 bar (if cut into 1
- Calories: 180
- Sugar: 6
- Fat: 9
- Carbohydrates: 15
- Fiber: 3
- Protein: 10
Keywords: no-bake, protein bars, chocolate peanut butter, healthy snacks, quick snack, homemade protein bars, easy recipe, no oven, peanut butter bars


