Three granola bars smashed at the bottom of a lunchbox, crumbs everywhere, and a kid who is hangry before noon. That was my reality for way too long. Honestly, I had all but given up on packing anything homemade for snacks because store-bought bars are expensive, and the ones I tried to bake always crumbled into a sad, buttery mess. Then came a Tuesday afternoon—rainy, chaotic, and I had zero energy to preheat the oven. I stared at a jar of peanut butter, a bag of oats, and a half-empty bottle of honey, and I just started mixing. No recipe. No plan. Just a desperate hope that something sticky and sweet would hold together. And you know what? It worked. These easy no-bake peanut butter granola lunchbox bars were born from that very moment of kitchen chaos.
The first bite was a revelation. They were chewy, not hard. Sweet, but not sugary-sweet. And they actually stayed in one piece. I packed one in my son’s lunchbox the next morning, and when he came home, the bar was still intact. He asked for another one. That never happens. So I made a second batch, this time paying attention to the measurements, and realized I had stumbled onto something truly special. These bars are the kind of thing you make when you want to feel like a super-parent but don’t have the energy to actually be one.
There is no baking, no fussing, and no fancy equipment required. You just stir, press, and chill. That’s it. And the best part? They taste like a peanut butter cookie in bar form, but with way more staying power. My family now calls them the “lunchbox heroes,” and I honestly think they’re the reason my kids actually eat their packed lunches instead of trading them for chips. Trust me—if you’ve been burned by crumbly homemade bars before, these will restore your faith.
Why You’ll Love This Recipe
Let me tell you why these easy no-bake peanut butter granola lunchbox bars have become a staple in my kitchen. First off, they are genuinely foolproof. I have tested this recipe more times than I can count—with different peanut butters, different honeys, even different oats—and they always turn out perfectly. That’s the kind of reliability you need when you’re making snacks for a busy week.
- Quick & Easy: These come together in about 15 minutes of active time. No oven, no baking sheets, no waiting for the oven to preheat. Just mix, press, and let the fridge do the work.
- Simple Ingredients: You probably have everything already. Oats, peanut butter, honey, a little vanilla, and maybe some chocolate chips if you’re feeling fancy. No weird ingredients you have to hunt down at a specialty store.
- Perfect for Lunchboxes: These bars are sturdy enough to survive a backpack toss but soft enough that kids actually enjoy eating them. No more smashed snacks.
- Crowd-Pleaser: I’ve served these at playdates, after-school snacks, and even as a quick breakfast on the go. Adults and kids alike go back for seconds.
- Unbelievably Delicious: The texture is what gets everyone. It’s chewy without being sticky, firm without being hard, and the peanut butter flavor is rich and satisfying without being overwhelming.
What makes these bars different from other no-bake recipes? It’s the ratio. I spent weeks tweaking the amount of honey versus peanut butter until I found the sweet spot where the bars hold together without being greasy or overly sweet. The secret is letting them chill for at least two hours—patience pays off here. And honestly, they taste even better the next day, which is rare for no-bake treats.
These bars are comfort food reimagined. They are healthier than store-bought granola bars, faster than baking, and they give you that warm, fuzzy feeling of feeding your family something wholesome. Whether you’re packing them for school lunches, grabbing one on your way out the door, or sneaking one after the kids go to bed (no judgment here), these bars are pure satisfaction.
What Ingredients You Will Need
This recipe uses simple, wholesome ingredients that you probably already have in your pantry. The beauty of these easy no-bake peanut butter granola lunchbox bars is that they don’t require any special shopping trips. Here is everything you need, along with a few notes from my own trial and error.
- Rolled Oats (2 cups / 180g): Use old-fashioned rolled oats, not quick oats. The texture is key here—rolled oats give the bars that satisfying chewiness. Quick oats tend to turn into mush. I prefer Quaker Oats for consistency, but any brand works fine.
- Creamy Peanut Butter (1 cup / 250g): Natural peanut butter works, but you need to stir it really well and make sure it’s not too runny. I actually prefer using standard processed peanut butter like Skippy or Jif for these bars because they hold together better. If you use natural, expect a slightly crumblier bar.
- Honey (½ cup / 170g): Honey is the glue that holds everything together. It adds sweetness and helps the bars set properly. If you want a less sweet version, you can reduce it to ⅓ cup, but the bars will be a bit more fragile.
- Vanilla Extract (1 teaspoon): A little vanilla rounds out the flavors and makes the peanut butter taste even richer. Don’t skip it—it makes a difference.
- Salt (¼ teaspoon): Salt balances the sweetness and enhances the peanut butter flavor. If you use salted peanut butter, you can skip this, but I still add a tiny pinch.
- Mini Chocolate Chips (½ cup / 90g, optional): These are entirely optional, but let’s be real—chocolate makes everything better. I use mini chips because they distribute more evenly. Dark chocolate chips work great if you want less sweetness.
- Mix-Ins (optional): Feel free to add dried cranberries, chopped nuts, shredded coconut, or even a tablespoon of chia seeds. I’ve tried all of these, and they all work beautifully.
One ingredient tip I learned the hard way: do not use old oats. If your oats have been sitting in the pantry for a year, they will taste stale. Fresh oats make a huge difference in the final flavor. Also, if you are using natural peanut butter, warm it up slightly before mixing so it incorporates more easily with the honey.
Equipment Needed
You don’t need much to make these easy no-bake peanut butter granola lunchbox bars. That is honestly one of the best things about this recipe. Here is what you will need:
- Mixing Bowl: A large bowl for combining all the ingredients. Any bowl will do, but a wider one makes mixing easier.
- Spatula or Wooden Spoon: For stirring the sticky mixture. A silicone spatula works best because it scrapes the sides clean.
- 8×8-inch Baking Pan: This is the perfect size for these bars. If you use a 9×9-inch pan, the bars will be thinner and might not hold together as well. Line it with parchment paper for easy removal.
- Parchment Paper: Absolutely essential. Without it, the bars will stick to the pan, and you will have a messy situation. Leave some overhang for easy lifting.
- Measuring Cups and Spoons: Accurate measurements matter in no-bake recipes. Too much honey and the bars are sticky; too little and they crumble.
- Refrigerator: The most important piece of equipment. The bars need at least 2 hours to set, but overnight is even better.
If you don’t have an 8×8 pan, you can use a loaf pan or even a small casserole dish. Just adjust the thickness and chilling time accordingly. I once used a pie dish in a pinch, and it worked fine—the bars were just round and a little thicker.
Preparation Method
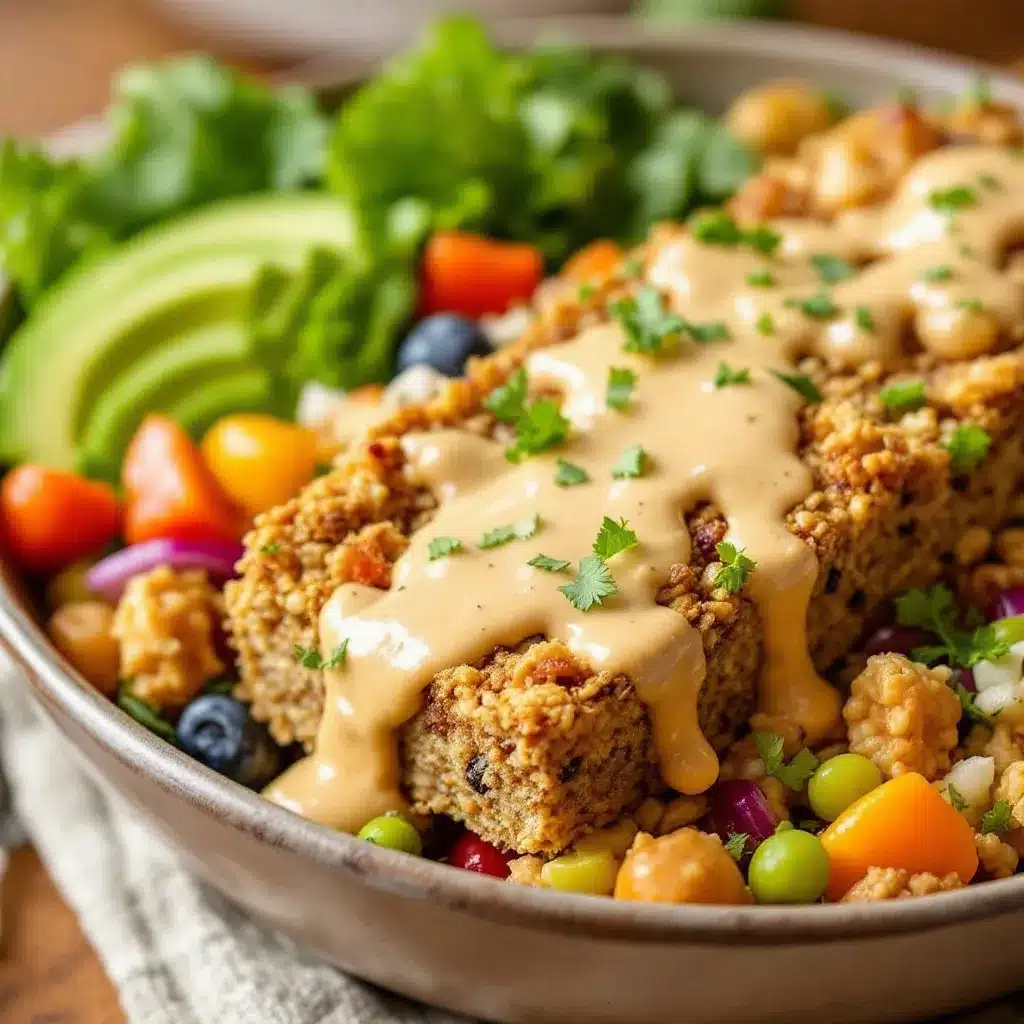
Now let’s get to the fun part. Making these easy no-bake peanut butter granola lunchbox bars is so simple, you will wonder why you ever bought store-bought bars. Follow these steps carefully, and you will have perfect bars every time.
- Line Your Pan: Take your 8×8-inch baking pan and line it with parchment paper. Make sure the paper hangs over the edges on two sides—this creates handles for lifting the bars out later. Press the paper into the corners so the bars have clean edges.
- Combine Wet Ingredients: In a large microwave-safe bowl, add 1 cup of peanut butter and ½ cup of honey. Microwave for 30 seconds to soften them. Stir well until the mixture is smooth and fully combined. If you don’t have a microwave, you can warm them in a small saucepan over low heat, stirring constantly. Do not boil the mixture—just warm it enough to make it stirrable.
- Add Vanilla and Salt: Stir in 1 teaspoon of vanilla extract and ¼ teaspoon of salt. The mixture will become slightly thinner and smell amazing at this point. Give it a taste—it should be sweet, salty, and deeply peanut-buttery.
- Mix in the Oats: Add 2 cups of rolled oats to the wet mixture. Stir with a spatula until every oat is coated. This takes a little elbow grease because the mixture is thick. Make sure there are no dry patches. The mixture should look uniformly sticky and clumpy.
- Fold in Chocolate Chips (Optional): If you are using chocolate chips, fold them in now. Reserve a handful to press on top for a prettier presentation. Fold gently so the chips don’t melt from the warmth of the mixture.
- Press into the Pan: Transfer the mixture to your prepared pan. Here is the trick: use a piece of parchment paper or wax paper on top of the mixture to press it down firmly. This prevents your hands from getting sticky and ensures an even, compact layer. Press hard—really hard. The more compact the mixture, the better the bars will hold together. Pay special attention to the corners and edges.
- Chill: Place the pan in the refrigerator for at least 2 hours. I know it’s tempting to cut them sooner, but trust me—the wait is worth it. For best results, chill overnight. The bars need time for the honey and peanut butter to firm up and bind the oats together.
- Cut and Serve: Once chilled, lift the bars out using the parchment paper overhang. Place on a cutting board and use a sharp knife to cut into 12 even bars. If the knife sticks, wipe it clean between cuts. Store in an airtight container in the fridge.
A quick sensory cue: when you press the mixture into the pan, it should feel dense and slightly tacky, not wet or greasy. If it feels too wet, add a tablespoon more oats. If it feels too dry and crumbly, add a teaspoon of warm honey.
Cooking Tips & Techniques
Over the many batches I have made, I have learned a few tricks that make these easy no-bake peanut butter granola lunchbox bars even better. Let me share them so you don’t make the same mistakes I did.
Don’t Overheat the Peanut Butter and Honey. The first time I made these, I microwaved the mixture for too long, and it became thin and runny. The bars never set properly and were a sticky mess. Just 30 seconds is enough. You want it warm enough to stir easily, not hot.
Press, Press, Press. This is the most important step. If you don’t press the mixture firmly enough into the pan, the bars will fall apart when you cut them. I use the bottom of a measuring cup or a glass to really compact it. You should hear a slight squishing sound—that’s how you know it’s packed tight enough.
Use Room Temperature Ingredients. If your honey is crystallized or your peanut butter is cold from the fridge, the mixture won’t combine evenly. Let everything come to room temperature before you start. It makes a noticeable difference in texture.
Chill Time is Non-Negotiable. I once cut into the bars after only an hour because I was impatient. They were soft and crumbly. Two hours is the minimum, but overnight is truly best. The bars firm up and the flavors meld together beautifully.
Wipe Your Knife Between Cuts. This keeps the edges clean. A dirty knife drags sticky bits across the bars and makes them look messy. A clean cut also helps the bars stay intact.
One of my biggest failures? I used crunchy peanut butter once because that’s all I had. The bars were okay, but the texture was off—the peanut pieces created weak spots where the bars broke apart. Stick with creamy for best results.
Variations & Adaptations
One of the best things about these easy no-bake peanut butter granola lunchbox bars is how customizable they are. You can change them up based on what you have on hand or what your family prefers. Here are some variations I have tried and loved.
- Chocolate Peanut Butter Bars: Swap ¼ cup of the peanut butter for Nutella or a chocolate-hazelnut spread. The result is a richer, more decadent bar that tastes like a candy bar. My kids go crazy for this version.
- Trail Mix Bars: Add ¼ cup of dried cranberries, ¼ cup of chopped almonds, and 2 tablespoons of sunflower seeds. This turns the bars into a hearty trail mix snack that is perfect for hiking or road trips.
- Vegan Version: Use maple syrup or agave nectar instead of honey, and make sure your chocolate chips are dairy-free. The texture will be slightly different—maple syrup makes the bars a bit softer—but they are still delicious.
- Gluten-Free Option: Simply use certified gluten-free rolled oats. Everything else in the recipe is naturally gluten-free. I have made this for friends with celiac disease, and they loved them.
- Lower Sugar Bars: Reduce the honey to ⅓ cup and add ¼ cup of unsweetened applesauce. The bars will be less sweet and slightly softer, but they still hold together well. This is my go-to version for breakfast.
I once made a batch with crushed pretzels mixed in for a salty-sweet twist. It was amazing. The pretzels added crunch and a salty kick that balanced the sweetness perfectly. Just crush them into small pieces so they don’t create large gaps in the bars.
Serving & Storage Suggestions
These easy no-bake peanut butter granola lunchbox bars are incredibly versatile when it comes to serving. Here is how I like to enjoy them and how to keep them fresh.
Serving: I serve these bars straight from the fridge. They are firmer when cold, which makes them perfect for lunchboxes. If you prefer a softer texture, let them sit at room temperature for 5 minutes before eating. They are great on their own, but I also love crumbling one over a bowl of yogurt or a smoothie bowl for extra crunch.
Complementary Pairings: These bars pair beautifully with a glass of cold milk or a warm cup of coffee. For a more filling snack, serve them with fresh apple slices or a banana. They also work well alongside a bowl of fresh spring vegetable frittata for a balanced brunch spread.
Storage: Place the bars in an airtight container, separating layers with parchment paper if stacking. They will keep in the refrigerator for up to 2 weeks. I have never had a batch last that long because they get eaten too quickly, but theoretically, they hold up well.
Freezing: These bars freeze beautifully. Wrap each bar individually in plastic wrap, then place them in a freezer-safe bag or container. They will keep for up to 3 months. To thaw, simply transfer a bar to the fridge overnight or let it sit at room temperature for 15 minutes. This is perfect for making a double batch and having snacks ready for weeks.
Reheating: Honestly, I don’t recommend reheating these bars. They are meant to be eaten cold or at room temperature. If you want a warm treat, try crumbling one over a bowl of oatmeal or stirring pieces into a warm creamy horchata for a fun dessert twist.
A note on flavor development: these bars actually taste better the next day. The flavors meld together overnight, and the texture becomes perfectly chewy. So don’t be disappointed if they don’t taste perfect right after chilling—give them time.
Nutritional Information & Benefits
These easy no-bake peanut butter granola lunchbox bars are not just delicious—they also offer some solid nutritional benefits. Here is a rough estimate per bar (based on 12 bars with chocolate chips):
| Nutrient | Amount Per Bar |
|---|---|
| Calories | 245 |
| Protein | 8g |
| Carbohydrates | 28g |
| Fiber | 3g |
| Sugar | 14g |
| Fat | 12g |
| Saturated Fat | 3g |
| Sodium | 150mg |
The peanut butter provides a good dose of protein and healthy fats, which help keep you full and satisfied. Oats are a fantastic source of soluble fiber, which supports heart health and digestion. Honey offers natural sweetness along with antioxidants and antibacterial properties. If you use dark chocolate chips, you also get a boost of antioxidants.
These bars are naturally vegetarian and can easily be made vegan or gluten-free with simple substitutions. They are also nut-free if you swap the peanut butter for sunflower seed butter (though the texture will be slightly different). Keep in mind that they do contain common allergens: peanuts, oats (which may contain gluten depending on processing), and dairy if you use milk chocolate chips.
From a wellness perspective, these bars are a much better option than most store-bought granola bars, which are often loaded with preservatives, artificial flavors, and excessive sugar. I feel good about packing these in my kids’ lunchboxes because I know exactly what is in them. And honestly, they are so satisfying that one bar is usually enough to curb a snack craving without overdoing it.
Conclusion
These easy no-bake peanut butter granola lunchbox bars have become a non-negotiable staple in my kitchen. They are the kind of recipe that makes you feel like you have your life together, even on the most chaotic mornings. No oven, no mess, no stress—just a simple, delicious snack that everyone loves.
I encourage you to make these your own. Add your favorite mix-ins, adjust the sweetness to your taste, or double the batch and stock your freezer. The beauty of this recipe is its flexibility. Whether you are packing school lunches, fueling an afternoon hike, or just need a quick breakfast on the go, these bars deliver every single time.
Honestly, the reason I love this recipe so much is that it reminds me that good food doesn’t have to be complicated. Sometimes the best things come from a moment of desperation and a handful of pantry staples. These bars are proof that you can create something truly wonderful with just a little bit of effort and a whole lot of peanut butter.
I would love to hear how these turn out for you. Did you add any fun mix-ins? Did your kids approve? Drop a comment below and let me know. And if you loved these bars, share this recipe with a friend who needs a little lunchbox magic in their life. Happy snacking!
Frequently Asked Questions
Can I use quick oats instead of rolled oats?
I don’t recommend it. Quick oats are much finer and absorb moisture differently, which makes the bars turn out mushy and dense. Rolled oats give the bars their signature chewy texture and help them hold their shape.
How long do these bars last at room temperature?
These bars are best stored in the refrigerator. They can sit at room temperature for up to 2 hours, but after that, they start to soften and may lose their shape. If you are packing them in a lunchbox, add a small ice pack to keep them cool.
Can I use almond butter or sun butter instead of peanut butter?
Yes, but the texture and flavor will change. Almond butter is thinner and may result in softer bars. Sun butter works well but can turn green when combined with honey due to a natural reaction—don’t worry, it’s safe to eat. Just be aware of the color change.
Why are my bars falling apart?
This usually happens for one of three reasons: you didn’t press the mixture firmly enough into the pan, you didn’t chill them long enough, or the ratio of wet to dry ingredients was off. Make sure you pack the mixture down very firmly and chill for at least 2 hours.
Can I make these bars nut-free?
Absolutely. Swap the peanut butter for sunflower seed butter or soy nut butter. Just note that sunflower seed butter can make the bars slightly softer, so you may need to add an extra tablespoon of oats to compensate. Also, use certified nut-free oats if needed.
Pin This Recipe!
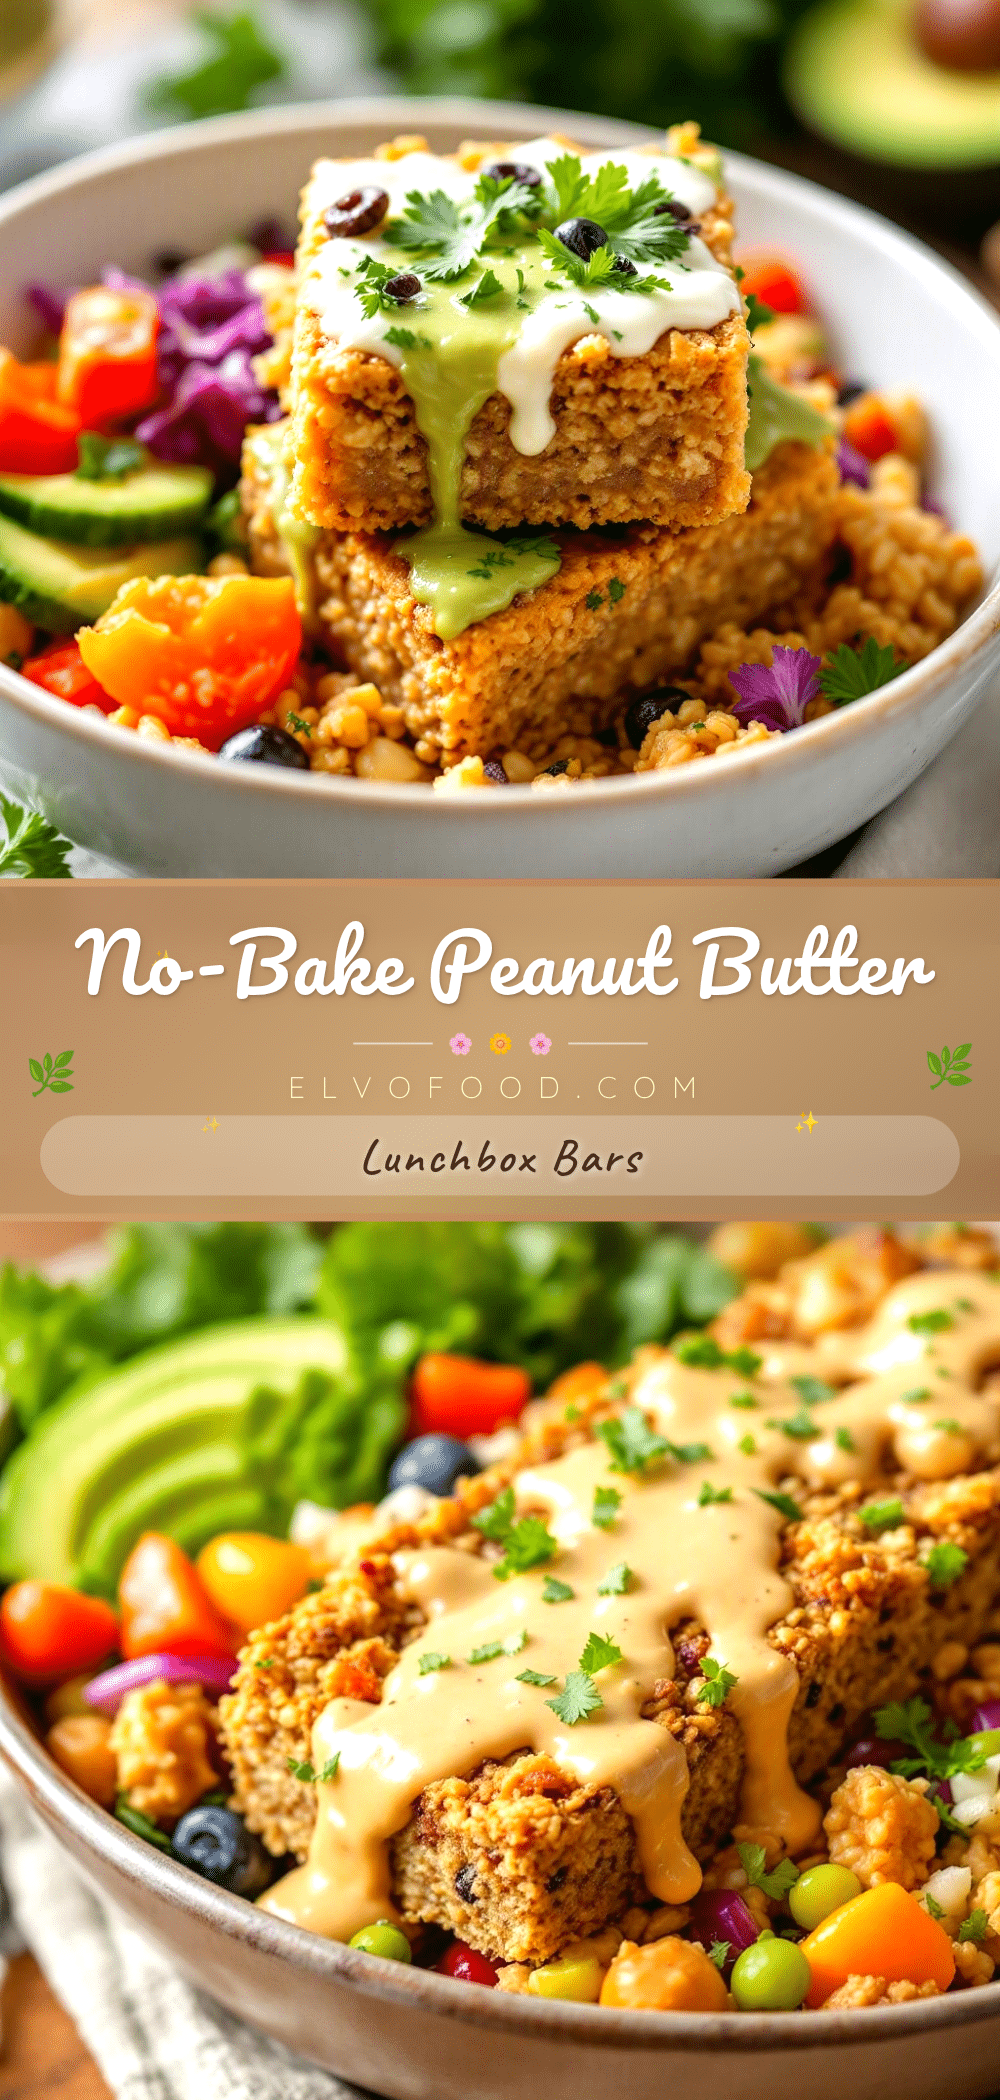
Easy No-Bake Peanut Butter Granola Bars (Perfect Lunchbox Treat)
These easy no-bake peanut butter granola bars are chewy, sweet, and sturdy enough to survive a lunchbox. Made with simple pantry ingredients, they come together in 15 minutes and are perfect for school snacks, breakfast on the go, or a quick treat.
- Prep Time: 15 minutes
- Cook Time: 0 minutes
- Total Time: 2 hours 15 minutes (includes chilling)
- Yield: 12 bars 1x
- Category: Snack
- Cuisine: American
Ingredients
- 2 cups (180g) rolled oats
- 1 cup (250g) creamy peanut butter
- ½ cup (170g) honey
- 1 teaspoon vanilla extract
- ¼ teaspoon salt
- ½ cup (90g) mini chocolate chips (optional)
Instructions
- Line an 8×8-inch baking pan with parchment paper, leaving overhang on two sides for easy removal.
- In a large microwave-safe bowl, combine 1 cup peanut butter and ½ cup honey. Microwave for 30 seconds until softened, then stir until smooth.
- Stir in 1 teaspoon vanilla extract and ¼ teaspoon salt.
- Add 2 cups rolled oats and stir until all oats are evenly coated.
- If using, fold in ½ cup mini chocolate chips, reserving a handful to press on top.
- Transfer mixture to the prepared pan. Place a piece of parchment paper on top and press down firmly and evenly, especially in the corners.
- Refrigerate for at least 2 hours, or overnight for best results.
- Lift bars out using parchment overhang, place on a cutting board, and cut into 12 even bars with a sharp knife. Wipe knife clean between cuts.
Notes
For best results, use creamy peanut butter (not natural) and old-fashioned rolled oats. Press mixture firmly into pan to prevent crumbling. Chill at least 2 hours; overnight is ideal. Bars can be stored in the refrigerator for up to 2 weeks or frozen for up to 3 months.
Nutrition
- Serving Size: 1 bar
- Calories: 245
- Sugar: 14
- Sodium: 150
- Fat: 12
- Saturated Fat: 3
- Carbohydrates: 28
- Fiber: 3
- Protein: 8
Keywords: no-bake granola bars, peanut butter bars, lunchbox snacks, easy granola bars, healthy snacks


