“You really don’t need an ice cream maker for this one,” my friend Ellie insisted over the phone, sounding unusually excited for a weeknight. I was skeptical, honestly, because my past no-churn attempts often ended in icy disappointment. But Ellie’s salted caramel ice cream had been the highlight of her weekend barbecue, with neighbors practically begging for the recipe. So, I gave in. The moment I tasted that creamy, sweet-salty combo melting on my tongue, I understood the fuss. It’s the kind of treat that sneaks up on you—rich but not heavy, sweet but perfectly balanced with a hint of salt that keeps you reaching for just one more spoonful.
The best part? It came together in less than 10 minutes, with no fancy equipment, just a few pantry staples and a bit of patience in the freezer. This easy no-churn salted caramel ice cream recipe quickly became my go-to for summer cravings and those unexpected guests who drop by just when the fridge looks bare. Honestly, it felt like a little secret weapon in my kitchen arsenal, something that made me look like I had my dessert game totally figured out without breaking a sweat.
I’ve made this ice cream several times since that first try, tweaking it here and there to get it just right. The salted caramel swirl is never too sweet or overpowering, and the texture stays creamy and smooth, no icy bits in sight. It’s funny how something so simple can bring a quiet kind of joy—just a scoop (or two) on a warm evening, maybe paired with a flaky cookie or a handful of toasted nuts. That’s why this recipe stuck around. It’s indulgent without fuss, and honestly, who doesn’t want that on a hot day?
Why You’ll Love This Recipe
Having tested this easy no-churn salted caramel ice cream recipe multiple times, I can honestly say it’s a keeper. Whether you’re a kitchen newbie or a seasoned cook, you’ll find this recipe approachable and rewarding. Here’s why it quickly becomes a favorite:
- Quick & Easy: Ready in under 10 minutes of prep, perfect for those last-minute summer treat cravings or casual get-togethers.
- Simple Ingredients: No need for obscure items—just staples like heavy cream, sweetened condensed milk, and store-bought caramel sauce.
- Perfect for Summer: Ice cream that doesn’t require a machine means less mess and more time to enjoy the sunshine or an evening with friends.
- Crowd-Pleaser: The salted caramel twist is universally loved—kids and adults alike can’t get enough of its creamy, sweet-salty goodness.
- Unbelievably Delicious: The no-churn method locks in a luscious texture that rivals traditional churned ice cream. The caramel ripple adds that next-level flavor punch.
What sets this recipe apart from the rest? It’s the balance. The salted caramel isn’t just swirled in randomly; it’s thoughtfully folded to create pockets of flavor in every bite. Plus, the use of sweetened condensed milk gives this ice cream an ultra-smooth mouthfeel, a trick I picked up after experimenting with different sweeteners and thickeners. This isn’t just another no-churn ice cream recipe—it’s the best version I’ve found that combines ease, flavor, and texture in one scoop.
And honestly, this recipe feels like a little indulgence that’s easy to justify. It’s the kind of treat that brings a subtle comfort, like a small escape on a hot day, without the guilt or hassle of a complicated dessert. Plus, it’s a great way to impress friends when you’re short on time but still want to offer something special.
What Ingredients You Will Need
This recipe relies on simple, wholesome ingredients to deliver a luscious salted caramel ice cream with the perfect balance of creamy and sweet-salty flavors. You likely have most of these in your pantry, and substitutions are easy if needed.
- Heavy cream (2 cups / 480 ml) – Use full-fat for the creamiest texture. I prefer organic brands like Horizon for consistent results.
- Sweetened condensed milk (1 can, 14 oz / 397 g) – This is the magic ingredient providing sweetness and smoothness without churning.
- Salted caramel sauce (¾ cup / 180 ml) – Store-bought works perfectly here; my favorite is Trader Joe’s salted caramel for its rich flavor. You can swap with homemade caramel sauce if you’re feeling adventurous.
- Sea salt flakes (a pinch) – Enhances the salted caramel notes and balances the sweetness. Maldon is my go-to for finishing touches.
- Vanilla extract (1 teaspoon) – Adds warmth and depth. Pure vanilla extract makes a difference here.
Optional add-ins:
- Chopped toasted pecans or walnuts (½ cup / 60 g) – for some crunch and nutty contrast.
- Chocolate chips or chunks (⅓ cup / 55 g) – if you want a chocolatey twist.
- Use coconut cream instead of heavy cream for a dairy-free version (note: texture may be slightly different).
When picking caramel sauce, avoid overly sweet or artificial-tasting brands. The goal is a rich, buttery caramel that complements—not overwhelms—the cream base. For a seasonal touch, swapping salted caramel with a pumpkin spice caramel in autumn is a fun twist that keeps things fresh.
Equipment Needed
- Mixing bowl – A large, chilled bowl works best to whip the cream smoothly.
- Electric hand mixer or stand mixer – Whipping the heavy cream to stiff peaks is key, and a mixer speeds this up. You can hand-whip, but be prepared for a workout!
- Spatula – A silicone spatula helps fold ingredients gently without deflating the cream.
- Loaf pan or freezer-safe container – For freezing the ice cream. I prefer metal loaf pans because they freeze faster and help avoid icy textures.
- Plastic wrap – To cover the ice cream while freezing and prevent ice crystals.
If you don’t have a mixer, a whisk and some patience work, but I recommend investing in a basic hand mixer if you love making desserts. It’s a game-changer for recipes like this and even comes in budget-friendly options from brands like Hamilton Beach or KitchenAid.
Preparation Method

- Chill your mixing bowl and beaters. Place them in the fridge for at least 15 minutes before starting. Cold tools help the heavy cream whip up faster and fluffier.
- Pour the heavy cream into the chilled bowl. Using an electric mixer, beat on medium-high speed until stiff peaks form. This usually takes about 3-5 minutes. You’ll know it’s ready when the cream holds firm peaks and doesn’t slide off the beaters.
- In a separate bowl, combine sweetened condensed milk and vanilla extract. Stir gently to blend. This mixture adds sweetness and creaminess without needing to churn.
- Fold the whipped cream into the condensed milk mixture. Use a spatula to gently fold—don’t stir vigorously or you’ll lose the airy texture. Aim for a smooth, uniform mixture without deflating the cream. This takes about 1-2 minutes.
- Pour half of the ice cream base into your prepared loaf pan. Spoon half of the salted caramel sauce over the base in dollops. Use a butter knife or skewer to swirl the caramel through the mixture, creating ribbons of flavor.
- Add the remaining ice cream base on top. Repeat with the remaining caramel sauce and swirl again for a marbled effect. If you’re adding nuts or chocolate chips, sprinkle them between layers or on top for texture.
- Sprinkle a pinch of sea salt flakes across the top. This final touch enhances the salted caramel profile.
- Cover the loaf pan tightly with plastic wrap. Freeze for at least 6 hours, but overnight is best for a firm, scoopable texture.
- Before serving, let the ice cream sit at room temperature for 5-10 minutes. This softens it slightly for easier scooping.
Watch out for over-whipping the cream—if it turns grainy, it’s gone too far. Also, don’t skip chilling your bowl! It really makes a difference in whipping speed and texture. The swirling step is fun and gives you those gorgeous salted caramel ribbons that make each bite exciting.
Cooking Tips & Techniques
Making no-churn ice cream is deceptively simple, but a few insider tips help you nail the texture and flavor every time.
- Whip cream to stiff peaks: This step traps air and gives your ice cream that light, creamy mouthfeel. If the cream is too soft, the ice cream might freeze too hard and icy.
- Fold, don’t stir: When combining the whipped cream with condensed milk, folding preserves the fluffiness. Stirring aggressively deflates the mixture, resulting in a dense, icy texture.
- Swirl the caramel carefully: For pretty caramel ribbons, don’t overmix. A gentle swirl with a knife creates pockets of sweet-salty caramel that elevate the ice cream experience.
- Freeze in a metal pan: Metal freezes faster than plastic, which helps prevent large ice crystals and keeps the texture smooth.
- Patience is key: Resist the urge to dig in too soon. The ice cream firms up best with at least 6 hours of freezing time, preferably overnight.
From personal trial and error, I learned that skipping the chilling step for the bowl and beaters often leads to slower whipping and a less stable cream. Also, adding a pinch of sea salt on top just before freezing enhances the caramel flavor more than mixing it in early. These small details make a big difference, trust me!
Variations & Adaptations
This easy no-churn salted caramel ice cream recipe is a great base for playing around with flavors and dietary preferences.
- Dairy-Free Version: Swap heavy cream for canned coconut cream and use a dairy-free condensed milk alternative to keep it creamy and sweet without dairy.
- Nutty Caramel Swirl: Add toasted pecans or walnuts to the caramel before swirling for a crunchy texture and extra depth of flavor.
- Chocolate Salted Caramel: Fold in mini chocolate chips or drizzle melted dark chocolate over the top before freezing for a chocolate-caramel combo that’s irresistible.
- Spiced Twist: Stir a pinch of cinnamon or cardamom into the ice cream base for a warm, aromatic note that complements the caramel.
- Fruit-Infused: Mix in fresh chopped apples or pears for a fall-inspired version. This pairs wonderfully with the salted caramel and adds a fresh bite.
One of my favorite personal tweaks is to add a splash of bourbon to the caramel swirl—just enough to bring a subtle boozy warmth without overpowering. It’s a grown-up treat that always impresses at dinner parties, like when I paired it alongside the hearty Irish lamb stew for a cozy night.
Serving & Storage Suggestions
Serve this salted caramel ice cream slightly softened for the best scoopability. A small wait of 5-10 minutes at room temperature works wonders. Presentation-wise, a drizzle of extra caramel sauce and a sprinkle of sea salt flakes on top make it look irresistible.
This ice cream pairs beautifully with crunchy cookies, rich brownies, or a warm dessert like apple crisp. If you’re planning a summer gathering, try serving it alongside easy strawberry shortcake bars for a sweet, refreshing combo that guests rave about.
For storage, keep the ice cream tightly covered in the freezer to avoid ice crystals forming. It keeps well for up to 2 weeks, though it’s usually devoured faster in my house. When reheating leftovers, let it thaw slightly at room temperature before scooping—microwaving tends to melt it unevenly and ruin the texture.
Over time, the flavors meld and deepen, so if you make it a day ahead, you’ll find the caramel notes more pronounced and the texture even creamier. Just make sure to give it a gentle stir before freezing to redistribute any settled caramel.
Nutritional Information & Benefits
One serving (about ½ cup or 125 ml) of this easy no-churn salted caramel ice cream contains approximately 250-300 calories, mostly from fat and sugars. The heavy cream provides rich fat content for that luscious texture, while the sweetened condensed milk adds sweetness and smoothness.
While this is definitely a treat, you can make it a bit lighter by using reduced-fat cream or sugar-free caramel sauce. The sea salt flakes add a nice mineral touch, and caramel in moderation offers a satisfying sweetness without overwhelming.
This recipe is gluten-free by default and can be adapted for dairy-free eaters by swapping in coconut-based ingredients. Just watch the brand of caramel sauce for hidden gluten or dairy if you’re sensitive.
From a wellness perspective, enjoying a homemade treat like this—made with recognizable ingredients and no artificial additives—is a nice way to indulge mindfully. It feels honest and satisfying, which is what homemade ice cream should be all about.
Conclusion
This easy no-churn salted caramel ice cream recipe has become a quiet favorite for good reason. It’s simple to make, requires minimal ingredients and gear, and delivers that creamy, dreamy salted caramel flavor you crave on hot days or any time you need a little comfort.
Feel free to tweak the caramel swirl, add your favorite mix-ins, or try the dairy-free version to suit your tastes. I love how flexible this recipe is—it’s as much about creativity as it is about convenience. Plus, it’s one of those desserts that makes you look like you’ve got your kitchen skills down without much effort.
Give it a try and, if you’re curious, you might also enjoy the cozy flavors of the Dublin coddle for a hearty meal to follow your sweet treat. I’d love to hear how you customize this recipe or what flavor combos you come up with—comments and stories always brighten my day!
Here’s to cool, creamy, salted caramel bliss that’s just a scoop away.
Frequently Asked Questions
Can I make this salted caramel ice cream without sweetened condensed milk?
The sweetened condensed milk adds sweetness and creaminess without churning. You can try using a homemade version or substitute with evaporated milk plus sugar, but the texture might be less smooth.
How long can I store no-churn ice cream in the freezer?
It’s best eaten within 2 weeks to maintain the best texture and flavor. Make sure to cover it tightly to prevent ice crystals.
Can I use homemade caramel sauce instead of store-bought?
Absolutely! Homemade caramel sauce works wonderfully and allows you to control the salt level and sweetness.
Is it possible to make this recipe vegan?
Yes, use coconut cream instead of heavy cream, a vegan condensed milk alternative, and ensure your caramel sauce is dairy-free and vegan-friendly.
Why does my no-churn ice cream sometimes turn out icy?
Common causes are under-whipped cream, insufficient freezing time, or not covering the ice cream well. Whip cream to stiff peaks and freeze in a metal pan for best results.
Pin This Recipe!
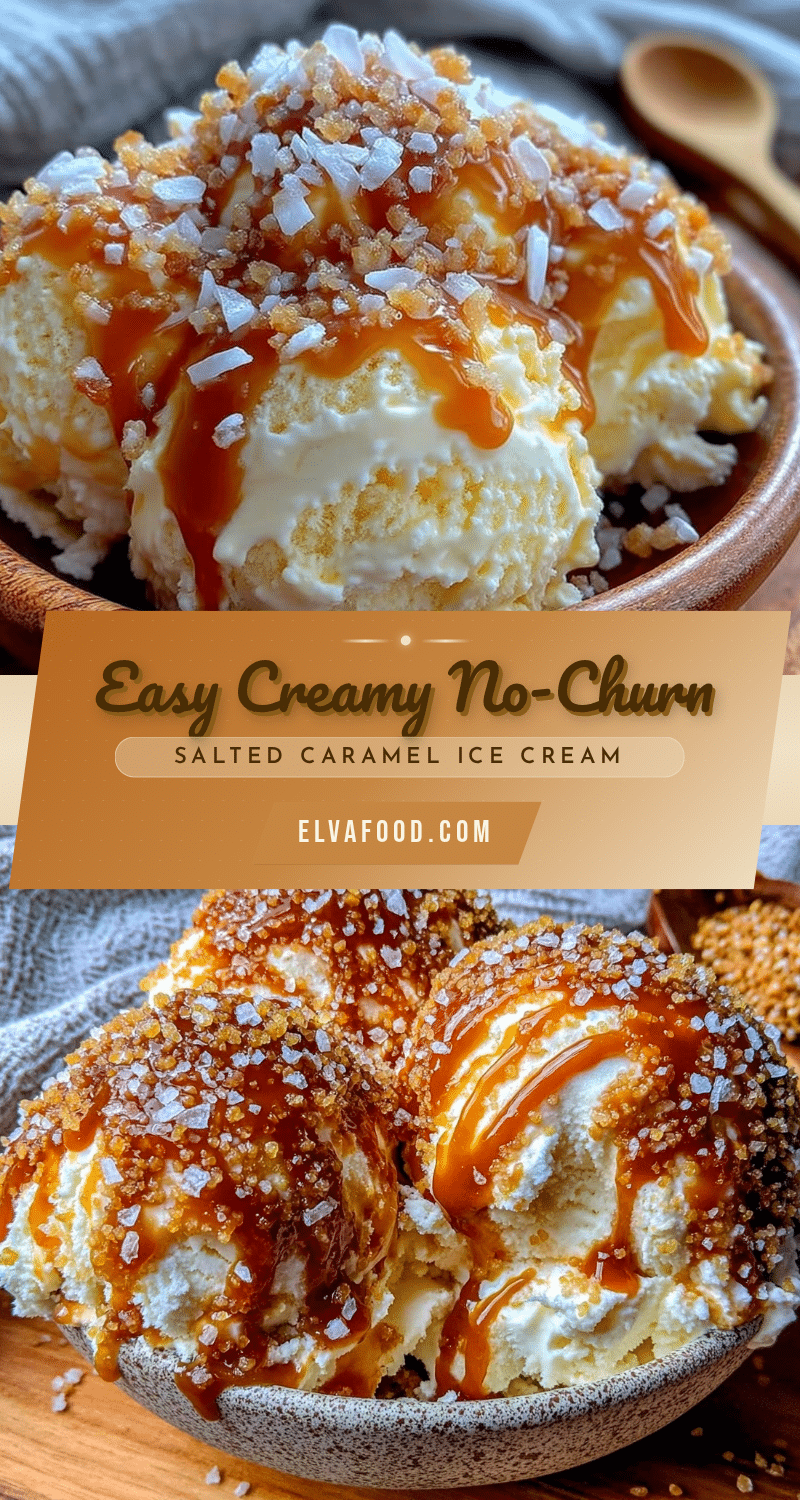
Easy No-Churn Salted Caramel Ice Cream Recipe Perfect for Summer Treats

A quick and easy no-churn salted caramel ice cream that combines creamy texture with a sweet-salty caramel swirl, perfect for summer treats without the need for an ice cream maker.
- Prep Time: 10 minutes
- Cook Time: 0 minutes
- Total Time: 6 hours 10 minutes
- Yield: 8 servings 1x
- Category: Dessert
- Cuisine: American
Ingredients
- 2 cups heavy cream (480 ml)
- 1 can sweetened condensed milk (14 oz / 397 g)
- 3/4 cup salted caramel sauce (180 ml)
- Pinch of sea salt flakes
- 1 teaspoon vanilla extract
- Optional: 1/2 cup chopped toasted pecans or walnuts (60 g)
- Optional: 1/3 cup chocolate chips or chunks (55 g)
- Optional: Coconut cream instead of heavy cream for dairy-free version
Instructions
- Chill your mixing bowl and beaters in the fridge for at least 15 minutes.
- Pour the heavy cream into the chilled bowl and beat on medium-high speed with an electric mixer until stiff peaks form, about 3-5 minutes.
- In a separate bowl, combine sweetened condensed milk and vanilla extract; stir gently to blend.
- Gently fold the whipped cream into the condensed milk mixture using a spatula until smooth and uniform, about 1-2 minutes.
- Pour half of the ice cream base into a prepared loaf pan.
- Spoon half of the salted caramel sauce over the base in dollops and swirl with a butter knife or skewer to create ribbons.
- Add the remaining ice cream base on top and repeat with the remaining caramel sauce, swirling again.
- If using, sprinkle nuts or chocolate chips between layers or on top.
- Sprinkle a pinch of sea salt flakes over the top.
- Cover the loaf pan tightly with plastic wrap and freeze for at least 6 hours, preferably overnight.
- Before serving, let the ice cream sit at room temperature for 5-10 minutes to soften.
Notes
Chill the mixing bowl and beaters before whipping cream for best results. Fold whipped cream gently into condensed milk to preserve airiness. Use a metal loaf pan to freeze faster and avoid icy texture. Let ice cream soften 5-10 minutes before scooping. For dairy-free, substitute heavy cream with coconut cream and use vegan condensed milk and caramel sauce.
Nutrition
- Serving Size: 1/2 cup (125 ml)
- Calories: 275
- Sugar: 25
- Sodium: 90
- Fat: 18
- Saturated Fat: 11
- Carbohydrates: 27
- Protein: 3
Keywords: no-churn ice cream, salted caramel ice cream, easy ice cream recipe, summer dessert, no ice cream maker, caramel swirl, homemade ice cream