“Can you make me something with peanut butter that doesn’t require turning on the oven?” My sister texted me this on a Tuesday afternoon, and honestly, I knew exactly what she needed before I even finished reading. These Easy No-Bake Chocolate Peanut Butter Protein Balls were born from that exact moment—that specific request for something quick, satisfying, and completely oven-free. No complicated instructions, no waiting around, just pure peanut butter bliss rolled into little bite-sized perfection.
I’ve been making some version of these for years, tweaking and testing until I landed on this particular combination. It’s the kind of recipe that feels almost too simple to be this good. But let me tell you, there’s something about the way the chocolate chips stud each ball, the way the oats give it that chewy texture, the way the peanut butter holds everything together like it was meant to be. These aren’t just snacks—they’re tiny little lifesavers for those afternoons when you need something real but don’t have time for anything complicated.
They’ve gotten me through late work nights, early morning workouts, and those random hunger pangs that hit right between meals. And the best part? You probably have everything you need in your pantry right now. No fancy ingredients, no special equipment, just honest food that tastes like you put way more effort into it than you actually did. That’s my favorite kind of recipe, honestly.
Why You’ll Love This Recipe
Let me tell you why these Easy No-Bake Chocolate Peanut Butter Protein Balls have become my go-to for pretty much everything. First off, they come together in under 15 minutes. I’m not exaggerating—from the moment you pull out the ingredients to the moment you’re popping one in your mouth, it’s maybe 15 minutes tops. That’s faster than ordering takeout.
- Quick & Easy : No oven, no stovetop, no complicated steps. Just mix, roll, and chill. Perfect for those days when you want something homemade but don’t have the energy for a full baking session.
- Simple Ingredients : You probably have most of these in your kitchen already. Oats, peanut butter, chocolate chips, honey—these are pantry staples that come together beautifully without any fancy shopping trips.
- Perfect for Meal Prep : Make a batch on Sunday and grab them all week long. They’re great for lunchboxes, post-workout snacks, or those 3 PM energy slumps that hit out of nowhere.
- Crowd-Pleaser : I’ve brought these to potlucks, family gatherings, and office parties. They disappear every single time. Kids love them, adults love them, everyone loves them.
- Unbelievably Delicious : The combination of creamy peanut butter, rich chocolate, and hearty oats creates something that feels indulgent but is actually pretty good for you. It’s comfort food that doesn’t leave you feeling guilty.
What makes these different from other protein ball recipes? It’s the texture, honestly. I’ve tried versions that were too dry, too sticky, or just didn’t hold together well. This version has that perfect balance—chewy but not tough, sweet but not overwhelming, with little pockets of melted chocolate in every bite. I spent a lot of time getting the ratios right, adjusting the honey and peanut butter until everything came together just perfectly. These aren’t just another recipe—they’re the recipe I keep coming back to.
What Ingredients You Will Need
This recipe uses simple, wholesome ingredients that work together to create something truly satisfying. No weird health food store finds, no expensive superfood powders—just real food that tastes great and fuels your body right.
- Rolled oats : 2 cups (180g). I prefer old-fashioned rolled oats for the best texture. Quick oats work too, but the texture will be slightly different—softer and less chewy. If you need this gluten-free, just grab certified gluten-free oats.
- Creamy peanut butter : 1 cup (250g). Natural peanut butter works great here, but make sure it’s well-stirred. I’ve found that brands like Skippy or Jif give a slightly sweeter result, while natural peanut butter gives a more pronounced peanut flavor. Either way works beautifully.
- Honey : 1/3 cup (110g). This is what binds everything together and adds natural sweetness. Maple syrup works as a substitute if you want a vegan option, though the texture will be slightly stickier.
- Chocolate chips : 1/2 cup (90g). I use semi-sweet chocolate chips for that perfect balance of sweetness. Dark chocolate chips work wonderfully too—they add a deeper chocolate flavor that pairs beautifully with the peanut butter.
- Vanilla extract : 1 teaspoon. Pure vanilla extract makes a difference here. It rounds out the flavors and adds warmth to the overall taste.
- Flaxseed meal : 2 tablespoons (14g). This is optional but adds extra fiber and omega-3s. Plus, it helps bind everything together even more. You can skip it if you don’t have it on hand.
- Salt : A pinch. Peanut butter and salt are best friends. Even if your peanut butter is salted, that extra pinch really makes the flavors pop.
- Optional mix-ins : 2 tablespoons of chia seeds, hemp seeds, or shredded coconut. These add texture and extra nutrition. I sometimes add a tablespoon of cocoa powder for an extra chocolatey version.
I recommend using a peanut butter you actually enjoy eating on its own. The flavor really comes through, so don’t use that old jar that’s been sitting in the back of your pantry. Fresh, creamy peanut butter makes all the difference. And for the chocolate chips, I personally love Ghirardelli semi-sweet chips—they melt beautifully and have that rich chocolate taste that complements the peanut butter perfectly.
Equipment Needed
One of the best things about this recipe is how little equipment you need. No stand mixer, no food processor, nothing fancy. Here’s what you’ll need:
- Large mixing bowl : Any medium to large bowl works. I use my favorite ceramic mixing bowl because it’s wide enough to mix everything without spilling.
- Measuring cups and spoons : Standard set for accurate measurements. I’ve learned the hard way that eyeballing ingredients with protein balls can lead to dry or crumbly results.
- Rubber spatula or wooden spoon : For mixing everything together. A rubber spatula works best for scraping the sides and getting every bit of peanut butter incorporated.
- Baking sheet or plate : For placing the rolled balls on before they go in the fridge. A baking sheet lined with parchment paper works perfectly.
- Parchment paper or wax paper : Optional but helpful for easy cleanup and preventing sticking.
- Small cookie scoop or tablespoon : For portioning out even-sized balls. This makes the process faster and gives you uniform balls that look professional.
- Air-tight container : For storing the finished protein balls in the fridge or freezer.
If you don’t have a cookie scoop, just use a regular tablespoon. The balls don’t need to be perfectly uniform—they’re homemade, after all. And honestly, the slightly imperfect ones taste just as good as the perfectly round ones. I speak from experience.
Preparation Method
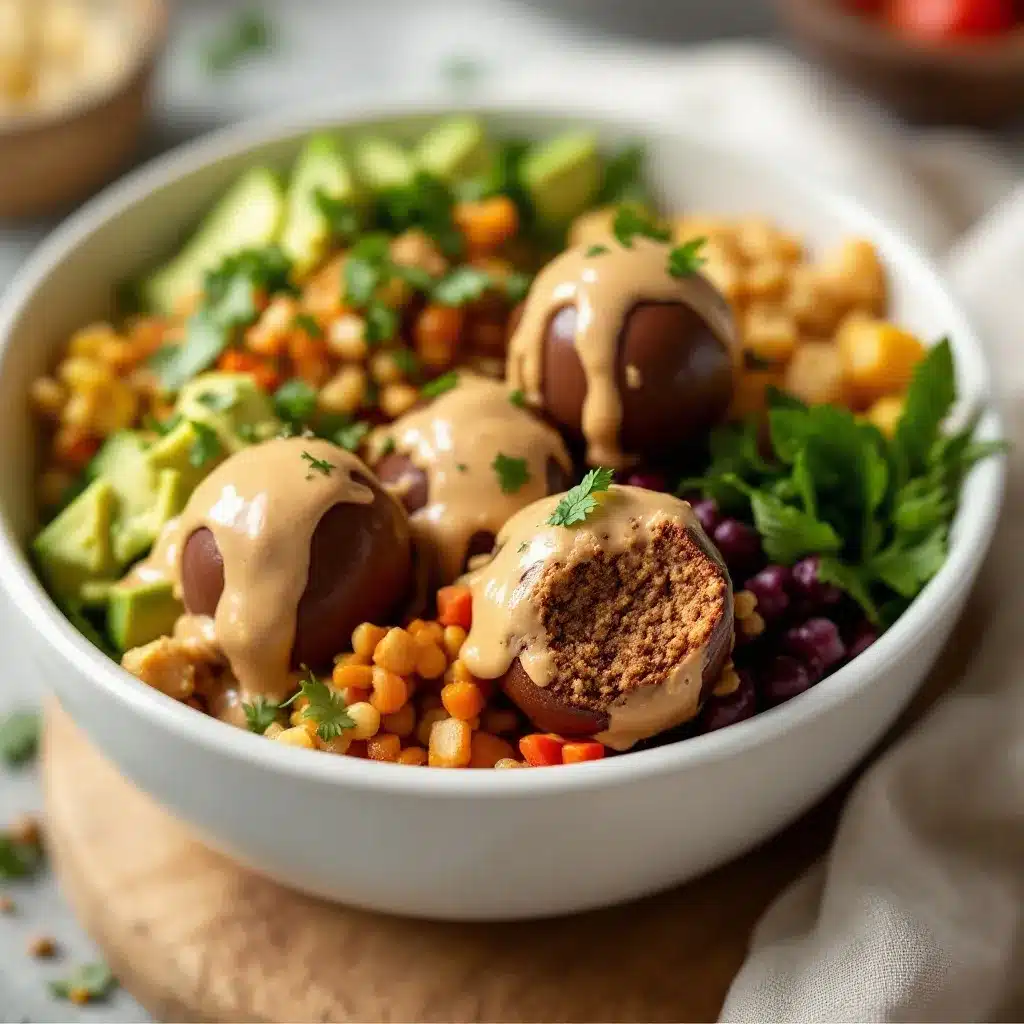
Making these Easy No-Bake Chocolate Peanut Butter Protein Balls is almost embarrassingly simple. But don’t let the simplicity fool you—the results are absolutely delicious. Here’s how to do it:
- Combine the dry ingredients : In your large mixing bowl, add the rolled oats, flaxseed meal (if using), and a pinch of salt. Give everything a quick stir with your spatula to distribute everything evenly. This step takes about 30 seconds but makes sure the salt and flax are well incorporated.
- Add the wet ingredients : Add the creamy peanut butter, honey, and vanilla extract right on top of the dry ingredients. Don’t worry about mixing yet—just get everything in the bowl first.
- Mix everything together : Using your rubber spatula or wooden spoon, stir everything together until well combined. Start by folding the wet ingredients into the dry, scraping the bottom and sides of the bowl as you go. It might seem dry at first, but keep mixing—the peanut butter and honey will eventually coat all the oats. This takes about 2-3 minutes of thorough mixing.
- Fold in the chocolate chips : Once the base mixture is well combined, add the chocolate chips. Fold them in gently until they’re evenly distributed throughout the mixture. You want every ball to have a few chocolate chips in it.
- Chill the mixture : Here’s a tip I learned through trial and error—pop the mixture in the fridge for about 15-20 minutes before rolling. This makes the mixture firmer and easier to handle. The peanut butter and honey get slightly stiff when chilled, which means less sticky hands and more perfectly round balls.
- Roll into balls : Using your cookie scoop or a tablespoon, scoop out portions of the mixture and roll them between your palms to form balls. Aim for about 1-inch diameter balls. If your hands get sticky, lightly wet them with water or rub a tiny bit of oil on your palms.
- Place on prepared baking sheet : As you roll each ball, place it on your parchment-lined baking sheet or plate. Leave a little space between each ball so they don’t stick together.
- Final chill : Place the baking sheet with the rolled balls in the refrigerator for at least 30 minutes. This allows them to firm up completely. The texture improves significantly after chilling—they become perfectly chewy and hold their shape beautifully.
- Transfer to storage container : Once firm, transfer the protein balls to an air-tight container. Keep them refrigerated until you’re ready to eat them.
A few notes from my own experience: If the mixture seems too dry and crumbly, add another tablespoon of honey or peanut butter. If it seems too wet and sticky, add a few more oats. The texture should be like a thick cookie dough—firm enough to hold together when pressed, but not dry. Also, don’t overmix once you add the chocolate chips, or they might start melting from the warmth of your hands and the friction of mixing.
Cooking Tips & Techniques
After making these Easy No-Bake Chocolate Peanut Butter Protein Balls more times than I can count, I’ve picked up a few tricks that make the process even easier and the results even better.
Room temperature ingredients matter : Let your peanut butter sit out for about 10 minutes before starting. Room temperature peanut butter mixes much more easily than cold peanut butter straight from the fridge. It creates a smoother, more uniform mixture with less effort.
Don’t skip the chill step : I know it’s tempting to skip the chilling and just eat the mixture straight from the bowl—trust me, I’ve been there. But that 30-minute chill in the fridge transforms the texture completely. The oats absorb some of the moisture, the flavors meld together, and the balls become perfectly firm and chewy instead of soft and messy.
Wet hands are your friend : If the mixture is sticking to your hands while rolling, just wet your palms slightly with cold water. The moisture creates a barrier between the sticky mixture and your skin, making rolling much easier. Don’t use too much water though—just a light misting.
Make them uniform : Using a cookie scoop ensures all your balls are the same size, which means they’ll chill at the same rate and have consistent texture. Plus, they look so much prettier on a plate. But honestly, if you’re just making these for yourself, eyeballing it works perfectly fine.
Taste test before rolling : Before you roll all the balls, taste a tiny bit of the mixture. This is your chance to adjust sweetness, add more salt, or throw in extra chocolate chips. Once they’re rolled and chilled, it’s harder to fix things.
I once forgot to add the chocolate chips until after I’d rolled half the batch. Not my finest moment. I had to unroll each ball, mix in the chips, and reroll everything. Learn from my mistake—double check your ingredients before you start rolling!
Variations & Adaptations
One of the things I love most about this recipe is how versatile it is. You can change it up based on what you have in your pantry or what you’re craving. Here are some of my favorite variations:
Vegan version : Substitute the honey with maple syrup or agave nectar. The texture will be slightly different—a bit stickier and softer—but still delicious. Make sure your chocolate chips are dairy-free as well. I love using Enjoy Life brand chocolate chips for this.
Extra protein version : Add 2 tablespoons of your favorite protein powder. If you use vanilla protein powder, reduce the honey slightly since protein powders often add sweetness. Chocolate protein powder works beautifully here too—it doubles down on the chocolate flavor.
Nut-free version : Substitute the peanut butter with sunflower seed butter or WowButter. These alternatives have a similar texture and work perfectly in this recipe. Just note that sunflower seed butter can react with baking soda if you ever use it in baked goods, but that’s not an issue here since we’re not baking.
Seasonal twist : In the fall, add 1/2 teaspoon of pumpkin pie spice and substitute some of the chocolate chips with dried cranberries. In the summer, add 2 tablespoons of freeze-dried strawberries for a fruity pop. These little seasonal changes keep the recipe feeling fresh all year round.
Crunchy version : Use crunchy peanut butter instead of creamy, and add 1/4 cup of chopped peanuts. The extra crunch makes these feel even more satisfying, especially if you’re someone who loves texture in your snacks.
I once made a batch with coconut flakes and dark chocolate chunks for a friend who was visiting from out of town. She asked for the recipe before she even finished her first ball. That’s the thing about these protein balls—they’re endlessly adaptable and always delicious.
Serving & Storage Suggestions
These Easy No-Bake Chocolate Peanut Butter Protein Balls are best served cold straight from the fridge. The texture is perfectly firm and chewy, with the chocolate chips providing little bursts of sweetness in every bite. I love grabbing one as a quick breakfast on busy mornings, a post-workout snack, or a mid-afternoon pick-me-up.
For serving at parties or gatherings, arrange them on a pretty plate or platter. They look beautiful alongside fresh fruit or other bite-sized treats. If you’re bringing them to a potluck or picnic, keep them in a cooler until serving time—they hold up well for a few hours at room temperature, but they’re best when kept cool.
Storage instructions : Store the protein balls in an air-tight container in the refrigerator. They’ll stay fresh for up to two weeks, though honestly, they rarely last that long in my house. The flavors actually develop and deepen after a day or two in the fridge, so don’t be afraid to make them ahead of time.
Freezer instructions : These freeze beautifully! Place the rolled balls on a baking sheet and freeze until solid, about 1-2 hours. Transfer the frozen balls to a freezer-safe bag or container. They’ll keep for up to three months. When you want one, just take it out of the freezer and let it sit at room temperature for 5-10 minutes, or eat it frozen—both ways are delicious.
Reheating tips : These are meant to be eaten cold or at room temperature, so no reheating needed. But if you want a slightly softer texture, let them sit at room temperature for about 10 minutes before eating.
I’ve noticed that these protein balls actually get better after a day in the fridge. The oats absorb more moisture, the flavors meld together, and the texture becomes perfectly uniform. So if you can resist eating them all immediately, you’re in for a treat the next day.
Nutritional Information & Benefits
These Easy No-Bake Chocolate Peanut Butter Protein Balls aren’t just delicious—they’re packed with good-for-you ingredients that fuel your body properly. Here’s a breakdown of what you’re getting in each serving:
Estimated nutrition per ball (based on 16 balls) :
- Calories: 175
- Protein: 6g
- Carbohydrates: 20g
- Fiber: 3g
- Sugar: 10g
- Fat: 9g
- Saturated Fat: 2.5g
- Sodium: 95mg
Health benefits : Rolled oats provide complex carbohydrates for sustained energy and are rich in beta-glucan, a type of soluble fiber that supports heart health. Peanut butter offers healthy monounsaturated fats and plant-based protein that keeps you feeling full and satisfied. The flaxseed meal adds omega-3 fatty acids and additional fiber for digestive health. Dark chocolate chips contain antioxidants called flavonoids that support cardiovascular health.
Dietary considerations : This recipe is naturally vegetarian and can easily be made vegan by using maple syrup. For a gluten-free version, simply use certified gluten-free oats. These protein balls are also dairy-free if you use dairy-free chocolate chips. They’re perfect for anyone looking for a healthy snack option that doesn’t sacrifice flavor.
I love that these protein balls give me energy without the crash that comes from processed snacks. They’re the kind of food that makes you feel good while you’re eating them and even better afterward.
Conclusion
These Easy No-Bake Chocolate Peanut Butter Protein Balls have become a staple in my kitchen for good reason. They’re quick, simple, and absolutely delicious—everything a good snack should be. Whether you’re looking for a post-workout refuel, a healthy lunchbox addition, or just something to get you through that afternoon slump, these little balls of goodness deliver every single time.
I love that this recipe is forgiving enough for beginners but satisfying enough for experienced cooks. You can customize it based on what you have in your pantry, adjust the sweetness to your liking, and make a batch in less time than it takes to decide what to order for delivery. That’s the kind of recipe I want in my back pocket, and I hope it becomes that for you too.
So go ahead—give these a try. Experiment with the variations, make them your own, and don’t forget to share them with someone you love. And when you do, come back and let me know how they turned out. I’d love to hear about your favorite mix-ins and variations!
Frequently Asked Questions
Can I use quick oats instead of rolled oats?
Yes, you can use quick oats, but the texture will be different. Quick oats are more finely processed, so they’ll create a softer, less chewy protein ball. Rolled oats give that nice hearty texture that I personally prefer. If you only have quick oats on hand, go ahead and use them—they’ll still taste great, just with a different mouthfeel.
How long do these protein balls last in the fridge?
These protein balls will stay fresh in an airtight container in the refrigerator for up to two weeks. I’ve found they actually taste better after a day or two as the flavors meld together. Just make sure your container is sealed well to prevent them from drying out or absorbing other odors from your fridge.
Can I freeze these protein balls?
Absolutely! Freezing these protein balls is a great way to have them on hand whenever you need a quick snack. Place them on a baking sheet and freeze until solid, then transfer to a freezer-safe bag or container. They’ll keep for up to three months. You can eat them straight from the freezer or let them thaw for a few minutes at room temperature.
Why are my protein balls too dry and crumbly?
If your mixture is too dry and won’t hold together, it usually means you need a bit more liquid. Add an extra tablespoon of honey or peanut butter and mix again. The mixture should feel like a thick cookie dough—firm but pliable. Different brands of peanut butter have different moisture levels, so you might need to adjust slightly based on what you’re using.
Can I make these without honey?
Yes! You can substitute honey with maple syrup, agave nectar, or even brown rice syrup. Each will give a slightly different flavor and texture. Maple syrup adds a lovely warmth, while agave is more neutral. If you’re looking to reduce sugar, you can use a sugar-free syrup like monk fruit syrup, though the texture might be slightly different.
Pin This Recipe!
Best No-Bake Chocolate Peanut Butter Protein Balls

These easy no-bake chocolate peanut butter protein balls are quick, satisfying, and completely oven-free. Made with simple pantry ingredients, they come together in under 15 minutes and are perfect for meal prep, post-workout snacks, or a healthy treat.
- Prep Time: 15 minutes
- Cook Time: 0 minutes
- Total Time: 45 minutes
- Yield: 16 servings 1x
- Category: Snack
- Cuisine: American
Ingredients
- 2 cups (180g) rolled oats
- 1 cup (250g) creamy peanut butter
- 1/3 cup (110g) honey
- 1/2 cup (90g) semi-sweet chocolate chips
- 1 teaspoon vanilla extract
- 2 tablespoons (14g) flaxseed meal (optional)
- A pinch of salt
- Optional mix-ins: 2 tablespoons chia seeds, hemp seeds, or shredded coconut
Instructions
- Combine the dry ingredients: In a large mixing bowl, add the rolled oats, flaxseed meal (if using), and a pinch of salt. Stir to distribute evenly.
- Add the wet ingredients: Add the creamy peanut butter, honey, and vanilla extract on top of the dry ingredients.
- Mix everything together: Stir with a rubber spatula or wooden spoon until well combined. It may seem dry at first, but keep mixing for 2-3 minutes until the peanut butter and honey coat all the oats.
- Fold in the chocolate chips: Add the chocolate chips and fold gently until evenly distributed.
- Chill the mixture: Refrigerate the mixture for 15-20 minutes to make it firmer and easier to handle.
- Roll into balls: Using a cookie scoop or tablespoon, scoop portions and roll between your palms to form 1-inch balls. If sticky, lightly wet your hands.
- Place on prepared baking sheet: Place each ball on a parchment-lined baking sheet or plate, leaving a little space between them.
- Final chill: Refrigerate the rolled balls for at least 30 minutes to firm up completely.
- Transfer to storage container: Once firm, transfer to an airtight container and keep refrigerated.
Notes
If the mixture is too dry, add an extra tablespoon of honey or peanut butter. If too wet, add a few more oats. The texture should be like thick cookie dough. For best results, chill the mixture before rolling and wet hands slightly if sticky. These protein balls taste even better after a day in the fridge as flavors meld.
Nutrition
- Serving Size: 1 ball
- Calories: 175
- Sugar: 10
- Sodium: 95
- Fat: 9
- Saturated Fat: 2.5
- Carbohydrates: 20
- Fiber: 3
- Protein: 6
Keywords: no-bake protein balls, chocolate peanut butter protein balls, healthy snacks, easy protein balls, no-bake snacks


